How to Draw a Strawberry Step by Step
This tutorial shows how to draw a strawberry step by step. It can be good for beginners that want to draw something nice but simple.
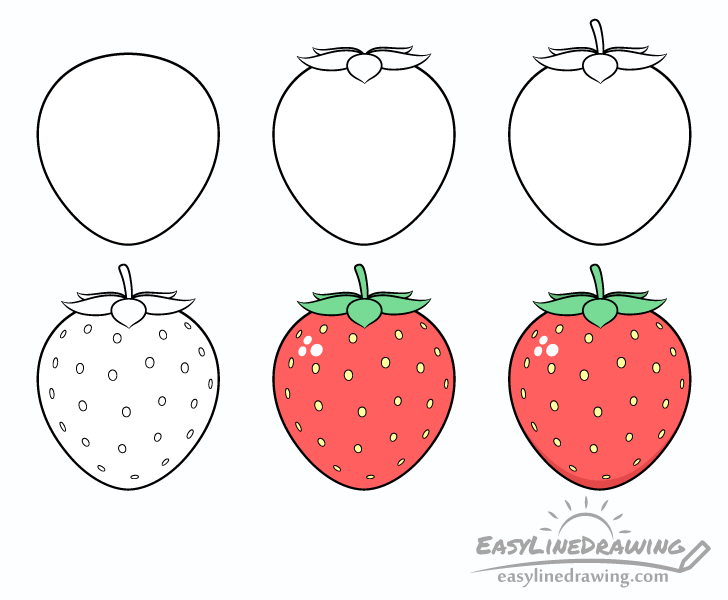
The strawberry shown in the example is done in a simplified style to make the guide easier for newcomers to drawing. It’s various parts are split into easy to follow steps. You can see the preview of these in the image above.
Start the tutorial in pencil and make light lines. This will both make it easier to correct mistakes and allow you to erase a little bit of the drawing when adding the crown and stem. You can trace over your lines to darken them once you have all parts of the strawberry drawn out.
Step 1 – Draw the Outer Shape of the Strawberry
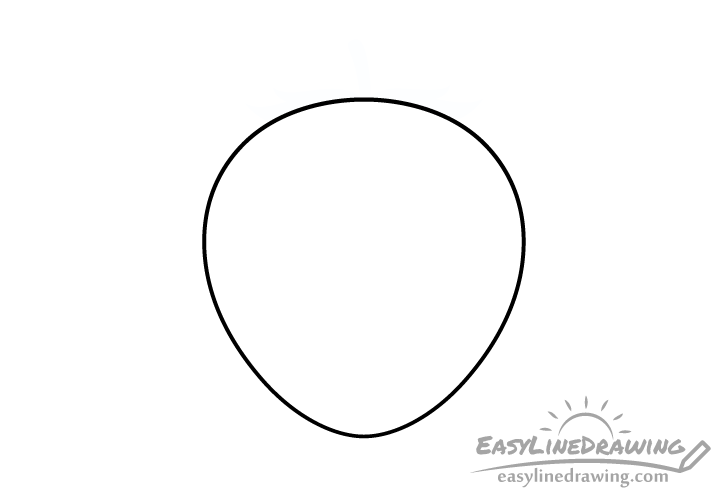
Begin by fist outlining the strawberry’s outer shape. Going from the top first make the outline wider and than narrower gain as it goes down. You can draw the strawberry one half at a time. Try and keep both halves symmetrical for a nicer looking berry. However, they don’t need to be perfectly so.
Step 2 – Draw the Crown
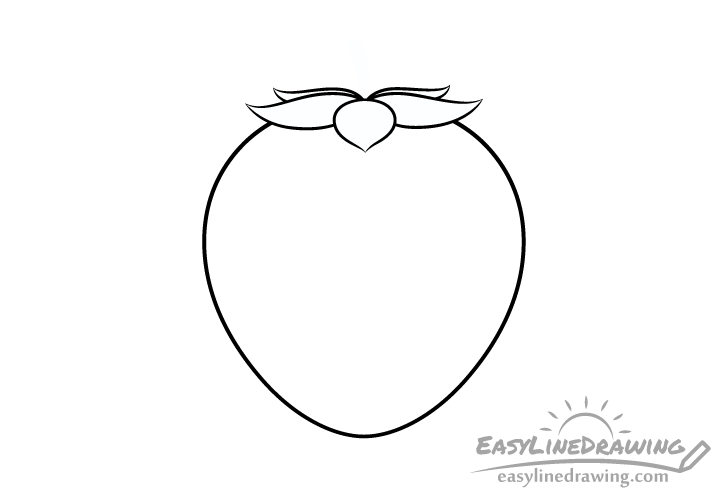
Erase a section of the berry’s outline at the very top and draw in the crown. The crown is made up of sepals (little leaves). Draw these as shown in the example starting with the one in the front followed by the two behind it and finally the last set in the very back.
Step 3 – Draw the Stem
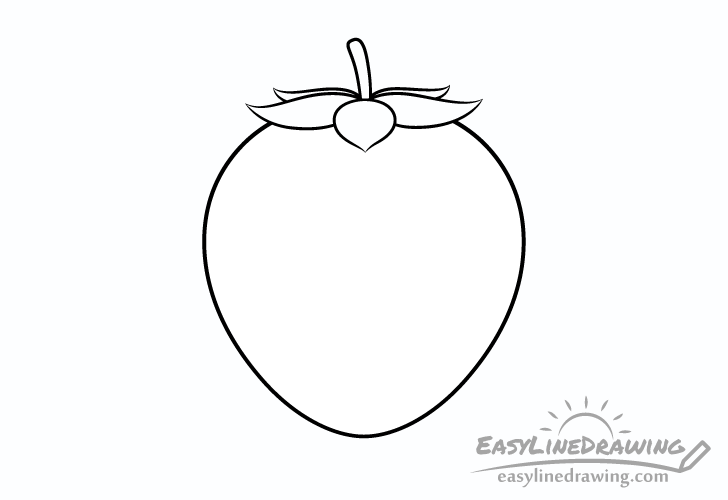
Once you’ve drawn the crown add the stem coming out of it’s center. Make it narrower towards the bottom and wider towards the top with a slight curve in it’s overall shape.
Step 4 – Draw the Seeds
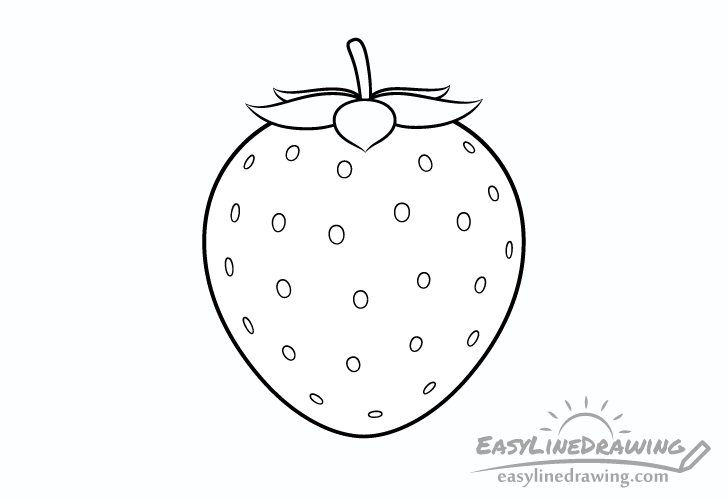
To finish the line drawing add the seeds. Try and draw these in a way that makes them sort of “flow” along the shape of the strawberry. You can do this by positioning them at angles that somewhat matches the outer curves of the berry, especially near the edges. Draw the seeds with less of an angle the closer they are to the middle. Also, make the seeds wider near the middle and narrower as they go out to the edges. Drawing them in such a way will give the strawberry a more three dimensional appearance as it will help create a sense of curvature.
Once you are done with the seeds go over your lines with a black pen or a thin black marker. Alternatively, you can also just darken them by pressing harder on the pencil.
Step 5 – Color the Strawberry
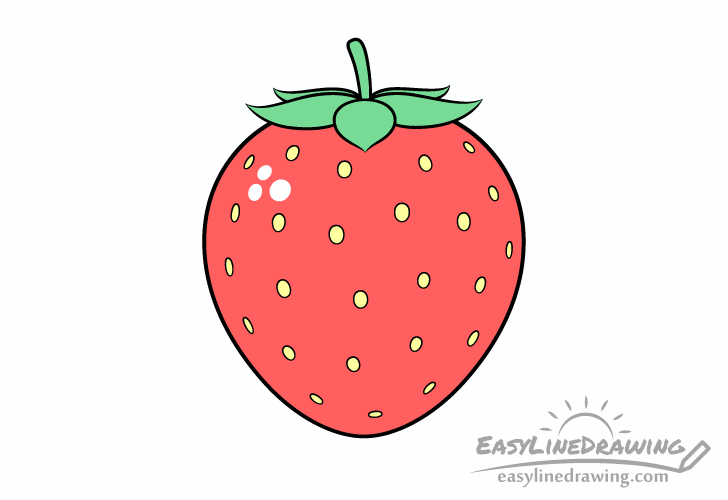
For some basic color you can simply make the strawberry red, the crown and stem green, and the seeds yellow. Markers, paints and colored pencils can all be good and easy options for doing this.
Before coloring you may also wish to outline a little bunch of reflections along the upper end of one of the strawberries sides (as shown in the example). These will help show light reflecting from it’s surface and give the strawberry a smooth and fresh look. Drawing a little cluster of these instead of one big reflection will help show that the strawberry also has a somewhat uneven surface that breaks up the light.
Step 5 – Shade the Berry & Crown
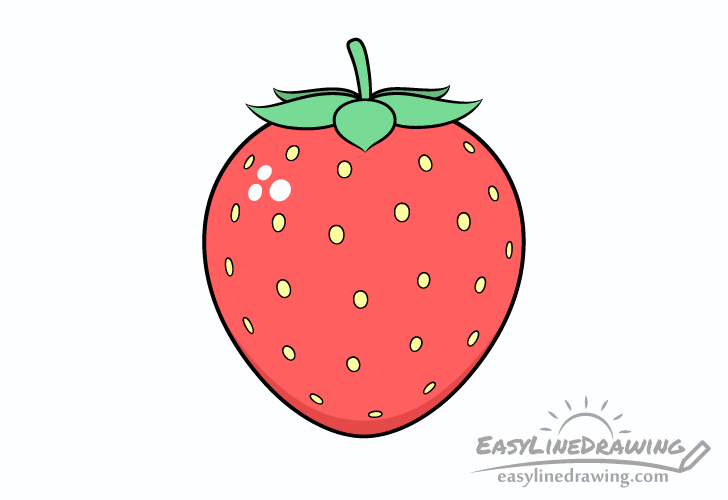
For the last step of the drawing add a shadow along the berry and along the background sepals of it’s crown (as shown in the example). You can do they by either using a darker variant of their respective colors (red/green) or by simply lightly going over these areas with a regular pencil.
Adding the shadows can make the drawing a little more interesting and will help it stand out more than if it were just solid colors.
Conclusion
While this guide is quite simple the strawberry it can help you draw can looks really nice, especially so because of the little trick of using the seeds to give it a more 3d appearance.
If you enjoyed this tutorial and would like to try more guides with easy to follow step by step examples and quick drawing tips also see the following:
- How to Draw a Raspberry Step by Step
- How to Draw an Apple Step by Step
- How to Draw a Watermelon Slice Step by Step
- How to Draw a Plum Step by Step
- How to Draw a Pear Step by Step
- How to Draw a Heart Step by Step


