How to Draw the Sun in Different Ways
This tutorial shows how to draw the sun in four different ways. Each examples includes step by step drawing instructions and illustrated examples.
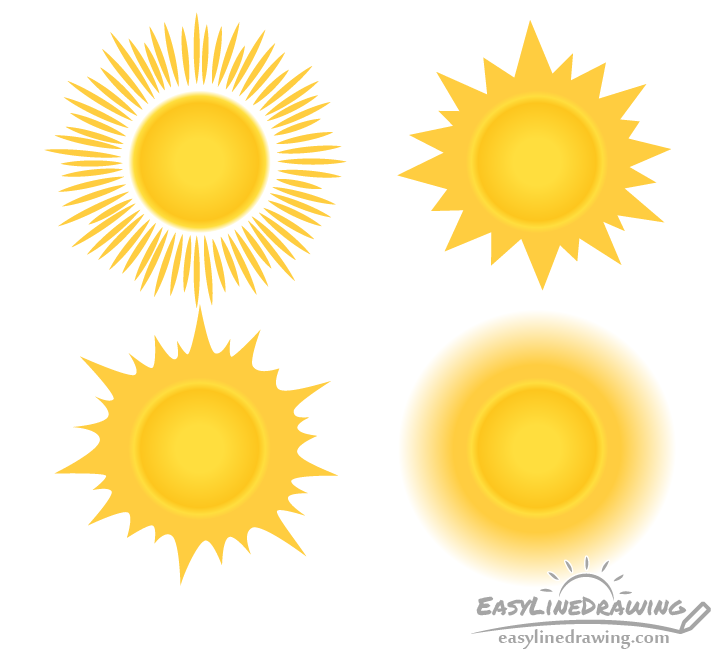
Above is a preview of the four different examples featured in this tutorial. Each one shows the sun drawn in a different style.
For each of the drawings it’s recommended that you start in pencil and make very light lines as you will either want to erase them or have them blend into the color later on.
Drawing the Sun Step by Step
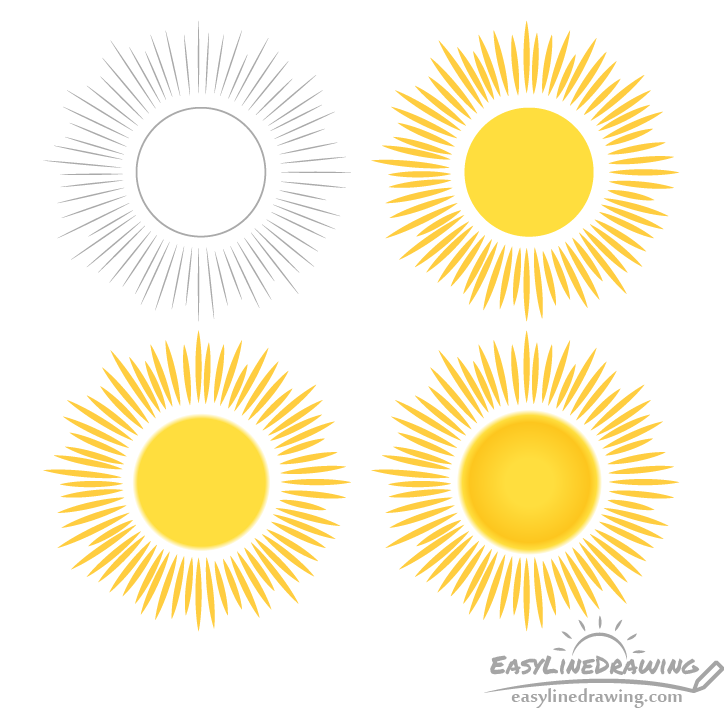
The sun drawing in this example is fairly simple but it may take a bit of time to add all of it’s rays.
Step 1 – Make a Line Drawing
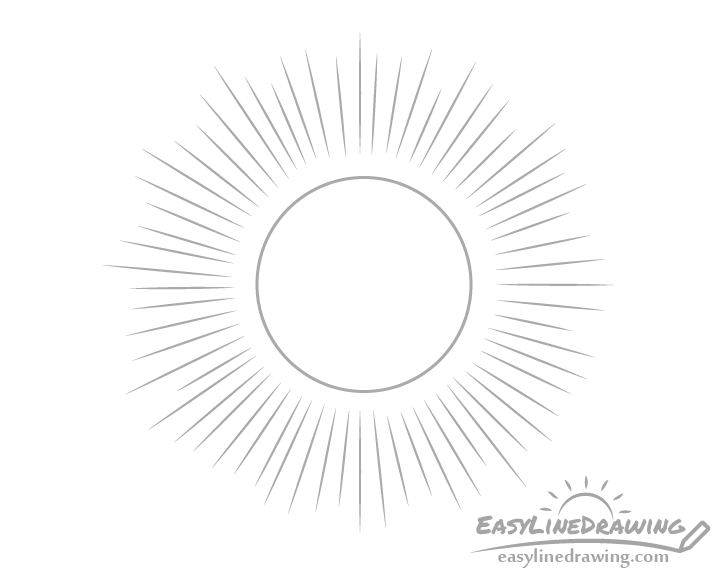
First make a circle to outline the sun itself. Next project a series of lines going out from it for the rays. Try and make these of slightly different length.
Remember to use a pencil and keep the lines as light as you can so that they are just barely visible.
Step 2 – Apply Color

Color the circle of the sun yellow and the rays orange. Use the ray lines from the previous step as guides and make them thicker when tracing over them with the orange. A good way to do this is using marker (as they tend to be really bright) but you can also use colored pencils.
If coloring with markers you can wait for them to dry and then go over your drawing with an eraser to remove any hints of the pencil lines.
If you want a simpler drawing you can leave it at this stage or you can move on to the next step.
Step 3 – Add Gradient

To make the sun look a little more interesting add some color gradients. Start by first blurring it’s outer edges. An easy way to do this is with a yellow pencil.
Step 4 – Finish the Sun Drawing

Using an orange pencil create another gradient that forms a blurry outline around the inner edge of the circle. Make the gradient darker as it moves away from the edge and then again lighter as it moves towards the center.
Drawing a Stylized Sun Step by Step
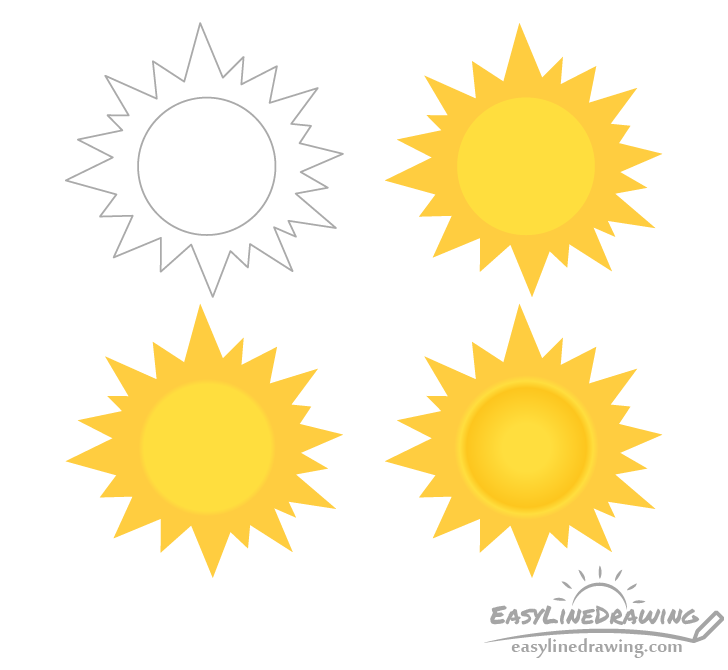
This example of the sun is slightly more stylized and closer to something that may be used by a designer.
Step 1 – Make a Line Drawing
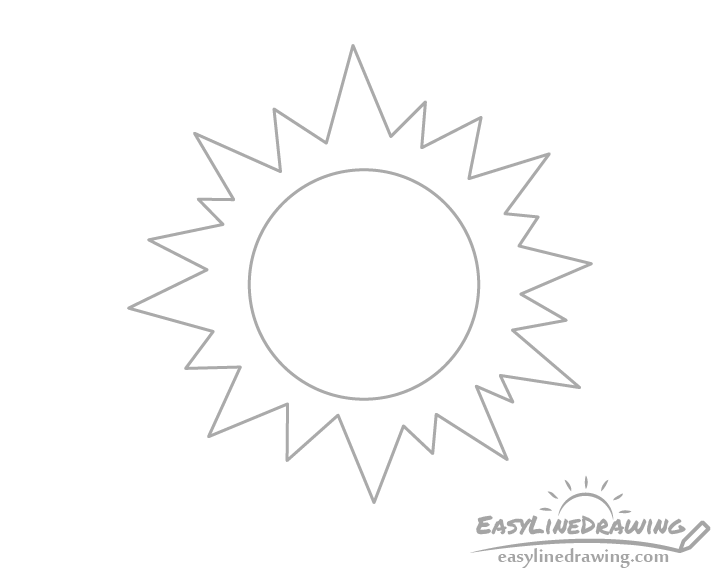
Similar to the previous example start by drawing a circle. Around the circle draw the sun rays as randomly sized zigzags.
Step 2 – Apply Color

Again same as the previous example color the circle of the sun yellow and the rays orange. You can do this with markers, paints or colored pencils.
You can leave it at this stage for a simpler looking drawing or move on to the next step.
Step 3 – Add Gradient

Using an orange pencil blend the outer edges of the sun with the sun rays so that the circle looks blurred.
Step 4 – Finish the Sun Drawing

Again using an orange pencil create another gradient that leaves a blurry yellow outline around the edges of the sun. It should get darker going away from the yellow outline and then lighter again towards the center of the sun.
Drawing a Cartoon Sun Step by Step
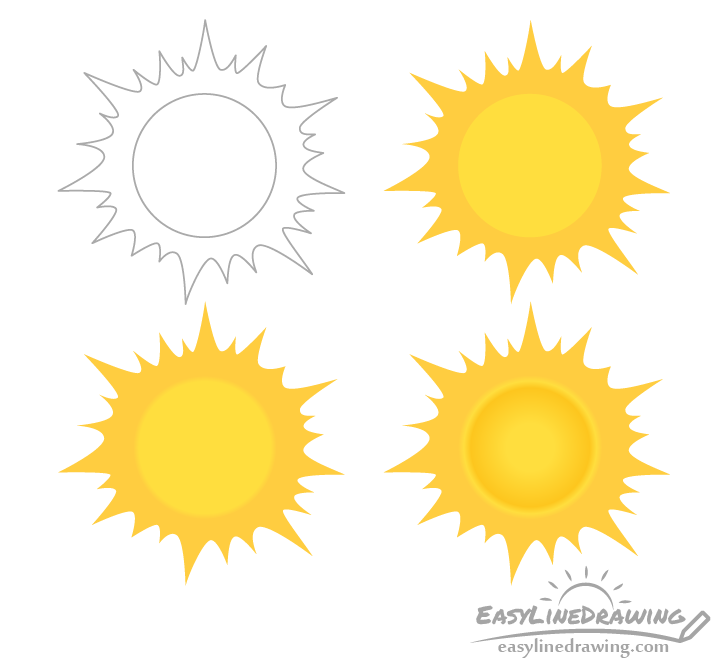
This example shows how to draw a cartoon style sun.
Step 1 – Make a Line Drawing
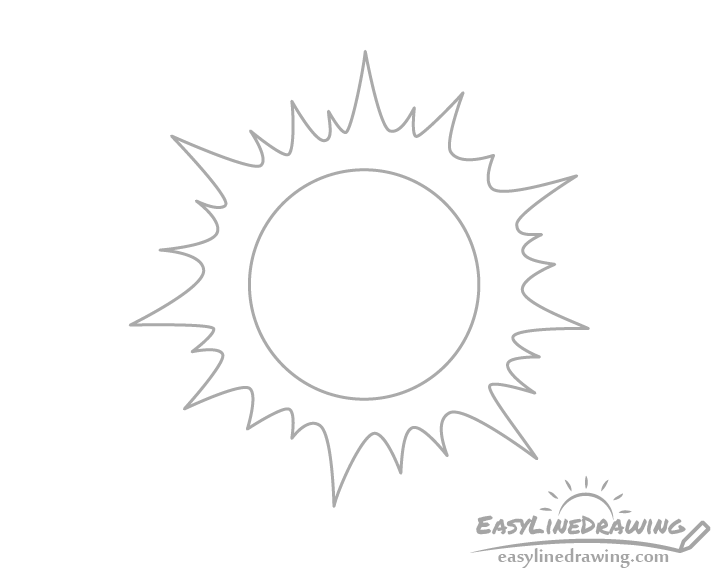
Once again start by drawing a circle and then add the outline of the sun rays around that. You can draw them as pretty much a bunch of curves that all join together.
Step 2 – Apply Color

Again color the sun yellow and the rays orange with either colored pencils, paints or markers.
Similar to the previous two examples you can once again either leave the sun as it is or move on the next step.
Step 3 – Add Gradient

Blend the edges of the sun into the rays using an orange pencil so that the circle looks blurred.
Step 4 – Finish the Sun Drawing

Again using an orange pencil add another gradient that leaves a yellow outline between the sun and the rays. This gradient should get darker as it moves away from the yellow outline and then lighter again towards the middle of the sun.
Drawing a Realistic Sun Step by Step
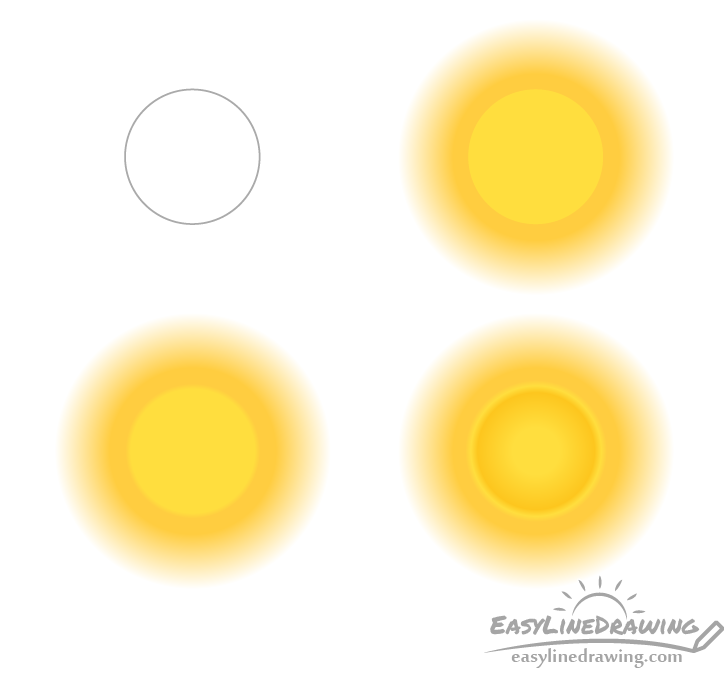
This final example is for drawing a slightly more realistic looking sun.
Step 1 – Make a Line Drawing
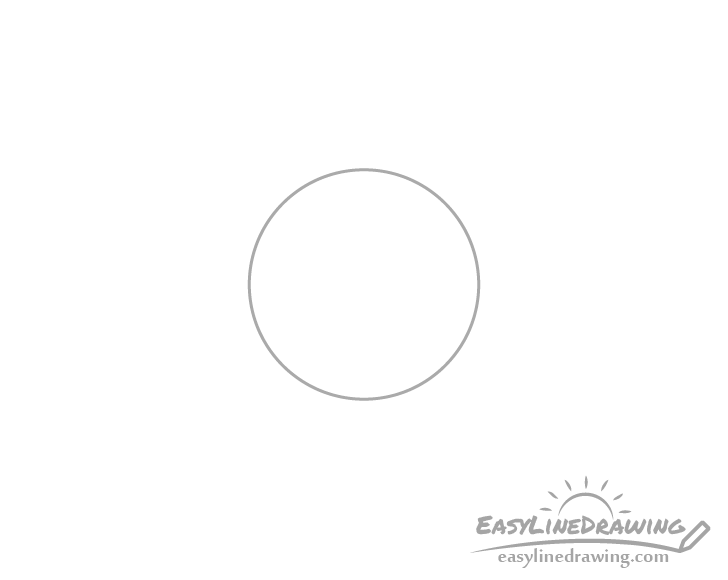
For this first step simply draw a light circle using a pencil.
Step 2 – Apply Color

Color the sun itself with paints colored pencils or markers. For the rays you can use either a pencil or pastels to create a smooth orange gradient that gets lighter as it goes away form the sun.
Step 3 – Add Gradient
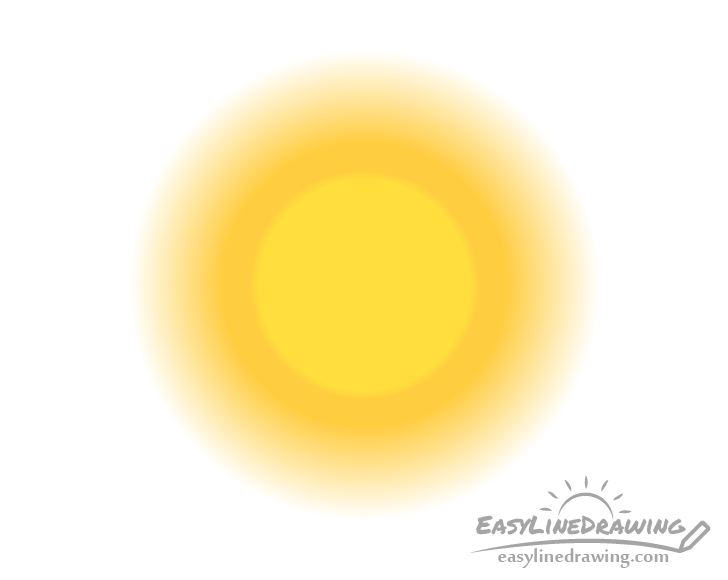
Add a smaller orange gradient going in the opposite direction and blends the outer edges of the sun into the rays.
You can leave the drawing at this stage and still have a nice and somewhat realistic looking sun or you can go on to the next step.
Step 4 – Finish the Sun Drawing
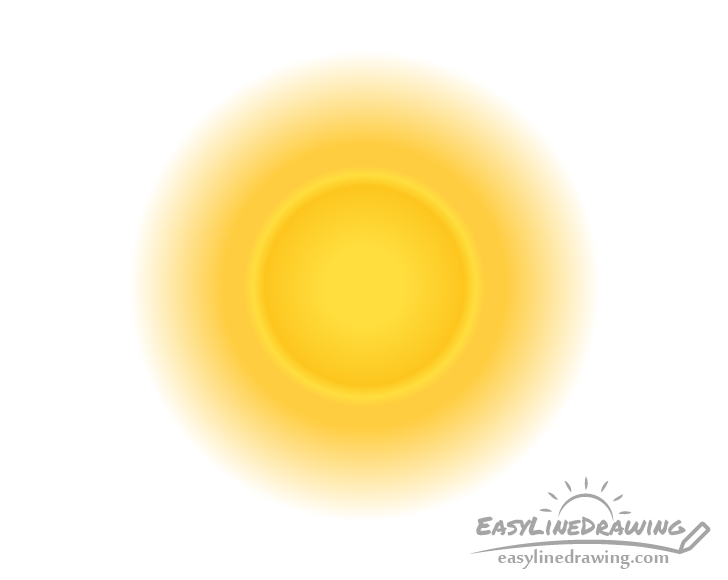
Same as the other examples use an orange pencil and create a gradient that leaves a yellow outline between the sun and the rays. The gradient should get darker as it moves away form this yellow outline and then again lighter as it moves towards the center of the sun.
Conclusion
These examples can help you draw the sun in four different styles. Hopefully you’ve found a style that you like.
For more similar tutorials also see the following:
- How to Draw a House Step by Step
- How to Draw a Tree Step by Step
- How to Draw a Cloud Step by Step
- How to Draw a Pine Tree Step by Step
- How to Draw a Palm Tree Step by Step
- How to Draw Shorts (8 Easy Steps)


