How to Draw Lipstick Step by Step
This tutorial shows how to draw lipstick in six steps. It provides simple illustrations as examples and gives some quick and easy to follow tips to go along with them.
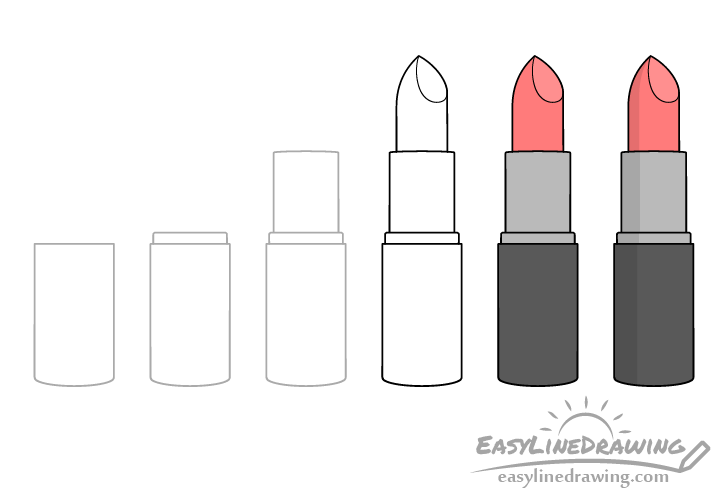
You can see a preview of the included drawing steps in the example above. In this case the lipstick container is drawn with no cap on it so that you can see the lipstick itself.
Start the tutorial in pencil and make light lines that are easy to erase in case you make a mistake. You can darken them later on with a black pen or marker.
Step 1 – Draw the Base of the Lipstick Container
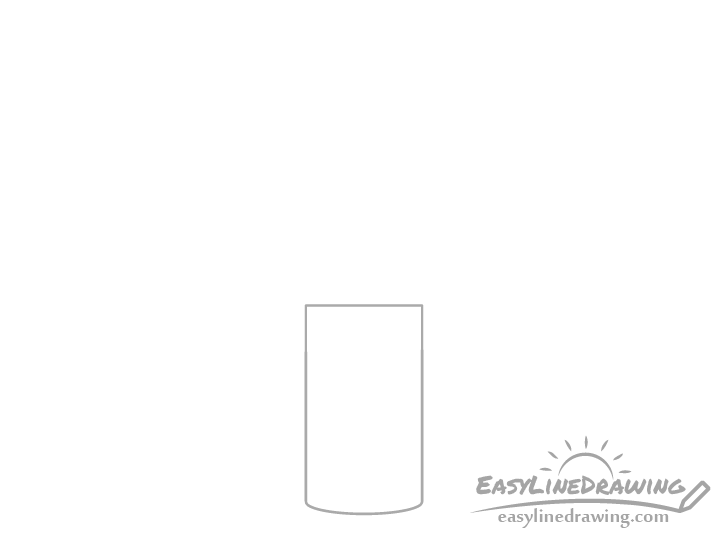
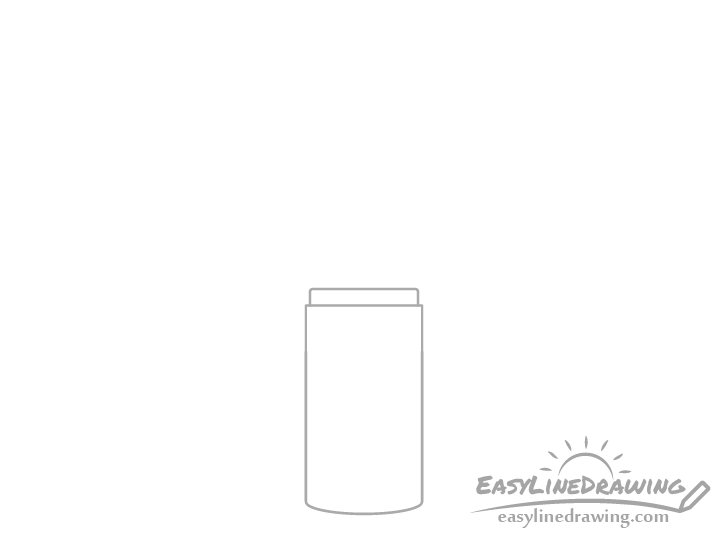
Begin by drawing the lower part of the base of the lipstick. Make it’s bottom rounded, give it straight sides and make the top flat.
Step 2 – Draw the Middle Section
On top of the lower part of the base add the narrow middle section. This is the part that the cap snaps onto. You can draw it as a small narrow rectangle with very lightly rounded corners on it’s upper end.
Step 3 – Draw the Top
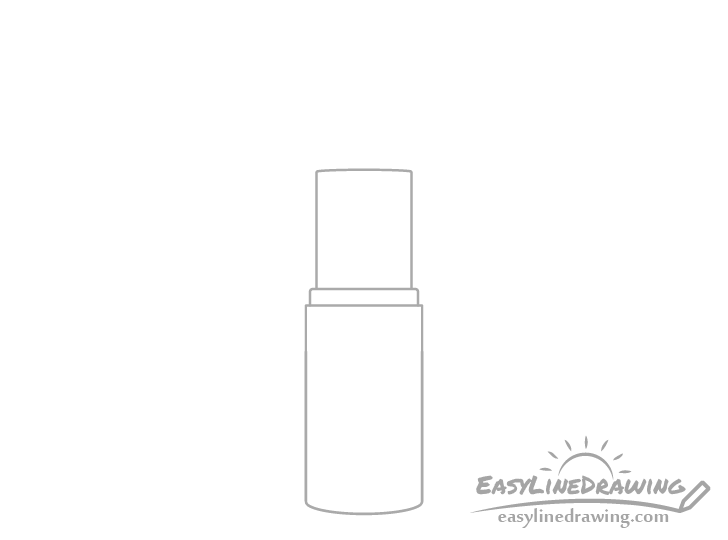
Finally, add the top portion of the base that the lipstick slides out of. Draw it’s sides with straight lines and give it a very slightly rounded top.
Step 4 – Draw the Lipstick & Finish the Line Drawing

Coming out of the tube draw the lipstick itself. You can draw it’s sides with straight lines that then curve inwards as they go up to create the lipstick’s pointy tip. Afterwards you can add the little flat section that brushes up against the lips when applying the lipstick (as shown in the example).
When you have everything outlined you can trace over your drawing with a black pen, marker or darker pencil lines. Just make sure that you are happy with the way things look before doing so.
For drawing lips that look like they have lipstick on them see:
Step 5 – Add Color
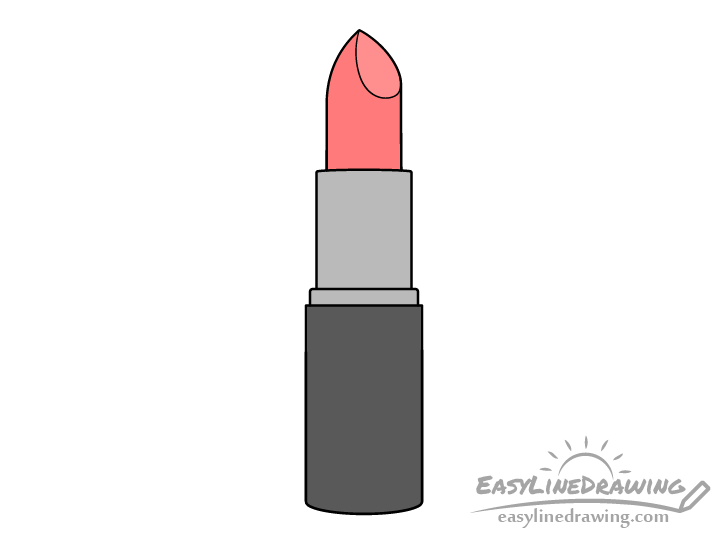
To color the lipstick you can use any medium you like (paints, markers, colored pencils, etc…).
In this example the lipstick itself is red with the little flat part near it’s top a slightly lighter red (closer to pink) to show that it’s reflecting some light. The the upper and mid sections of the base are grey. The bottom of the base is a very dark grey (you can alternatively just color this part black).
You can of course also use totally different combinations colors if you prefer. For example you can make the lipstick a different shade of red or something more unusual like blue.
Step 6 – Add Shading
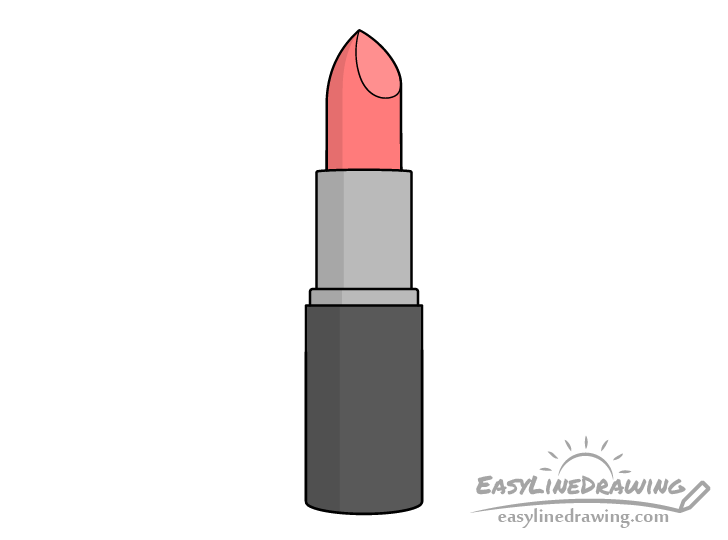
To make the drawing look a little less flat/more interesting you can give the lipstick some very simple shading. Add this along one side of each of it’s sections as shown in the example. An easy way to add it is to by just using a regular pencil. If you made the bottom of the base black then you don’t need to add a shadow to that part.
Conclusion
This tutorial shows how to draw a fairly generic looking tube of lipstick that is not particularly complex. As shown in the examples, an easy way to do this is to build it up from the bottom the bottom one part at a time. Hopefully you haven’t had much trouble following with the steps.
For more similar tutorials also see the following:
- How to Draw a Mirror Step by Step
- How to Draw Glasses Step by Step
- How to Draw Earrings Step by Step