How to Draw Lips Step by Step
This tutorial shows and easy way to draw lips in four steps. It includes line drawing and coloring examples along with quick explanations for every step.
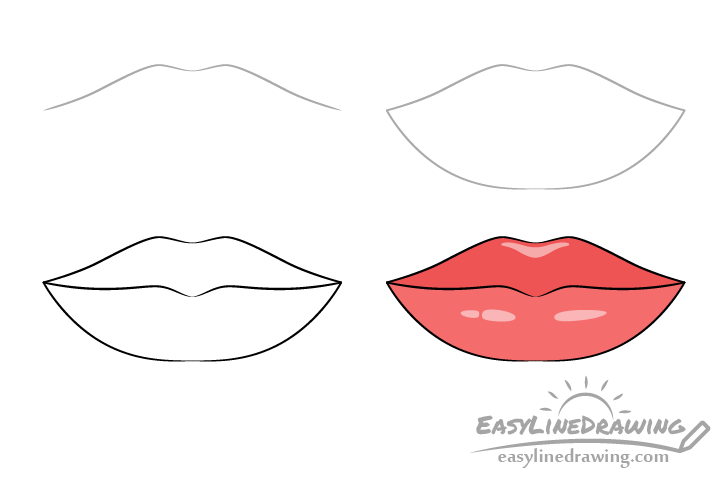
You can see a preview of the drawing steps for the lips in the example above.
The tutorial is very simple as it does not include too many small details or complex shading. You should still however start it in pencil in case you want to tweak something or make a mistake. Also be sure to make light lines that wont’ leave marks when you erase them. You can darken them later on with a black pen or marker.
Step 1 – Outline the Upper Part of the Lips

Begin by drawing the upper part of the lips. This will usually look a bit like the a flattened letter “M”.
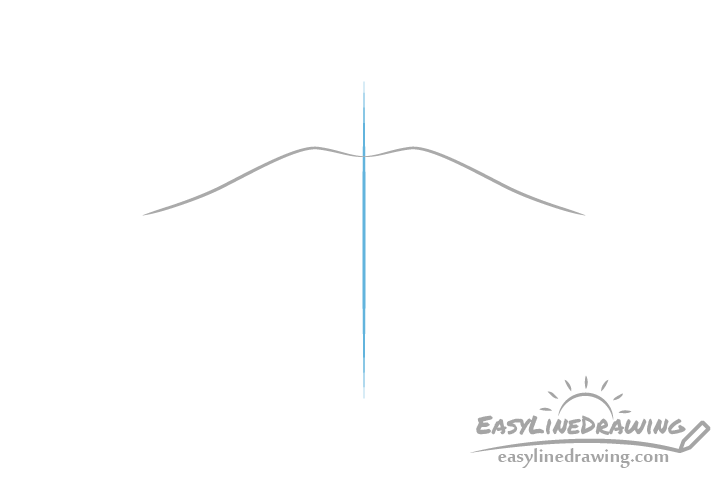
You can also optionally draw a horizontal line (shown in blue in the example) down the middle of this shape. This line can make it easier to see if both sides of the lips are even in width.
Step 2 – Outline the Lower Part
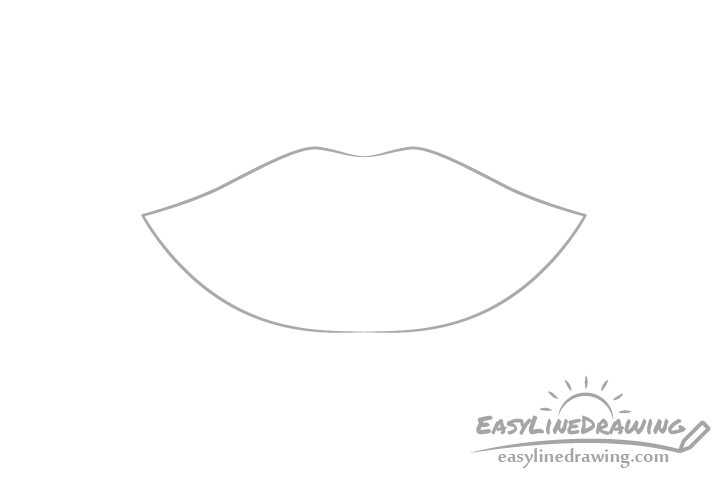
Add the bottom part of the lips as shown in the example. You can draw this area with a pair of curves that join up in the middle.
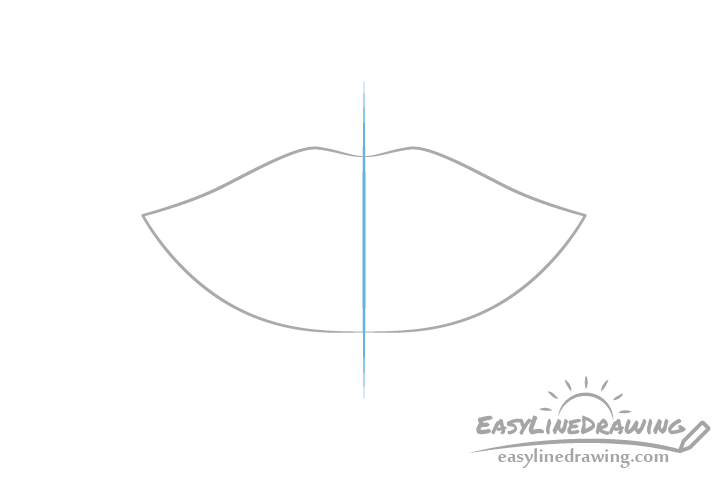
The center line can again be helpful here.
Step 3 – Finish the Line Drawing
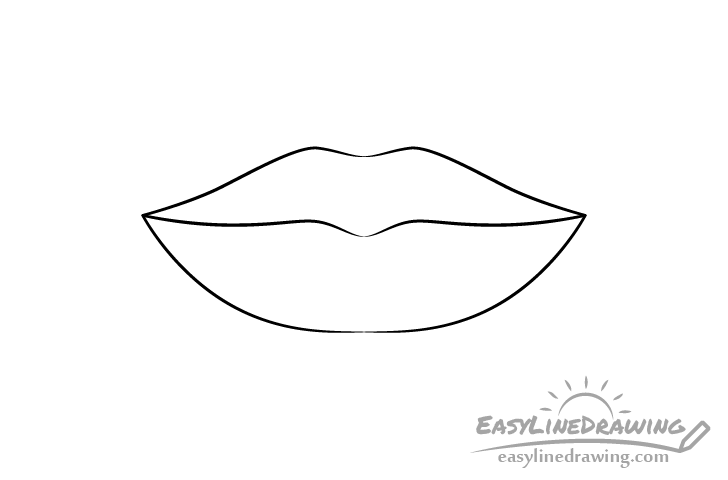
Finally add the split between the top and bottom lip. Draw this area with smooth curves on each side and a little “dip” in the middle. If you chose to draw a center line you can erase it after adding this part of the lips.
Next go over your drawing with a black pen or maker (as was mentioned at the start). You alternatively simply darken your lines with the pencil.
Step 4 – Color the Lips
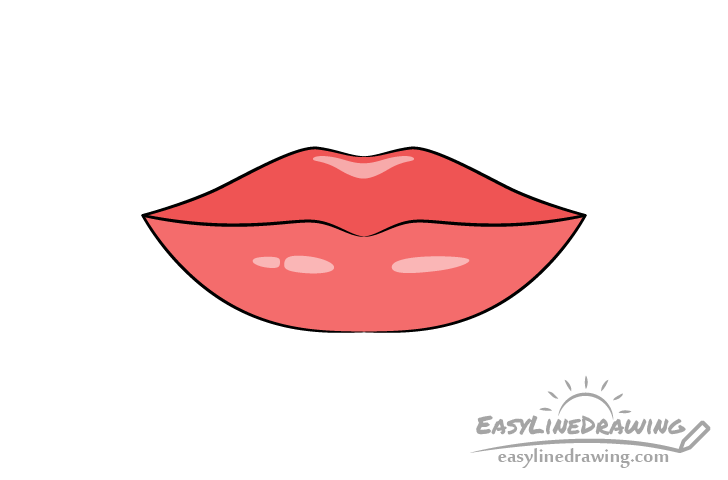
When coloring make the upper lip a slightly darker red and the bottom lips slightly lighter (more pink). To show that the lips are wet and reflective also leave a few areas for the highlight.
While the position and shape of the highlights can vary generally the highlight on the upper lip tends to be around the cupid’s bow (the upper dip in the top lip). The highlight/highlights on the lower lip tend to be around the middle. In this case there will be two of them (one for each side) with one also having a bit of a break in it. The little break is to create a hint of a wrinkle without actually drawing one, lips tend to have these in random places.
Outline the highlights before coloring to make sure you don’t accidentally go over those areas. Either make very light outlines with a regular pencil or use a red one. The goal is to have the outlines blend into the color so that you don’t need to erase them.
Once you color the lips yo u can also lightly go over the highlights with red as well so that they don’t stand out too much. Once you do that you should pretty much be finished with the lips drawing.
Conclusion
It’s quite easy to draw beautiful lips even without adding the small detail or complex shading. All you need to do is to create a nice symmetrical looking line drawing and add some basic color along with a couple of highlights.
If you’ve like this tutorial and found it helpful you may also want to try the following:
- How to Draw a Girl Step by Step
- How to Draw Eye Expressions Step by Step
- How to Draw an Ear Step by Step (Easy)
- How to Draw a Smiling Face Emoji Step by Step
- How to Draw a Magic Staff Step by Step
- How to Draw Lipstick Step by Step
- How to Draw a Mirror Step by Step


