How to Draw an Axe Step by Step
This tutorial shows how to draw an axe in six steps. It provides simple line drawing and coloring examples along with easy to follow instructions.
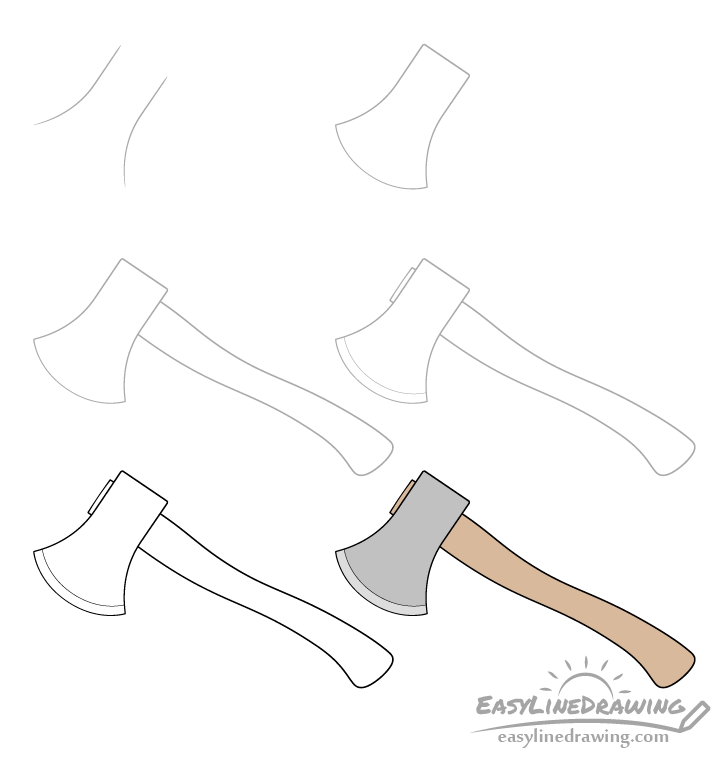
The example is of a fairly common axe (the kind that can be used for chopping wood). You can see a preview of the different drawing stages for it in the picture above.
While the tutorial is quite easy you should still start it in pencil and make light easy to erase lines in case you make a mistake. You can darken them later on with a black pen or marker.
Step 1 – Draw the Sides of the Axe Head
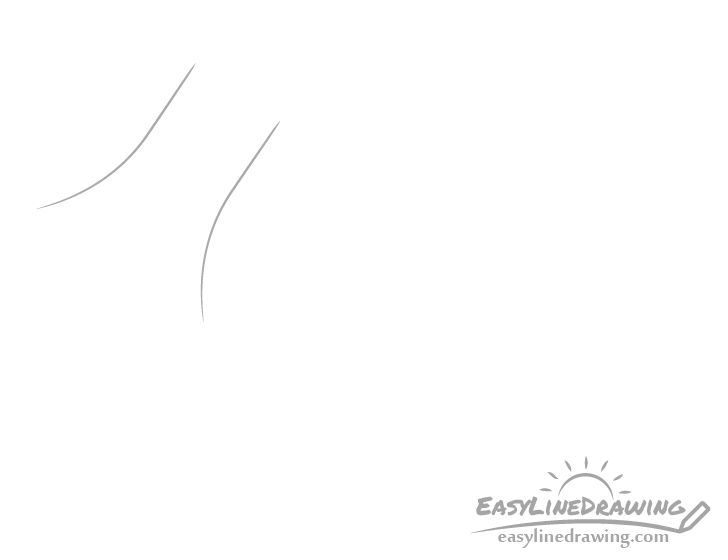
Begin the drawing with the sides of the axe head. In this case they will be symmetrical so you will want one to mirror the other as close as possible.

In order to make this easier you can (optionally) draw a line that sets the middle of the axe head. This can make it easier to see if the two axe head sides are mirrored.
Step 2- Finish Drawing the Axe Head
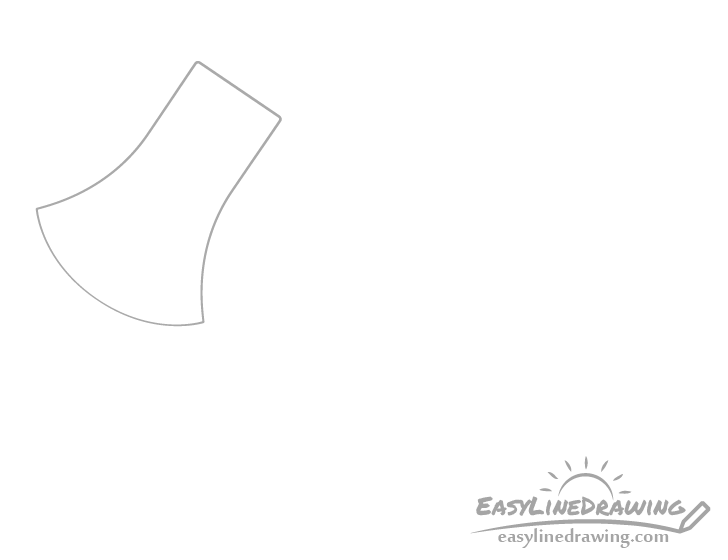
Next connect the two sides with a smooth curve at the bottom and a straight line with slightly rounded corners at the top to finish the outline drawing.
Step 3 – Draw the Handle
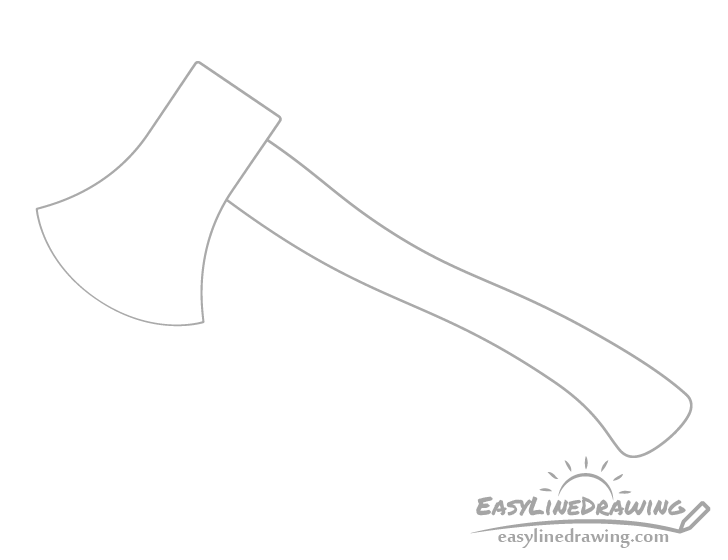
Coming out of the back of the axe head add the handle. Draw it’s overall shape like a wave where it curves in one direction and then in the other with a smooth transition.
Also make the handle thicker at it’s base (near the head), narrower in the middle and then again thicker towards the back with bit of a knob at the very end.
Step 4 – Draw the Eye
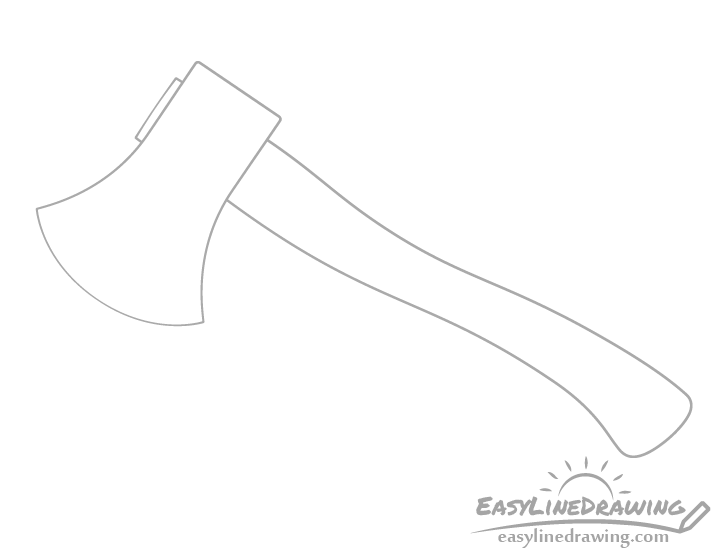
Coming out of the front of the axe head draw the “eye”. This is the same shaft of wood as the handle that the axe head sits on slightly sticking out in the front.
Step 5 – Draw the Blade & Finish the Line Drawing
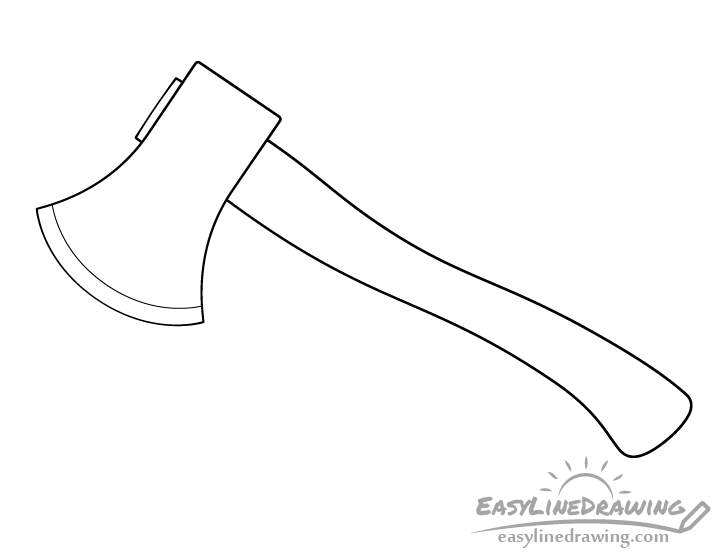
Finish the line drawing by first adding the blade of the axe. To show it simply make another line that follows the bottom curve of the axe head with a bit of distance between the two.
Afterwards trace over your lines with a black pen/marker or simply darken them by pressing harder on the pencil.
Step 6 – Color the Axe
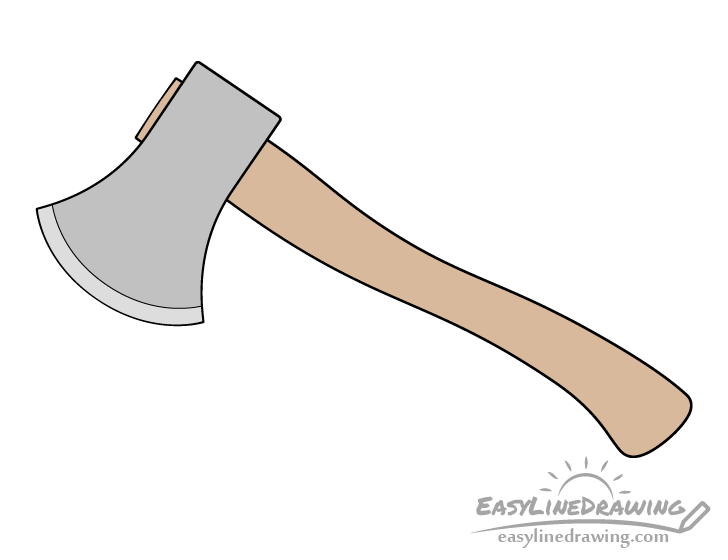
To color the axe you can use whatever medium you prefer (or some mix of them) such as paints, markers or colored pencils.
Make the axe head grey with the blade a lighter grey (so that they look like metal) and the handle a light yellow brown (so that it looks like wood).
To get the yellow/brown you can either mix the appropriate paints or lightly shade the handle with a brown pencils and then go over it again with a yellow one.
Once done coloring you should have a finished drawing of the axe.
Conclusion
This tutorial shows how to draw a fairly common looking axe that is not very complicated. You can of course also tweak it’s design or even further simplify it if you want to make it even easier to draw.
Hopefully you’ve liked this tutorial. For more similar drawing guides also see:
- How to Draw a Log Step by Step
- How to Draw a Hammer Step by Step
- How to Draw a Wrench Step by Step
- How to Draw a Shovel Step by Step
- How to Draw a Tree Step by Step
- How to Draw a Club Step by Step


