How to Draw a Watermelon Slice Step by Step
This short and easy tutorial shows how to draw a watermelon slice in four steps. It provides illustrated example along with drawing and coloring tips.
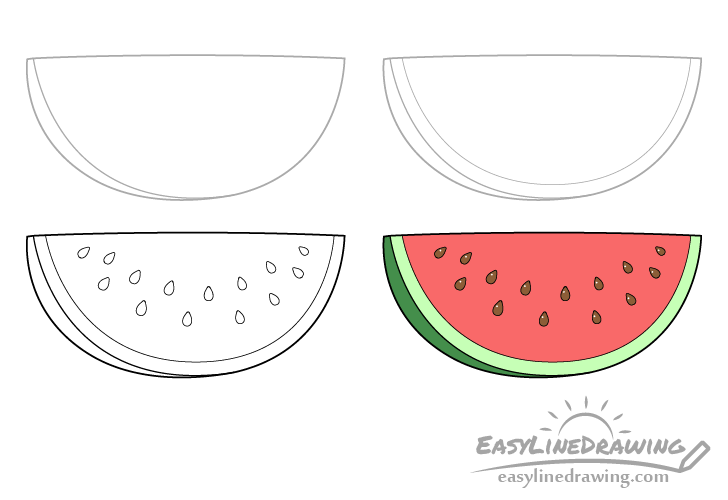
A preview of the four steps of the tutorial is shown above. The goal is to help you draw a simple but nice looking watermelon slice in 3/4 view.
It’s recommended that you begin in pencil and make light lines that are easy to erase in case you make a mistake. You can darken them in step three before coloring.
Step 1 – Draw the Outline of the Slice
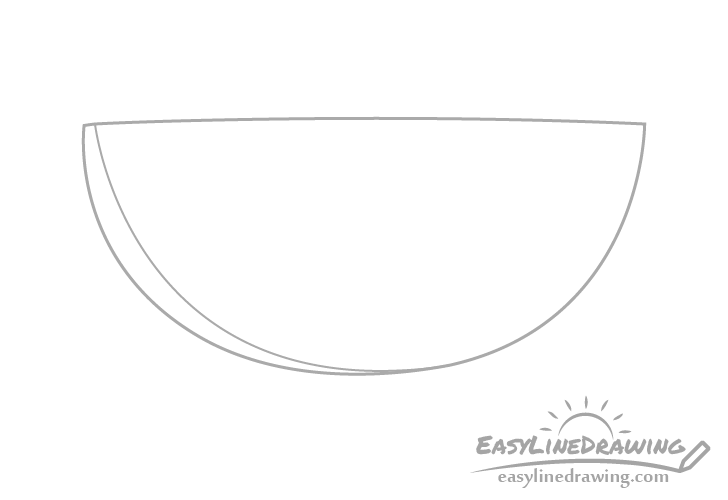
First make an outline of the overall shape of the watermelon slice. This should be similar to a half oval.
As the drawing is in 3/4 view one side of the outer skin will also be visible. You can show this by making a curved line to one side of the main outline (as in the example above).
Step 2 – Draw the Rind
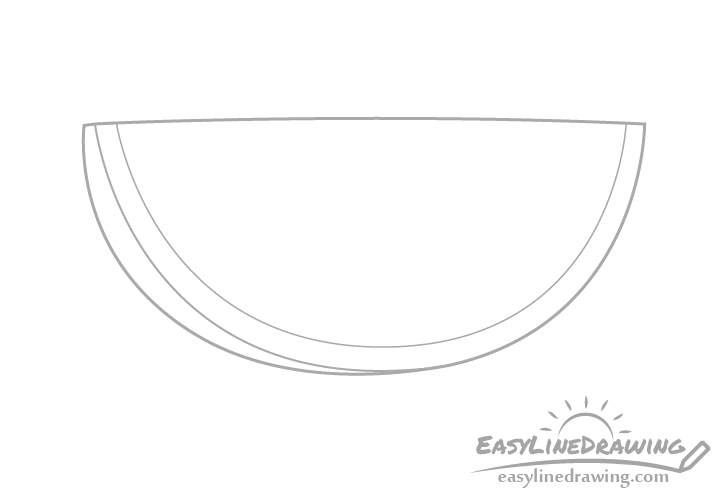
For this really simple step add the rind by making a line that pretty much follows the outer shape of the slice. Just be careful not to draw it too thick or too thin. Otherwise the watermelon slice can look odd.
Step 3 – Draw the Seeds & Finish the Line Drawing
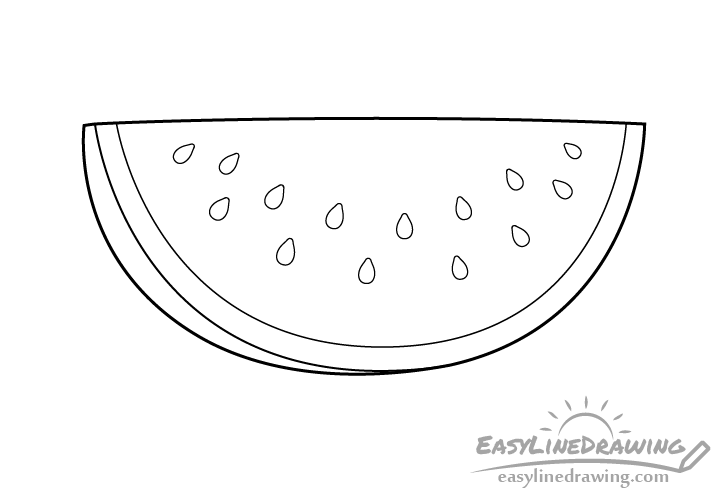
Add the seeds in a way where all of them combined form a curve and where their tips point roughly towards the center of the slice. Position them in between the rind and the upper/middle of the pulp.
Once you have all of the seeds outlined you can trace over your drawing with either darker pencil lines or a black pen/marker.
Step 4 – Color the Watermelon Slice
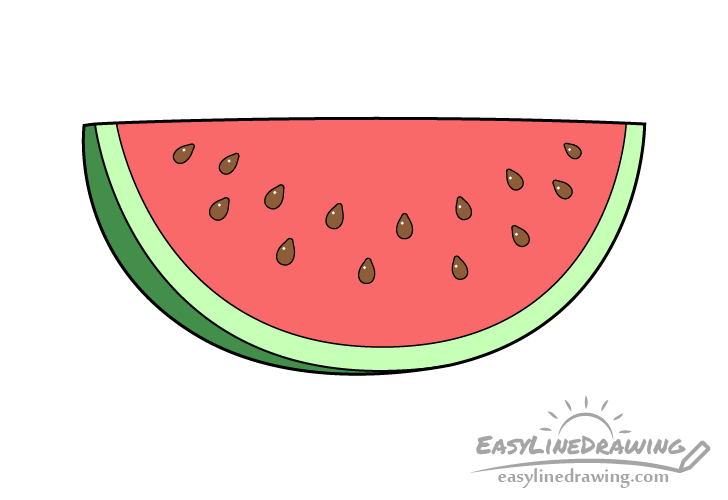
Color the watermelon slice by making the pulp red, the rind a light yellow/green, the outer skin a dark green and the seeds a dark brown. Inside of each seed leave a tiny white area for the reflection/highlight. This will make them look wet and shiny as watermelon seeds tend to be.
You can use paints, markers or colored pencils for the actual coloring process. If you want bright colors similar to the example then you may want to use markers or gouache paints.
If coloring with opaque (non-transparent) paints you can fully color the seeds brown, wait for that paint to dry and then add the little reflections with white paint over top.
Alternatively to all of the above methods you can also add the reflections with a white correction pen (after coloring). If you happen to have one.
Conclusion
A watermelon is not too difficult to draw as it has a fairly simple shape with just a little bit of detail (the seeds). It can also look very nice once done, especially if you give it some bright colors as in the example.
For other similar tutorial also see:
- How to Draw an Orange Slice Step by Step
- How to Draw a Strawberry Step by Step
- How to Draw a Pear Step by Step
- How to Draw an Apple Step by Step
- How to Draw a Doughnut Step by Step
- How to Draw a Glass of Water Step by Step


