How to Draw a Tennis Racket Step by Step
This tutorial shows how to draw a tennis racket in eight. It provides simple and easy to follow examples and along with quick tips.
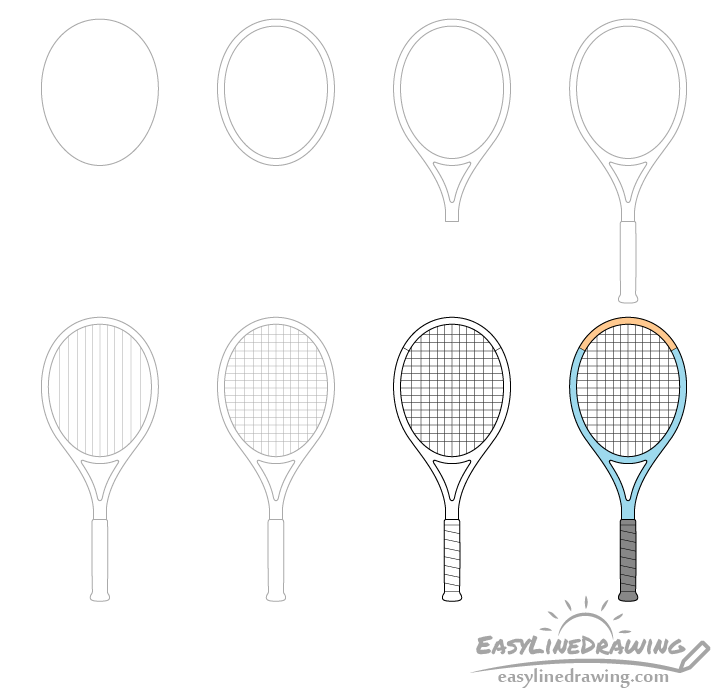
The racket in the example has a fairly simple and standard design. You can see a preview of it (along with the drawing stages) in the example above.
Start the tutorial in pencil and make light lines as you will need to erase a little bit of the drawing in one of the steps. You can trace over it with a black pen or marker later on.
Step 1 – Draw the Outline of the Racket’s Head
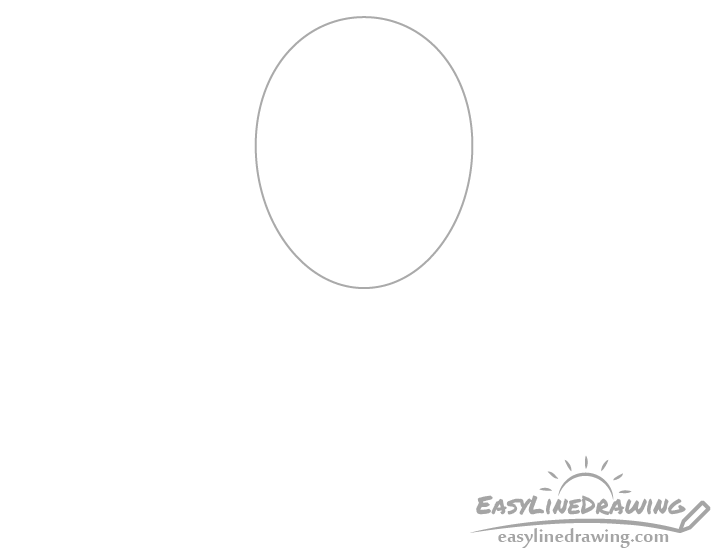
Star by outlining the shape of the head of the racket. This should be somewhat similar to an egg where it has a slightly pointier tip on one end (facing down) and a slightly rounder/flatter one on the other (facing upwards).
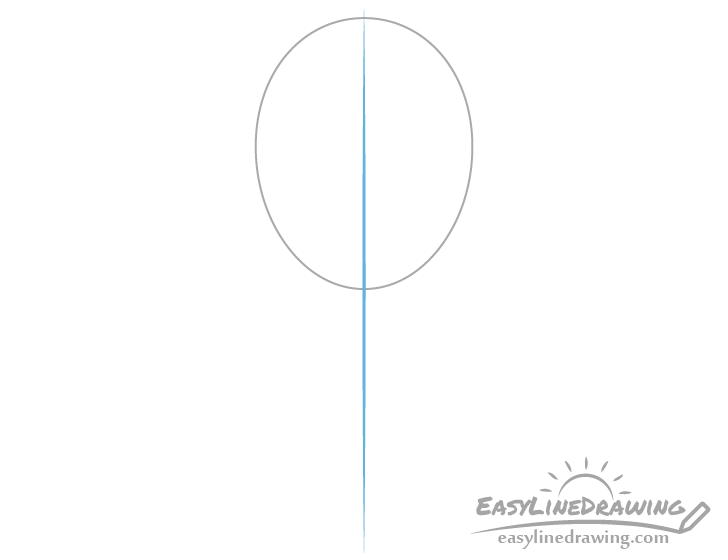
You may also optionally want to draw a straight vertical line through the middle of your page or drawing area to act as a guide. This can make it easier to see if both halves of the racket are even in width and can also help you keep it’s overall shape straight when adding the other parts in later steps.
If you would like to use the center line you can keep it until step five of the tutorial.
Step 2 – Draw the Rim of the Head
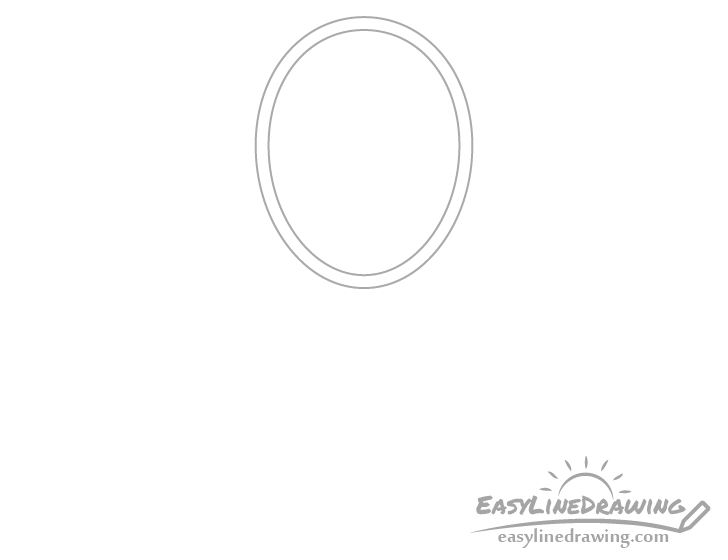
Inside the outline draw a second similar shape to create the rim of the head. Try and keep it’s width consistent throughout.
Step 3 – Draw the Neck
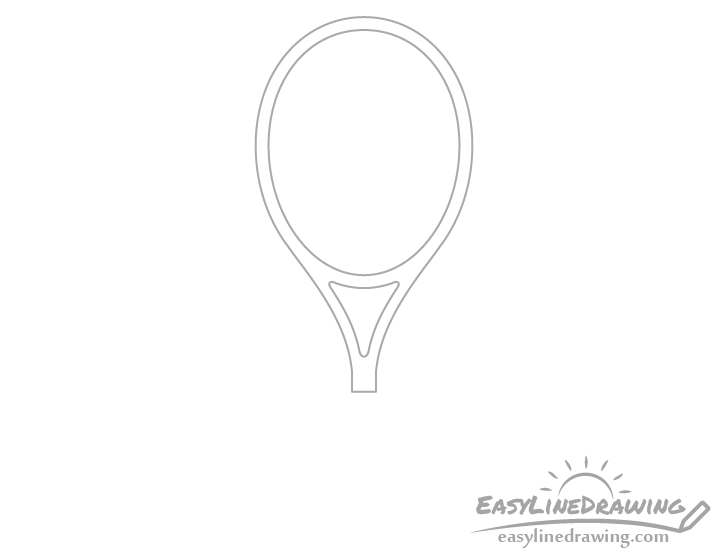
Going down from the head add the neck. This should consist of two sides that come together as they go down. You can erase a little bit of the outline from step one after adding it.
Step 4 – Draw the Handle

After the neck add the handle. You can make it’s sides very slightly curved and give it a thicker part at the bottom that helps prevent it from slipping out of the hand.
Step 5 – Draw the Vertical Strings
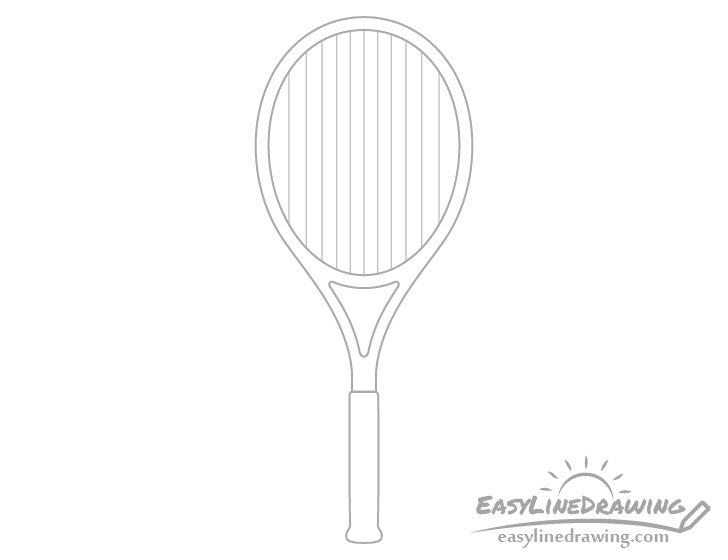
With the frame of the racket outlined you can begin adding the strings. Start with the vertical ones and try and space them in a way where they are closer together near the center and farther apart as they go out to the sides. If you find it difficult to make the straight lines for these you can use a ruler to help you.
If you chose to add the center guide line in step one at this point you can use part of if as the center string and erase the rest.
Step 6 – Draw the Horizontal Strings
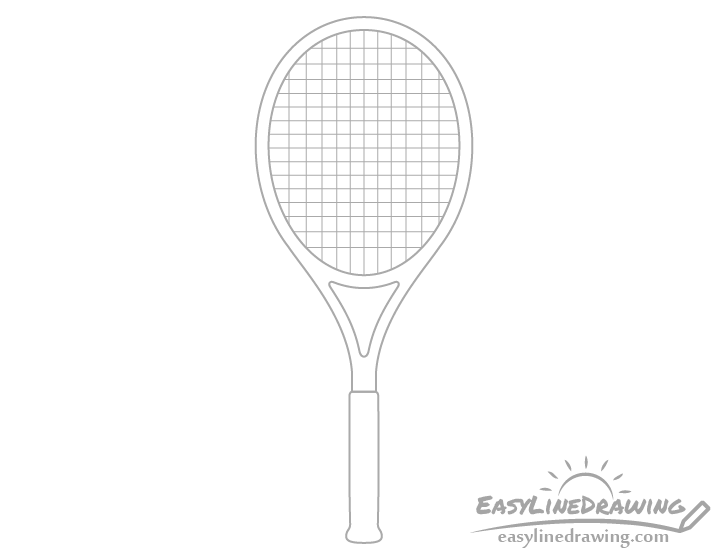
Overlapping the vertical strings add the horizontal ones. Again, try and space these closer together near the center and further apart as they go up and down.
Step 7 – Draw the Small Details & Finish the Line Drawing
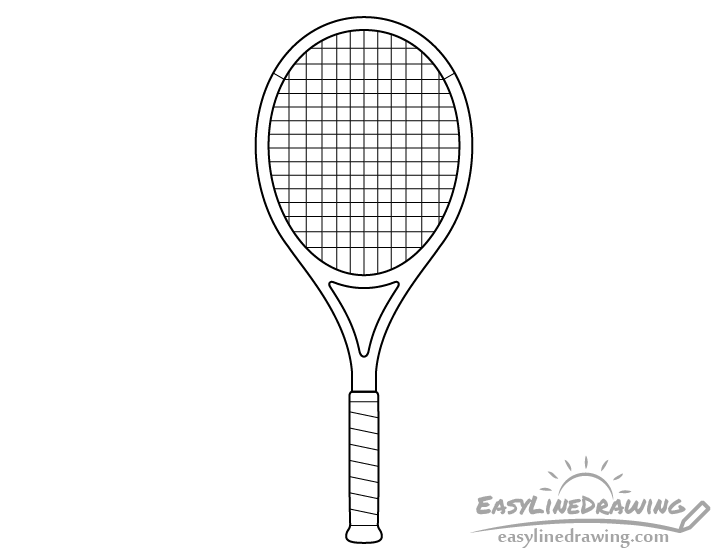
To finish the line drawing you can first give the racket a few more details. These will be the wrapping on the handle and a few lines along the rim.
To create the wrapping you can first draw two horizontal lines near the top and bottom of the handle and then a set of slightly angled lines that run between them. You can then add the two little lines near the top of the rim to create a section that will have a different color.
Once done with the above you can trace over your drawing with a black pen, marker or darker pencil lines.
Step 8 – Color the Tennis Tracket
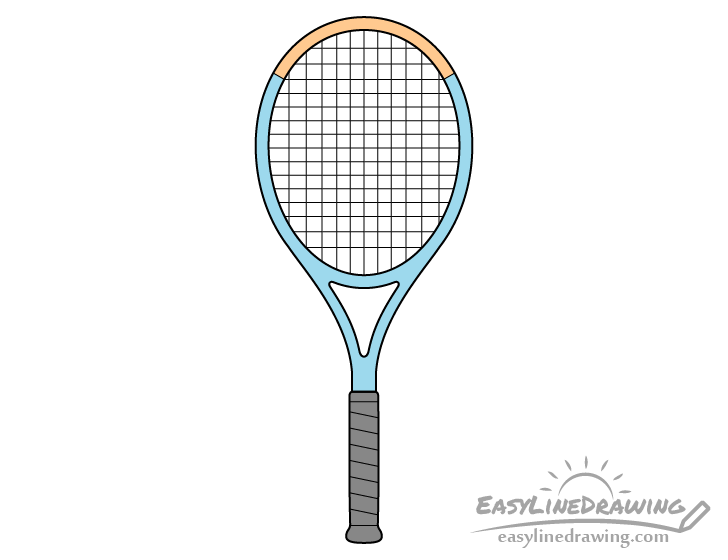
To color the tennis racket both colored pencils and markers can be good options. In this case it’s main body will be blue with the smaller part at the top orange. The handle will be a dark grey.
While the blue and orange go well together you can also use a different set of colors if you prefer.
Conclusion
The tennis racket shown in this tutorial has a fairly standard design with just enough detail to show all of the most important parts of such an item. Hopefully you’ve found the step by step breakdown of the drawing process helpful and easy to follow.
For more similar tutorials also check the following:
- How to Draw a Hockey Stick Step by Step
- How to Draw a Baseball Bat Step by Step
- How to Draw a Baseball Cap Step by Step