How to Draw a Shovel Step by Step
This tutorial shows how to draw a simple shovel in six steps. It provides easy to follow examples along with quick and simple instructions.
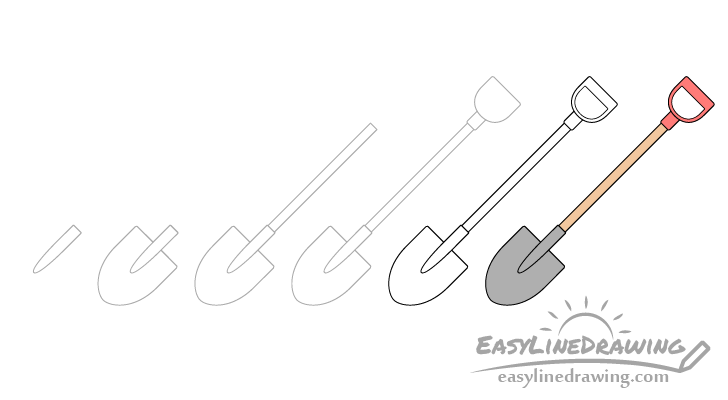
The shovel used as the example is a fairly common one that is generally used for digging. You can see the drawing stages for it in the preview image above.
Start the tutorial in pencil and make light lines that are easy to erase in case you need to make a correction. You can darken them later on with a black pen or marker.
Step 1 – Draw the Collar of the Shovel
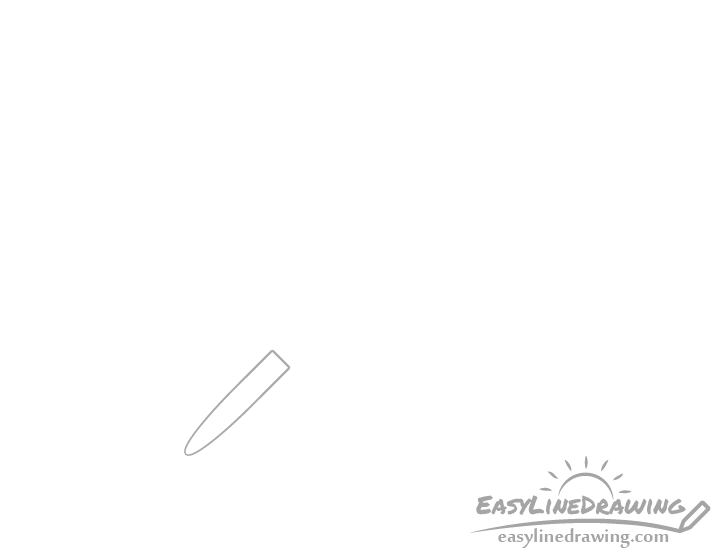
Begin by outlining the collar (also called the socket). This is the part that attaches the blade of the shovel to the shaft. Make it pointier towards the bottom with a rounded tip and make it’s top flat.
Also be sure that you position it in such a way on the page/drawing area that you still have plenty of room above for the shaft and handle.
Step 2 – Draw the Blade
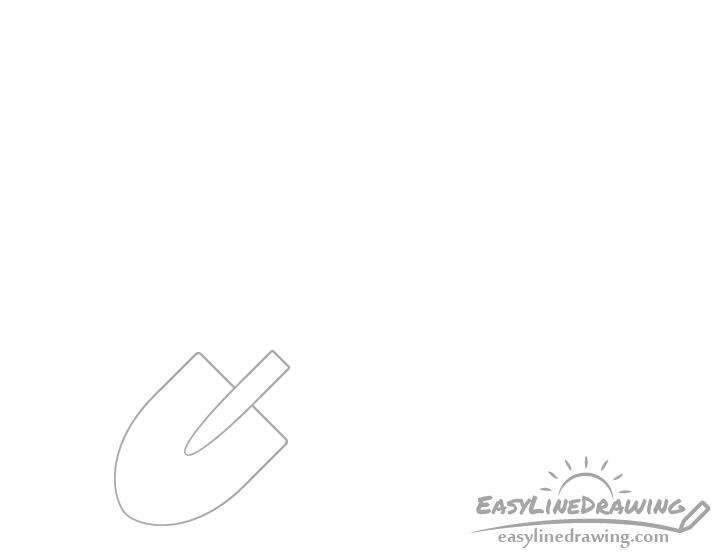
Around the collar draw the blade of the shovel. Similar to the collar make it’s bottom rounded and make the two sides at the top flat.
Step 3 – Draw the Shaft
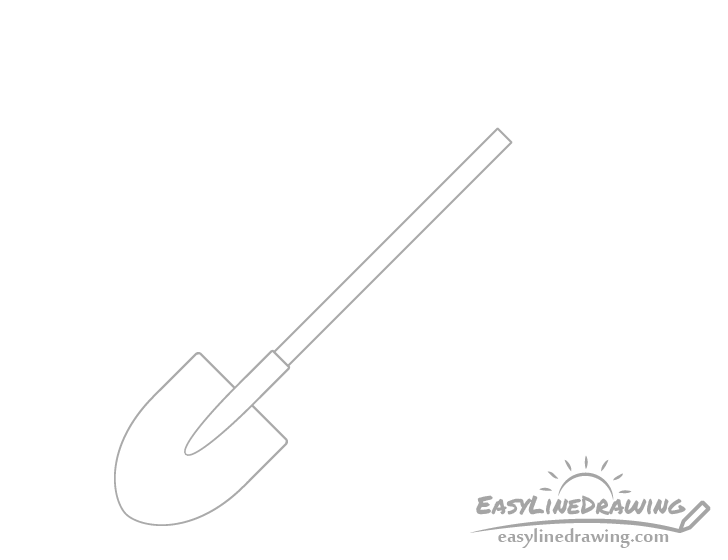
Coming out of the collar add the shaft. Make it’s width slightly narrower than that of the collar.
Step 4 – Outline the Handle
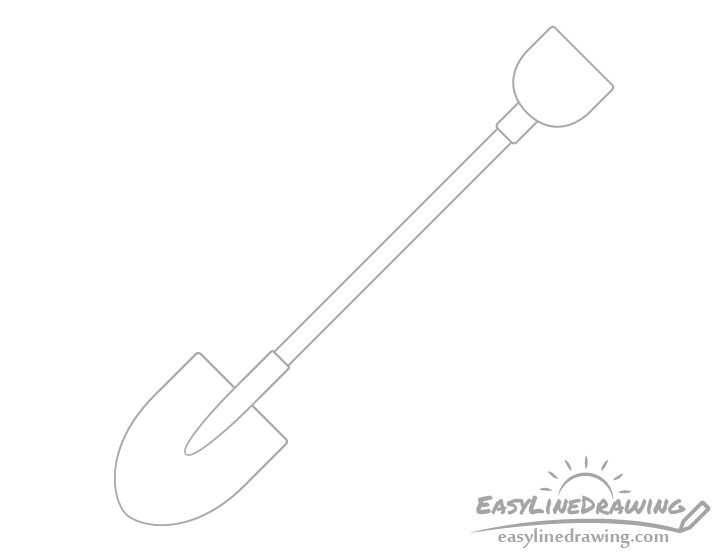
At the top of the shaft add the handle. Give it a little collar at the bottom as well followed by a rounded part and a flat top.
Step 5 – Add the Inner Part of the Handle & Finish the Line Drawing
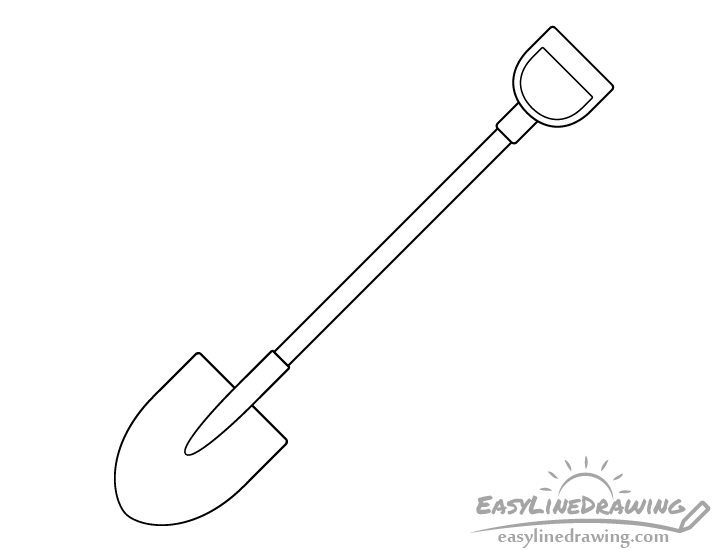
Outline the inner area of the handle as shown in the above examples. Draw this in a way where it creates a thicker handle at the top with a narrower bottom and sides.
After adding this last little bit confirm that your drawing looks good and trace over it with a black pen or marker. If you don’t have one of those around simple darken your lines with the pencil.
Step 6 – Color the Shovel
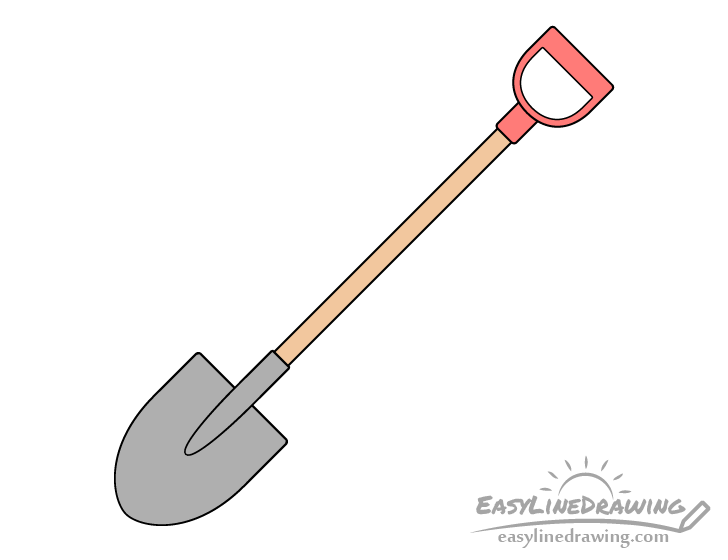
To color the shovel you can use any medium you like (colored pencils, markers, paints, etc…).
Make the blade and collar a medium grey (not too light or dark). Make the shaft a yellow/brown and make the handle any color you like. In this case it will be red, which is fairly common for shovels of this type.
Once done coloring you should be finished with the drawing.
Conclusion
This tutorial shows how to create a drawing of a common shovel (used for digging). Generally these are comprised of fairly simple shapes and drawing one should not be too difficult. If you find making the long straight lines for the shaft a bit of a challenge you can use a ruler to help you. However, if you want to practice it’s better to try and do the entire drawing by hand.
Hopefully you’ve found this tutorial helpful. For drawing other types of tools also see:
- How to Draw a Mining Pick Step by Step
- How to Draw a Wrench Step by Step
- How to Draw an Axe Step by Step
- How to Draw a Screwdriver Step by Step
- How to Draw a Nail Step by Step


