How to Draw a Penguin Step by Step
This tutorial shows how to draw a cute cartoon penguin in eight steps. It provides easy to follow drawing examples along with quick tips.
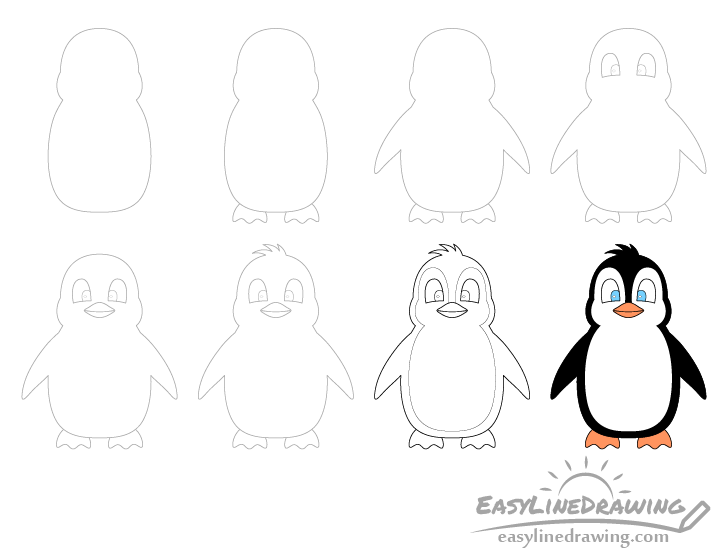
You can see a preview of all of the drawing stages that are used as the examples in the image above. As already mentioned the goal is to help you draw a cute looking cartoon penguin. The tutorial is not to complicated and should be easy enough even if you are fairly new to drawing.
You will need to erase a some of your lines in step three so start the drawing in pencil and keep them light. Using a pencil will also make it easy to correct any potential mistakes. You can use a black pen or marker to trace over your drawing later on.
Step 1 – Outline the Penguin’s Head & Body
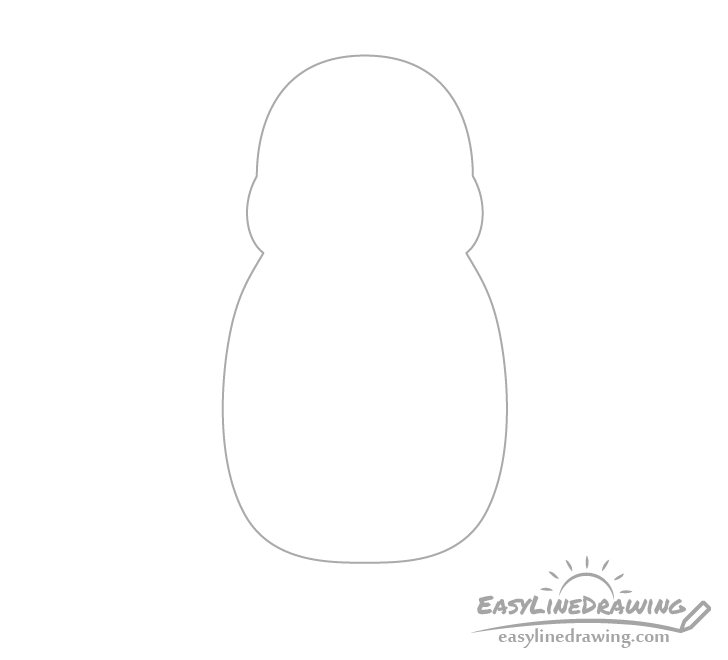
Begin the drawing with an outline of the penguin’s head and body. Be sure to leave some room above the head for the “fluff” and a bit of room below the body for the feet.
Draw the top portions of the head as one big curve with smaller curves lower down to each of it’s sides for the cheeks.
Draw the sides of the body with two smooth curves and give it a somewhat flattened looking bottom.
Step 2 – Draw the Feet
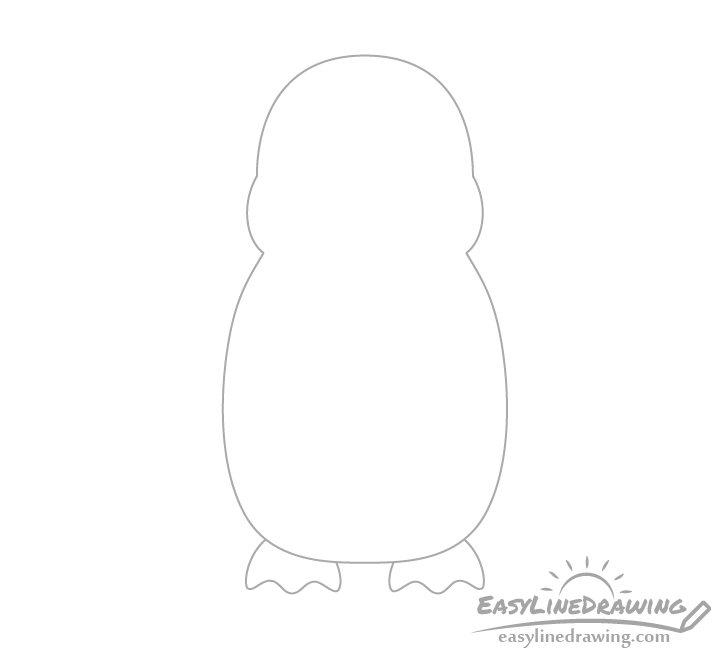
Coming out from underneath the body add the feet. Give each one three toes with smooth curves in between them to show that they are webbed (as penguin feet are).
Step 3 – Draw the Flippers
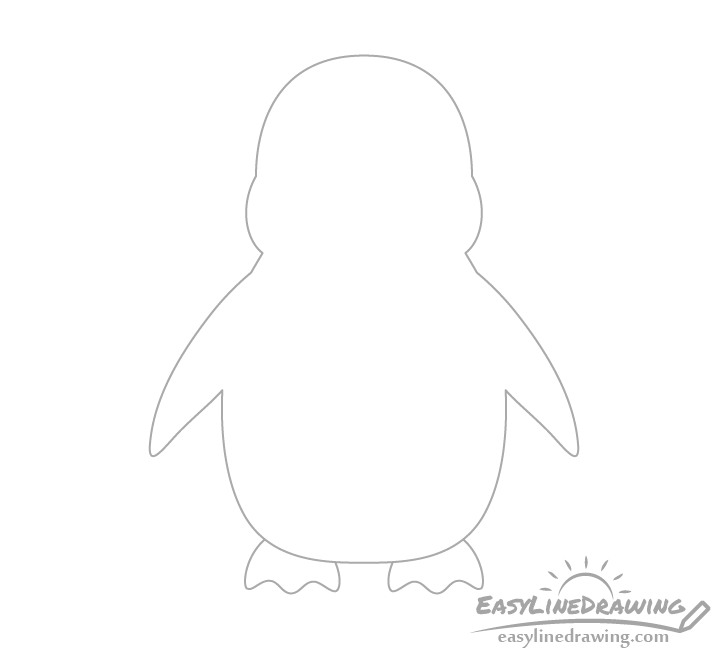
At the sides of the body just slightly below the head/cheeks add the flippers. Make each one wider near it’s base and narrower as it goes out. You can also draw each one with a bit of a downwards curve to it’s shape.
Once done erase the the parts of the body’s outline where you added them in.
Step 4 – Draw the Eyes
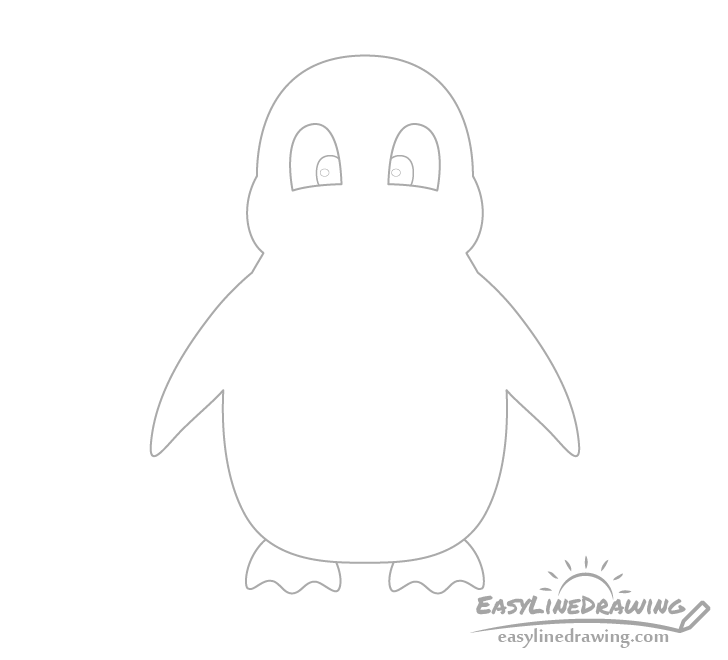
Draw each eye shaped similar to an upside down letter “U”. Touching the inner corners of the eyes drawn another set of similar shapes for the pupils.
Inside the pupils draw a small pair of ovals for the highlights/reflection.
Step 5 – Draw the Beak
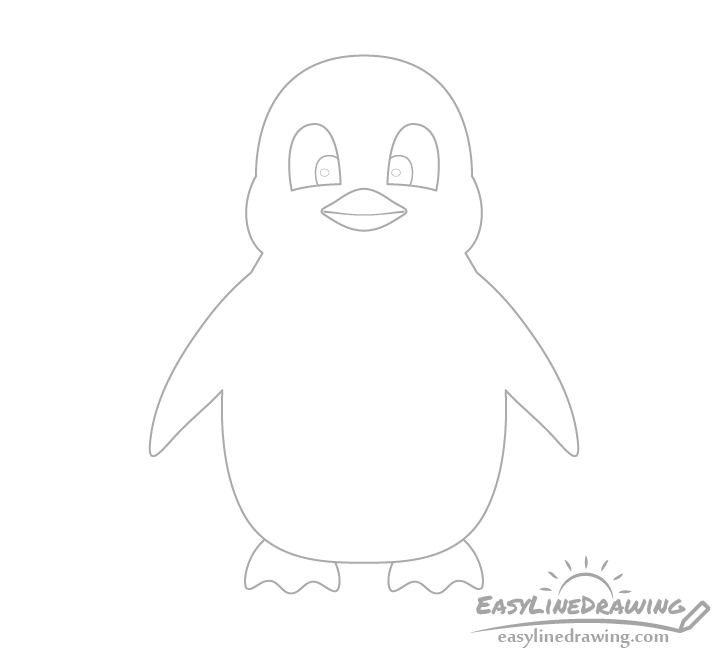
Just a tiny bit below the eyes draw the beak. Make it’s shape a bit like a flattened lemon. Inside it draw the mouth as a slightly curved line.
Step 6 – Draw a Fluff of Feathers on the Head
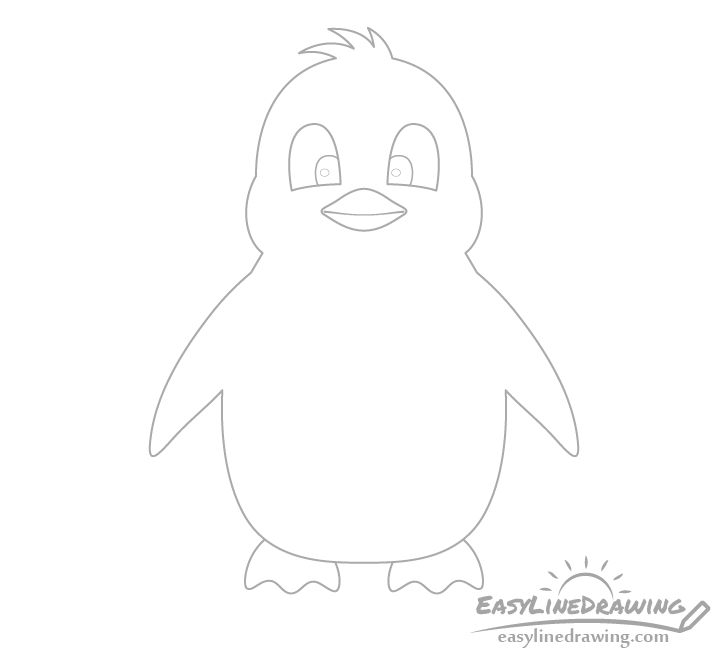
To make the penguin look slightly more interesting add a small fluff of feathers to the top of it’s head.
Step 7 – Finish the Line Drawing
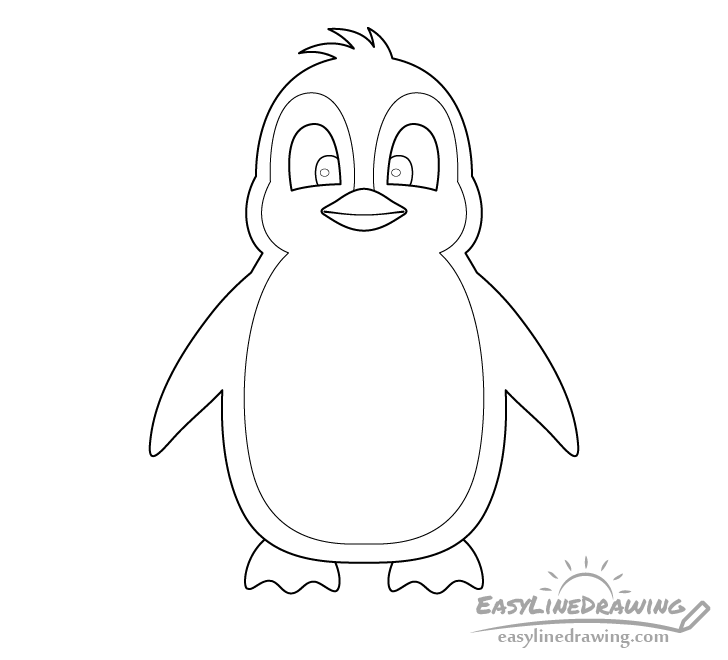
To finish the line drawing outline the penguins feather pattern. It should start from the top of the beak, then wrap around the eyes and cheeks and afterwards follow the curve of the body.
Once you have all of the parts of the penguin outlined you can trace over your drawing with a black pen, marker or darker pencil lines.
Step 8 – Color the Penguin
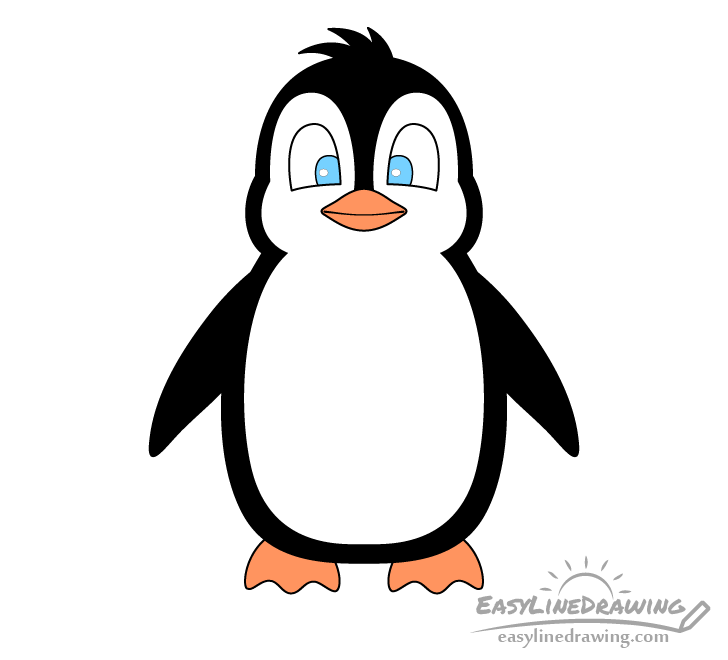
If you would like your drawing to have bright colors similar to the penguin in the example markers can be a good option to go with, however, you can also use paints or colored pencils if you prefer.
Make the outer shape of the body, the flippers and the little bit of fluff on top of the head black. Color the beak and feet orange and the eyes a light blue (leave the reflections outlined earlier white).
Once done coloring you should be finished with the tutorial.
Conclusion
Making a cute cartoon drawing of a penguin similar to the one in the example is not too difficult. If you’ve been following along with the steps hopefully your happy with the way yours turned out.
If you would like to try more similar tutorials also see the following:
- How to Draw an Owl Step by Step
- How to Draw a Bird Step by Step
- How to Draw a Dolphin Step by Step
- How to Draw a Toucan Step by Step
- How to Draw a Goldfish Step by Step