How to Draw a Peanut Step by Step
This tutorial shows a very easy way to draw a peanut. It includes a total of four steps with simple illustrated example and quick drawing instructions.
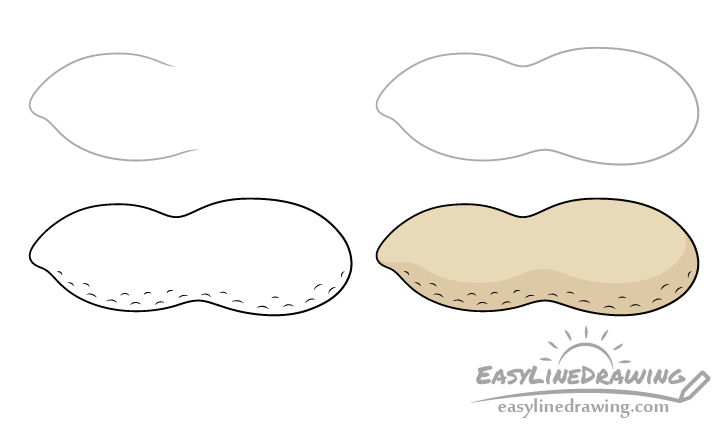
You can see the drawing stages for the peanut in the preview picture above. The examples are very simple but at the same time can help you create a drawing that still looks like a peanut.
The tutorial can be great if you are a beginner or are just looking to draw something really simple for fun. You should start the drawing in pencil and make light, easy to erase lines just in case you make a mistake. You may also want to have a black pen/marker to trace over them later on.
For drawing other types of nuts also see:
Step 1 – Draw the First Half of the Peanut
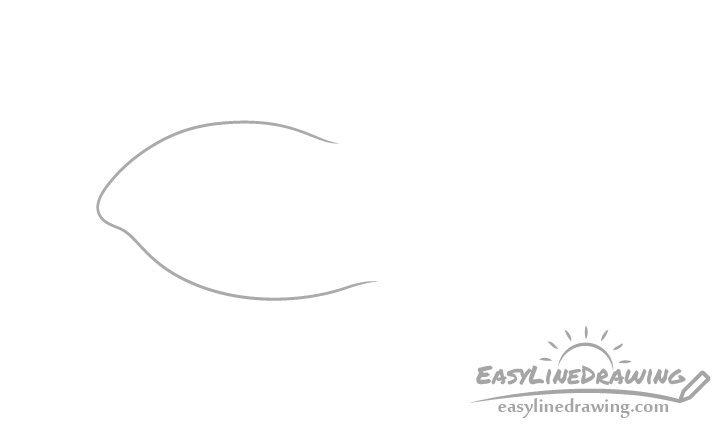
Start by drawing the first half of the peanut. Draw it shaped somewhat similar to an oval with a little tip on one and and open on the other.
Step 2 – Draw the Second Half
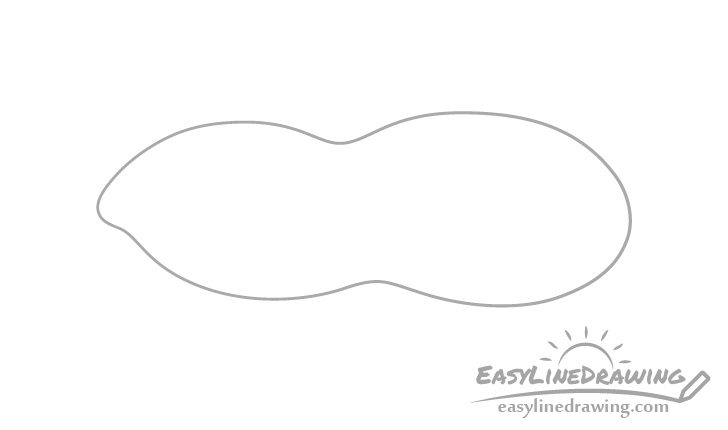
Add the second half of the peanut to finish the outline drawing of it’s shape. Again the second half should be somewhat similar to an oval and also slightly larger than the first one.
Step 3 – Add the Smaller Details & Finish the Line Drawing
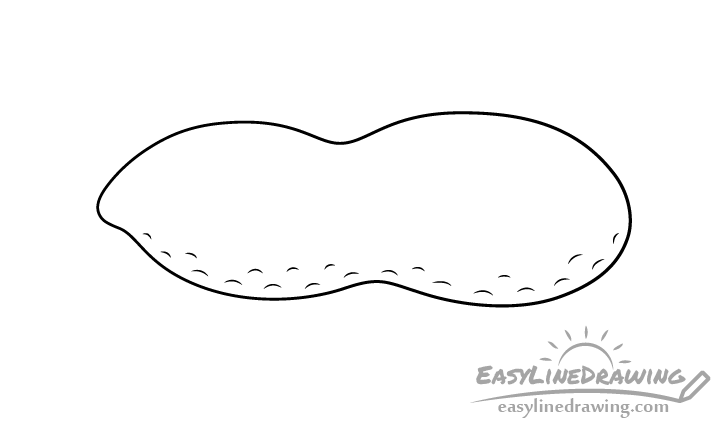
Peanuts shells have an uneven surface with a bunch of little indents. You can give just a hint of these by drawing some small curves inside the outline from the previous step. Try and make the little curves slightly different in size and spread them out randomly along the bottom of the shell. Again the goal is to just give a hint of the texture of the peanut so there is no need to draw them all over.
Once done adding the little curves you can trace over your drawing with a black pen or marker. If you don’t have one of those handy you can also simply darken your lines with the pencil.
Step 4 – Color the Peanut
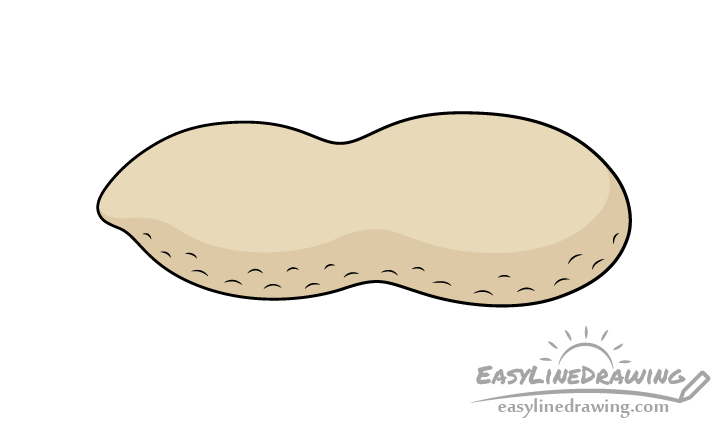
To color the peanut paints or colored pencils can both be a good option. Make it a light yellow/brown.
If coloring with paints simply mix the two and if coloring with pencils lightly go over it with one color and then the other.
You can also (optionally) give the peanut a simple shadow along it’s bottom as is shown in the example. To add this just go over that area with brown.
Conclusion
A drawing like the one in this example is very easy to make as it has just the bare minimum amount of detail. At the same time it can still look quite nice and and like the object you are trying to show, which in this case is a peanut.
For drawing other type of nuts check the links at the start of the tutorial and for other really easy tutorial also see:
- How to Draw an Acorn Step by Step
- How to Draw an Almond Step by Step
- How to Draw a Strawberry Step by Step
- How to Draw a Banana Step by Step
- How to Draw a Pistachio Step by Step
- How to Draw a Sack of Money Step by Step


