How to Draw a Newspaper Step by Step
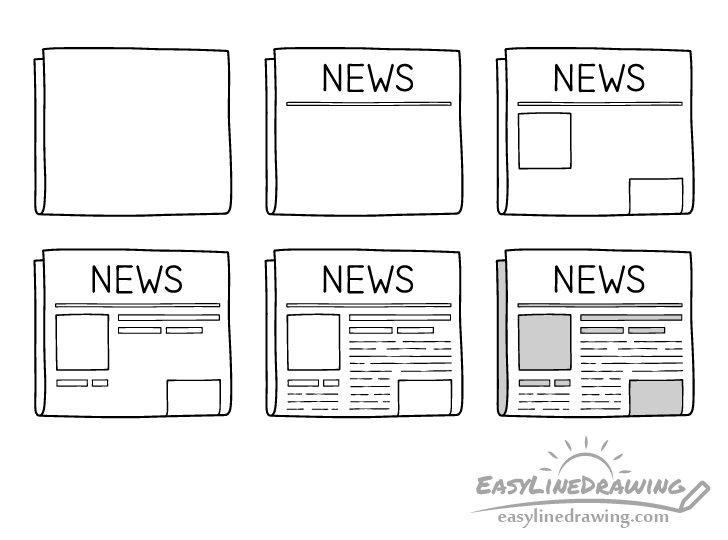
This tutorial shows an easy way to draw a newspaper in six steps. It provides simple examples and quick tips for creating a nice looking drawing.

A real newspaper has quite a bit of text which would obviously be very time consuming to draw. To make things much easier this tutorial shows how you can create the effect of text without actually needing to draw out individual letters.
It’s recommended that you start in pencil and make light lines that are easy to erase (in case you make a mistake). It can also be helpful to have a black marker (though not required) for tracing over your drawing later on.
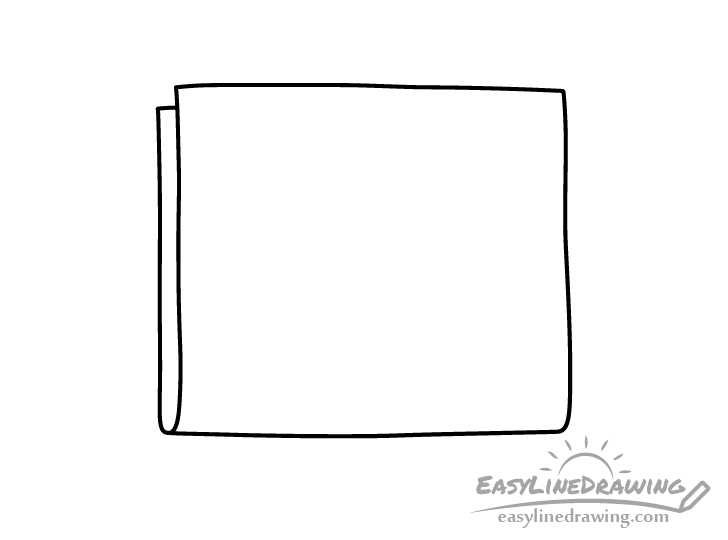
Step 1 – Outline the Paper (Newsprint)

The first step is very simple. Outline the shape of the paper (newsprint). Make it’s (roughly) rectangular and draw it folded as newspapers generally are.
Also, try and make the outline slightly curved/wavy because the paper will tend to bend.
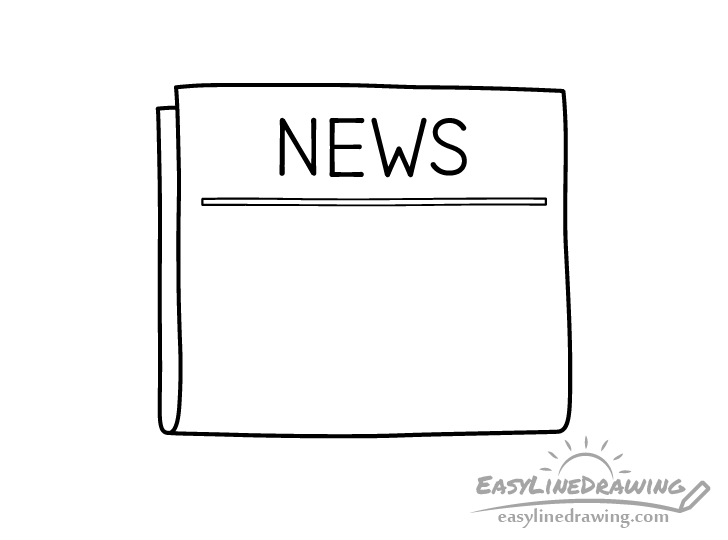
Step 2 – Write Out the Title

Newspapers usually have the name of the paper at the top/middle. You can make this whatever you like or simply write the word “News” in large letters as in the example.
You can also add a thick underline below the title (as is common for newspapers).
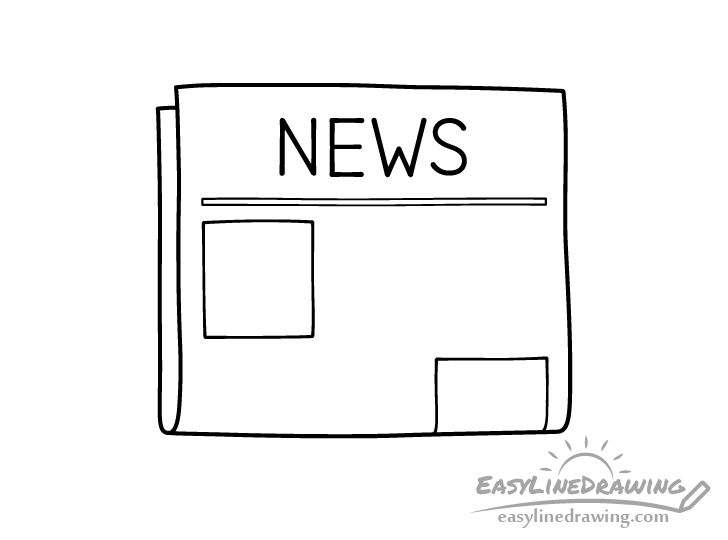
Step 3 – Draw the Photos

Add a couple of photos. Place one at the upper left and one at the bottom right of the paper (so that they look like they belong to different articles).
To keep things simple you don’t actually need to draw anything in the photos. Just outline their overall shapes. In this case they will be rectangular but draw the bottom photo curving along with the curve of the paper where the newspaper is bent.
Step 4 – Draw the Headlines

As mentioned at the start of the tutorial, drawing out individual letters is very time consuming. For this reason draw the titles as several strips that are broken up in a few places (to make them look like separate words).
Step 5 – Draw the Text Lines

Finally draw the text by making a series of lines separated into two columns, a narrower one on the left and a wider one on the right. Draw the text lines with little breaks in them (similar to the tiles) to create the effect of separate words. Also try and maintain the same spacing between them.
Once you have all parts of the paper in place (and everything looks right) trace over your lines with a black marker. If you don’t have one around then you can darken them with the pencil by pressing harder on it. You can also go over the initial outline several times to create a thinker stroke (where needed).
Step 6 – Add Shading & Finish the Newspaper Drawing

For this last step shade the photos, titles, underline, and the inner side of the paper fold grey. An easy way to do it is just by using a regular pencil. Once done, you should be finished with the drawing.
Conclusion
This tutorial shows how you can create a believable drawing of a newspaper in a fairly quick and easy way.
Sometimes you don’t need to fully draw out a lot of complex details and can instead create an effect of them (as was done with the lines of text). Doing so can really speed up the drawing process while still giving you nice looking artwork.
If you like these kinds of simple tutorial and quick tips also try the following:


