How to Draw a Fried Egg Step by Step
This easy tutorial shows how to draw a fried egg in six steps. It includes simple illustrated examples and quick drawing tips.
Start the tutorial in pencil. You can outline the drawing with a black pen or marker once you get to step four.
It’s also recommended that you have an orange/brown pencil and a yellow pencil or marker for coloring the egg as it will look fairly plain as just a line drawing.
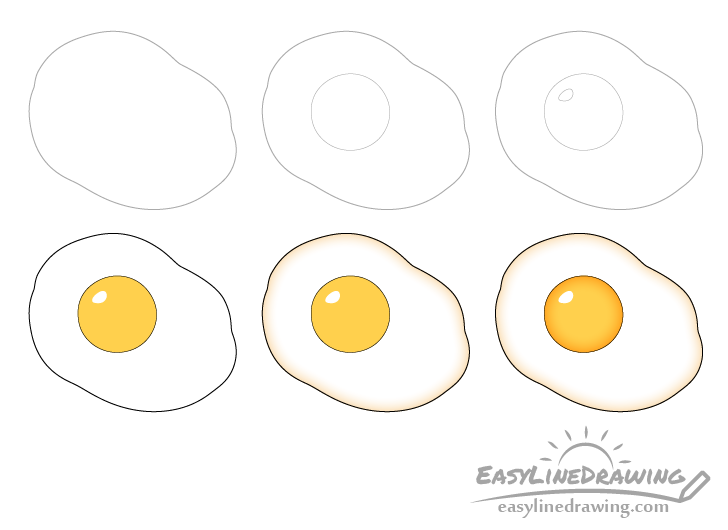
Step 1 – Draw the Outline of the Egg
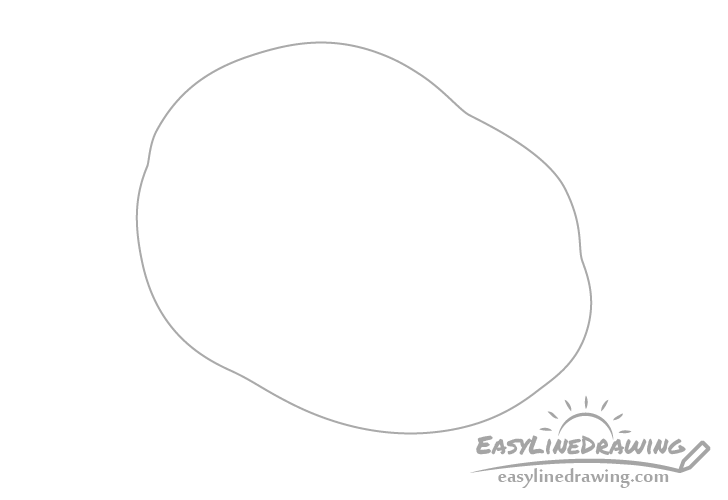
Start by drawing the outline of the egg white. This can be fairly random in shape that pretty much looks like a blob.
Step 2 – Draw the Yolk
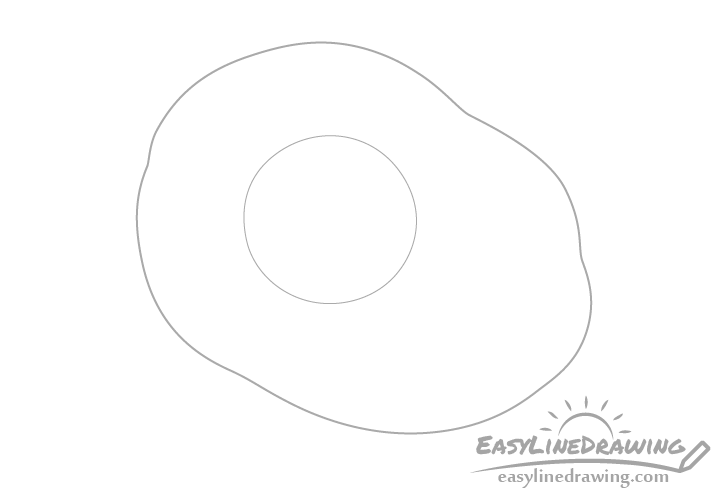
Inside the egg white draw the yolk. Try and make it somewhat close in shape to a circle but it does not need to be perfect.
Step 3 – Draw the Highlight
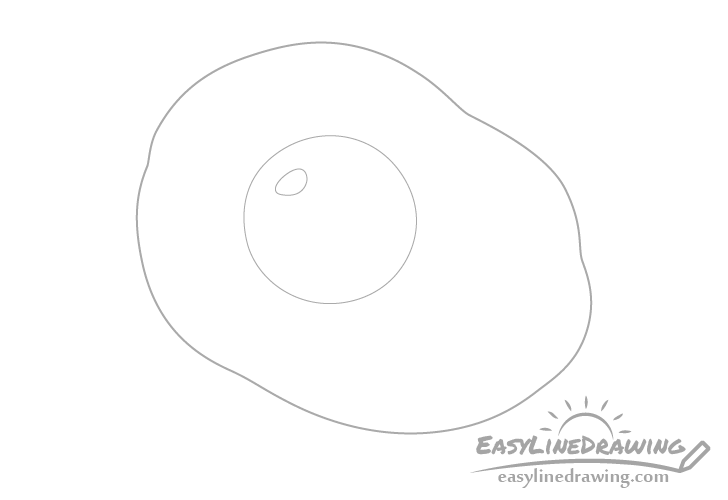
Inside the egg yolk outline a small area for the highlight. This will be the light reflecting from the smooth yolk and will help it look shiny.
Step 4 – Color the Yolk
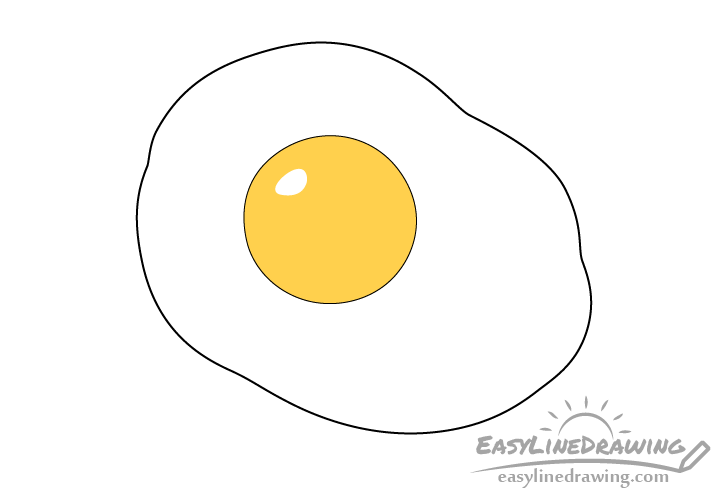
Color the yolk yellow using a marker (or a pencil) and erase the outline around the highlight (if it’s too visible). Afterwards darken the other lines by either tracing over them with a pencil or a black pen/marker.
Step 5 – Color the Edges
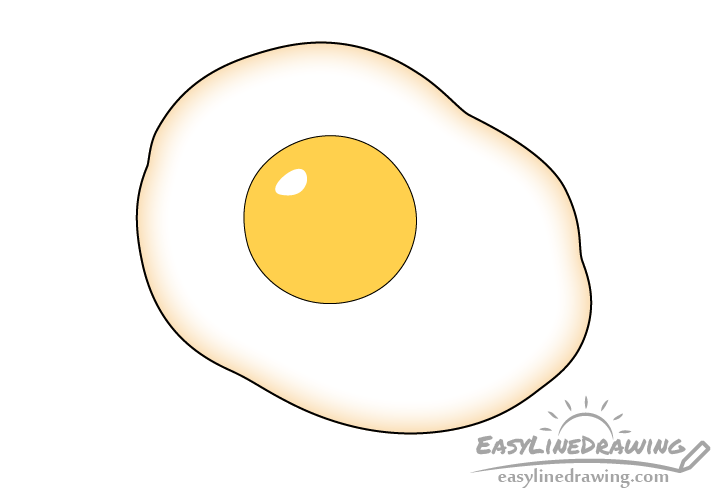
Fried eggs often have a bit of a crispy edge around them. You can show this by using a brown pencil to create a gradient around the outline of the egg white.
Don’t put too much pressure on the pencil when adding the gradient. Blend it in slowly so that it looks smooth.
Step 6 – Finish the Fried Egg Drawing
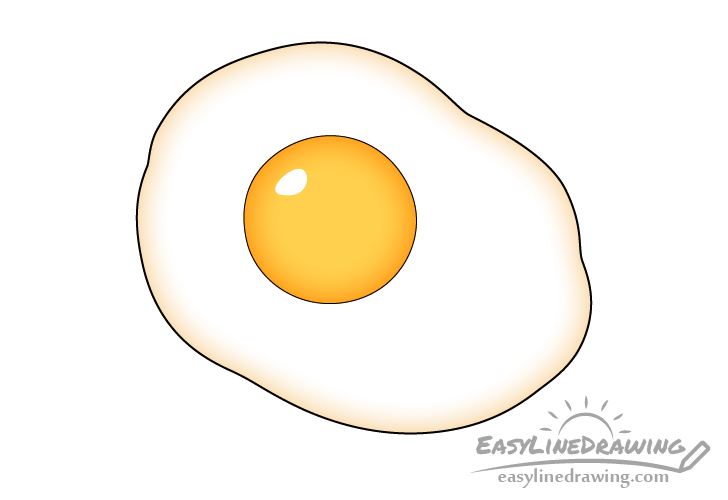
To finish the drawing use an orange pencil to add a second color gradient, this time around the egg yolk. Again be sure to blend the color so that you have a smooth transition from orange to yellow.
Conclusion
Drawing a fried egg similar to the one in this tutorial should be fairly easy. The only part that may take a bit of time is creating the smooth color transitions.
For more similar tutorial also see:
- How to Draw a Slice of Bread or Toast Step by Step
- How to Draw a Coffee Cup Step by Step
- How to Draw a Bagel Step by Step
- How to Draw a Hot Dog Step by Step
- How to Draw a Pizza Step by Step
- How to Draw a Spoon in 6 Easy Steps