How to Draw a Cucumber Step by Step
This tutorial shows how to draw a cucumber in four easy steps. It provides simple drawing and coloring instructions along with illustrated examples.
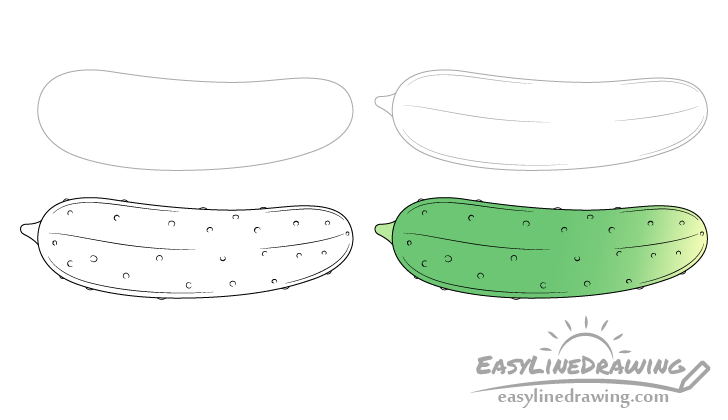
The cucumber in the example has a fairly simple shape with just a few basic details (so that it doesn’t look too plain). You can see a preview of the drawing stages for it in the example above.
It’s recommended that you start the tutorial in pencil and make light lines that are easy to erase just in case you happen to make a mistake. You can darken them before coloring.
Step 1 – Draw the Outline of the Cucumber
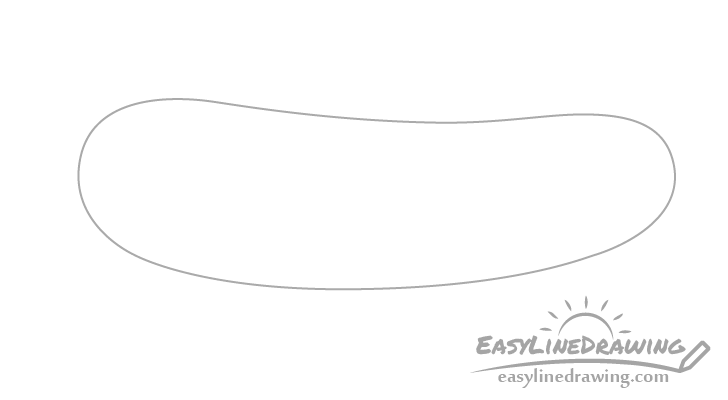
Begin by drawing the outline of the cucumber without any of the smaller details.
Draw it’s overall shape with a slight curve and make one end a little thicker than the other.
Step 2 – Draw the Smaller Details
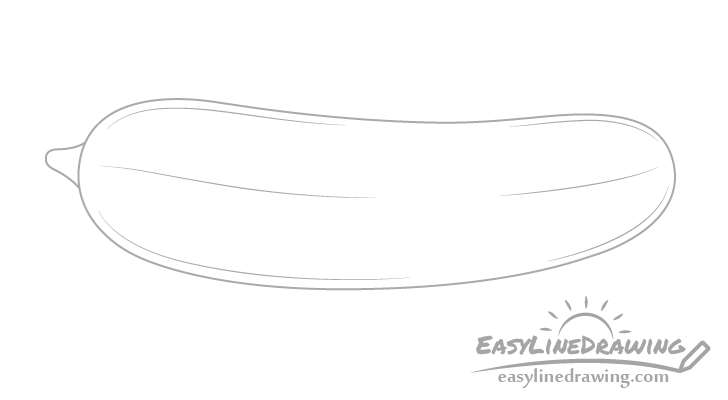
Add a little tip where the cucumber attaches to the vine (this should be on it’s thicker end). Afterwards draw a few lines that curve along the shape of the cucumber.
You can draw a pair along the top, a pair along the bottom and pair along the middle. You can also think of each pair as basically one line with a long break in it.
Step 3 – Draw the bumps
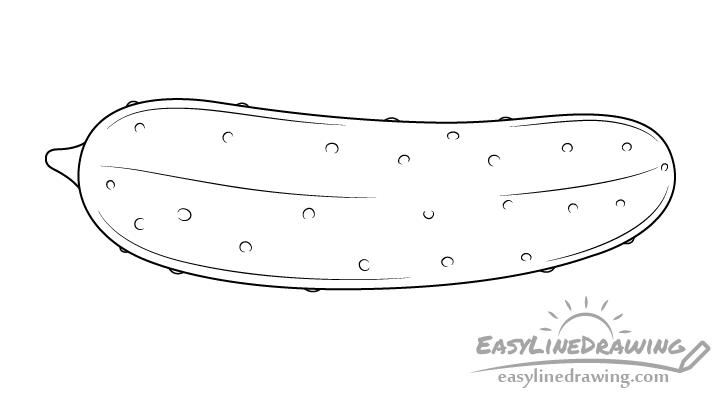
For this last step add some bumps that are so characteristic of these types of cucumbers.
First add the bumps inside the main outline of the cucumber. Make these similar in shape to ovals and/or circles but don’t fully connect their outline leaving one end open. This will make the bumps look lighter and more natural. Also be sure to draw the bumps of slightly different sizes with somewhat random placement.
Afterwards also draw a few bumps along the outer edges of the cucumber. These will be facing sideways so you can define each one with just a small curve.
Once you’ve added all of the little details and are happy with the way think are placed you can darken your lines. An easy way to do this is by tracing over them with a black pen or marker. If you don’t have one around you can simply do it by pressing harder on the pencil.
Step 4 – Color the Cucumber
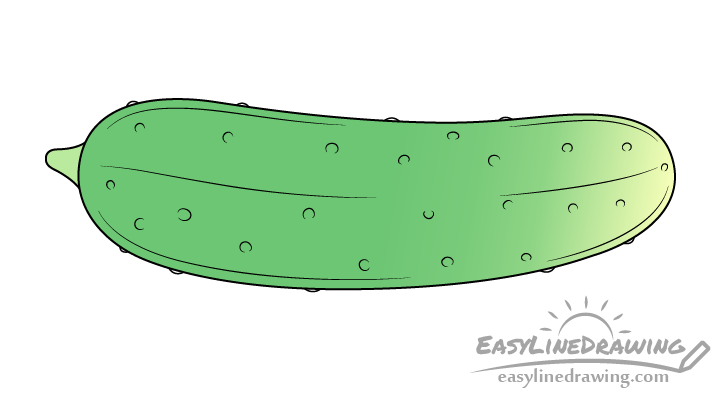
To color the cucumber use colored pencils (probably the easiest option). Fill most of it with green but make the tip of the narrower end yellow.
Blend the green and yellow to create a smooth transition between them.
Once done you should have a finished drawing of the cucumber.
Conclusion
This is a fairly short tutorial as the cucumber in the example is quite simple. Hopefully you’ve found it easy to follow along.
For more step by step guides on drawing vegetables also see:
- How to Draw an Onion Step by Step
- How to Draw a Carrot Step by Step
- How to Draw an Eggplant Step by Step
- How to Draw Green Peas Step by Step


