How to Draw a Croissant Step by Step
This tutorial shows an easy way to draw a croissant in six steps. It includes simple line drawing, coloring and shading examples.
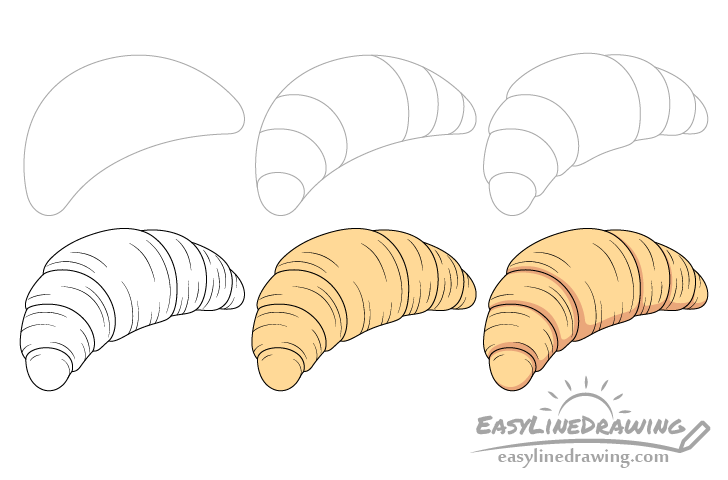
Above you can see a preview of the drawing steps for the croissant. Please note that you will need to erase parts of the drawing in between some of the steps. For this reason you should star the tutorial in pencil and make light lines. You can darken your lines later on by tracing over them with a black pen or marker.
Step 1 – Draw the Outline of the Croissant
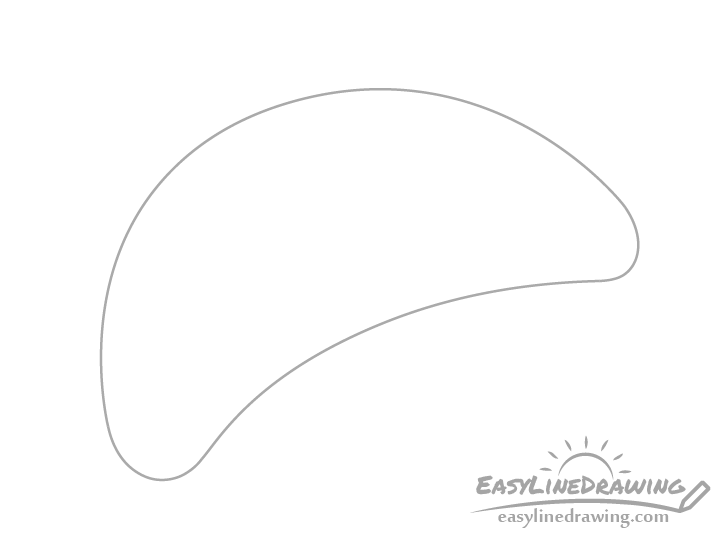
Begin by outlining the main shape of the croissant without any of the smaller folds and curves. Again be sure to do do this outline in pencil and keep the lines fairly light as you will need to erase most of it later on.
It’s purpose is to act as a guide that will make it easier to draw smaller details in later steps.
Step 2 – Add the Divisions
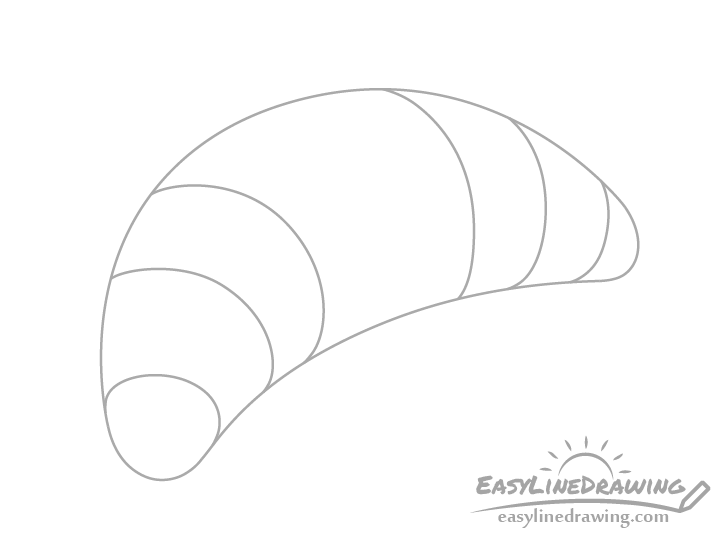
Divide the outline from the previous step into the little sections (as shown above) that are so characteristic of a croissant. In this case there will be seven of them in total.
Step 3 – Add the Curves
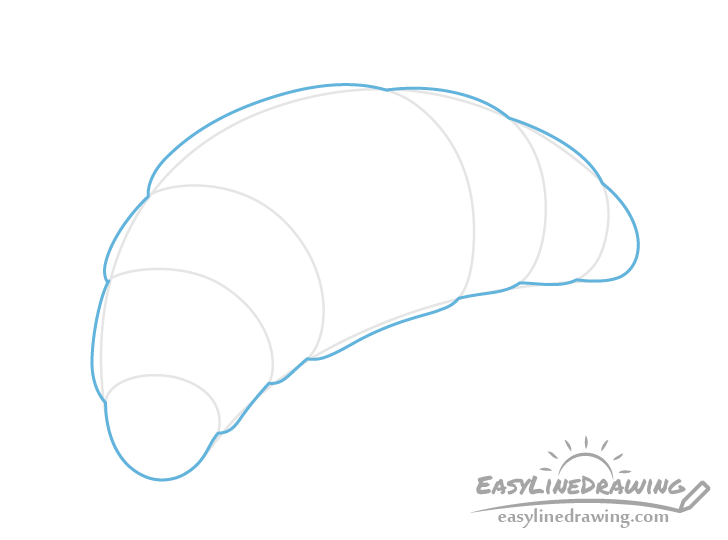
Now add the curves for each of the sections to get the actual shape of the croissant (shown as the blue line in the example) using the outline from step one as a guide.
You can your pencil lines slightly darker when drawing the part shown in blue but not so much so that they become difficult to erase (just in case you make a mistake).
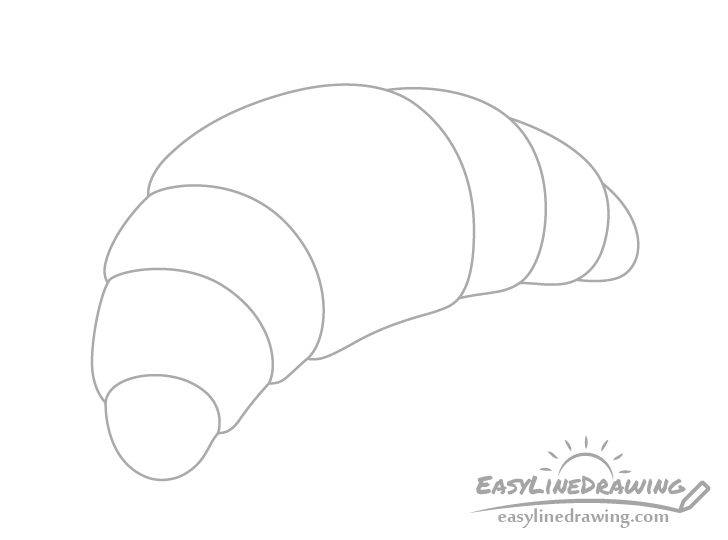
You can then clean up your drawing by erasing the outline from step one so that you have something similar to the example above.
Step 4 – Add the Folds
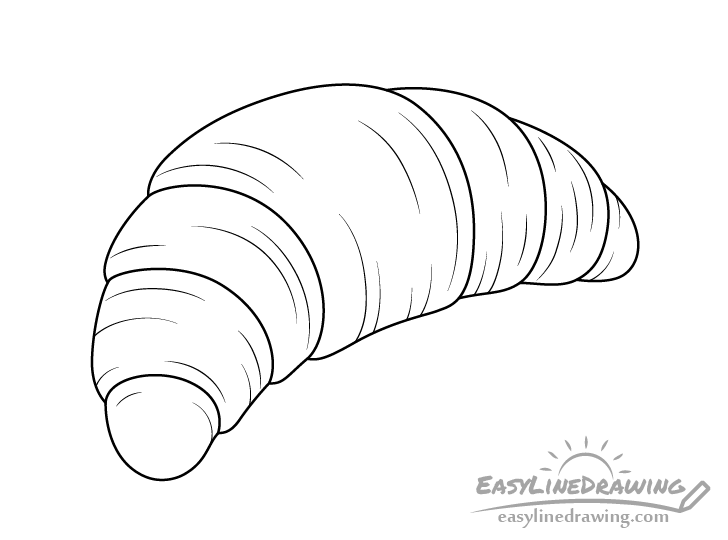
With the main detail of the croissant finished you can go ahead and add some wrinkles/folds that tend to form in the dough once it’s baked. Draw these in pencil first and once done adding them trace over the entire drawing with a black pen or marker. Alternatively you can also simply darken your lines with the pencil.
When tracing over your drawing you can also try and keep the lines that define the actual croissant thicker and the lines for the wrinkles thinner. While this is optional it can make your drawing look nicer.
Step 5 – Add Color
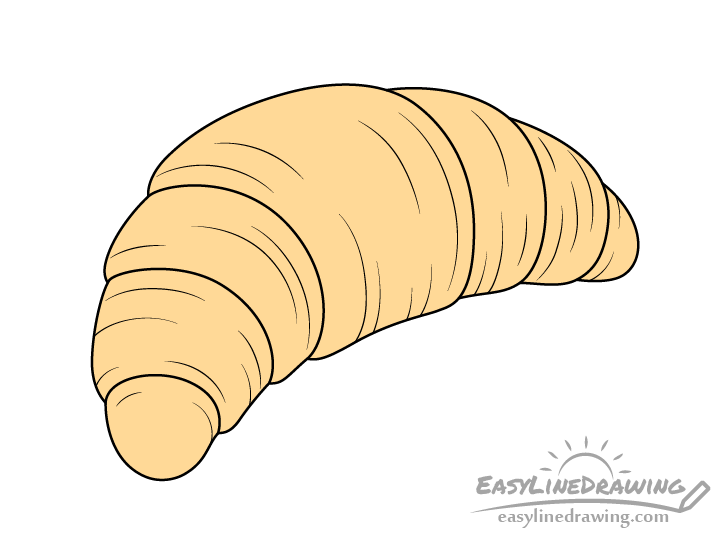
To color the croissant it’s best to use paints or pencils as markers will be too bright and can make it difficult to get the right color.
You will want to aim for a light gold color which you can achieve by mixing yellow, brown and orange. If coloring with paints you can simply mix all three of these together. If coloring with pencils you can go over the croissant with a light layer of each color to get a similar effect.
Step 6 – Add Shading
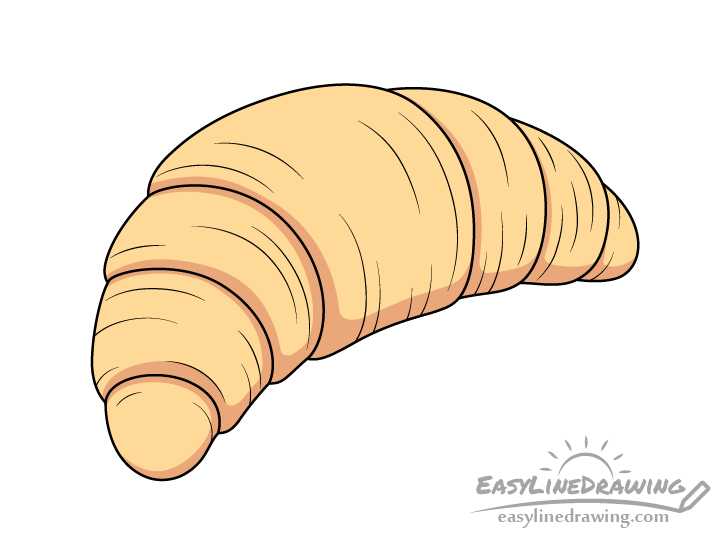
Finally you may notice that in the previous example the croissant looks a little bit flat. In order to fix this and make the drawing appear a little more three dimensional you can add some very basic shading. Add the shaded areas around the bottom of the croissant as well as around the curves of it’s different sections (as shown in the example).
You can make the shading a mix of orange and brown. Again you can either mix these two paints or add two layer of color with pencils.
Once done adding the shading you should have a finished drawing of the croissant.
Conclusion
This tutorial shows an easy way to draw a croissant by using a step by step approach for the line drawing and then adding a bit of color and shading. By starting with an overall outline of the croissant as was done in step one instead of going for the smaller details of the curves right away you can decrease your chances of making major mistakes such as the whole thing being out of shape. You can also make an otherwise flat looking drawing more interesting and three dimensional by adding even a little bit of simplified shading.
If you enjoyed this tutorial and would like to try some more like it also see:
- How to Draw a Cookie Step by Step
- How to Draw a Muffin Step by Step
- How to Draw a Pizza Step by Step
- How to Draw a Pretzel Step by Step
- How to Draw Tooth Paste Step by Step
- How to Draw a Baguette (French Bread) Step by Step


