How to Draw a Cracker Step by Step
This six step tutorial shows an easy way to draw a nice looking cracker with illustrated examples and short and simple instructions.
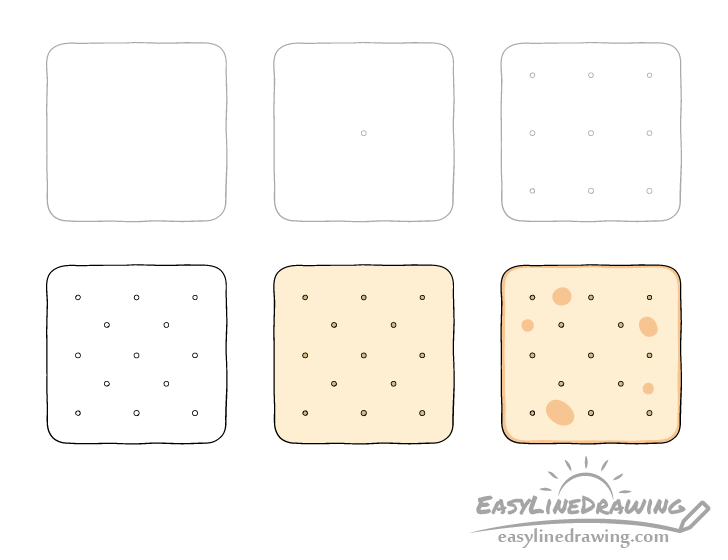
You can see a preview of the drawing steps for the cracker in the example above.
Start the tutorial in pencil and make light lines that are easy to erase in case you make a mistake. You can darken them later on with a black pen or marker.
Step 1 – Draw the Outline of the Cracker
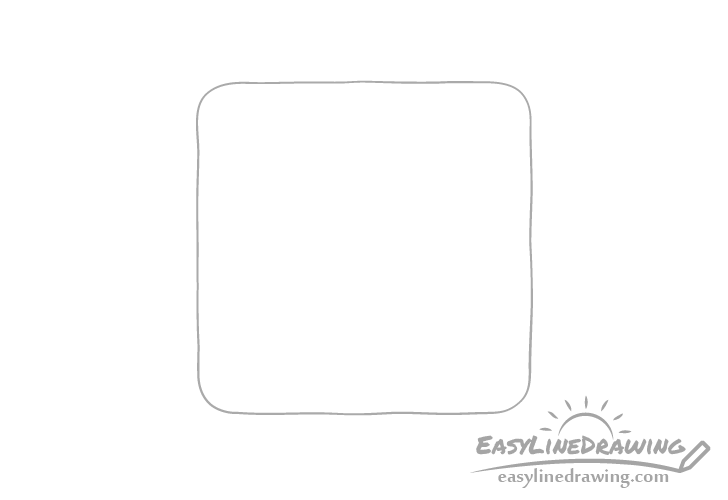
Begin with an outline drawing of the cracker’s shape. Make it similar to a square with rounded corners. However you should deliberately make the outline somewhat wobbly and uneven as crackers tend to slightly warp out of shape as they are barked.
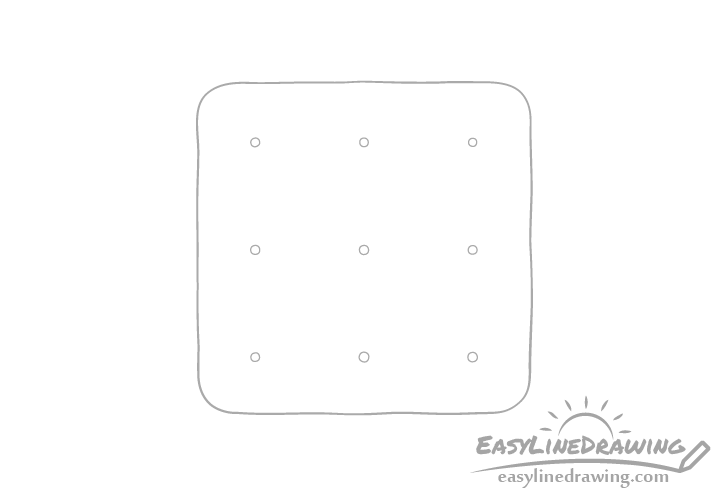
Step 2 – Draw the Center Hole

Crackers often have a series of small holes in them. Start by drawing one in the middle of the outline from the the previous step. This hole will act as a guide for the rest of them.
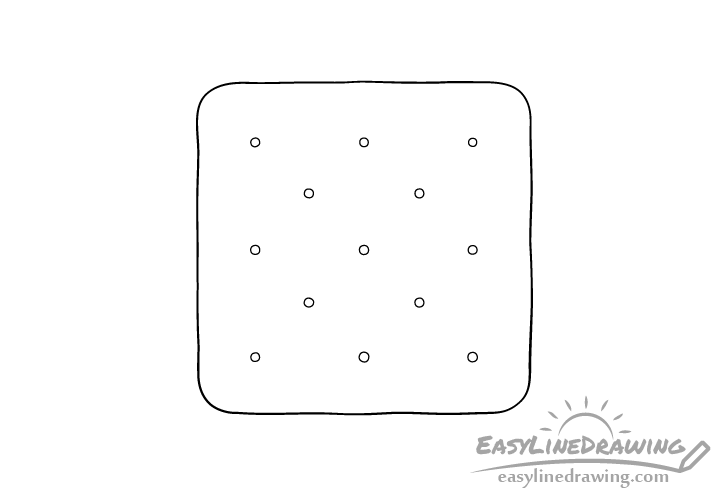
Step 3 – Draw the Outer Holes
Draw a series of holes along the edges of the cracker and try and align them with the one in the middle so that you can either draw an “X” or a “+” through them.
Step 4 – Finish the Line Drawing
Finally add the last set of hole in the middle as shown in the example. Again, try and position them so that if you draw a “X” through the cracker the holes will be in alignment with it.
Once done with the holes you can trace over your drawing with a thin black pen or marker. If you don’t have one simply darken them with the pencil.
Step 5 – Add Some Color
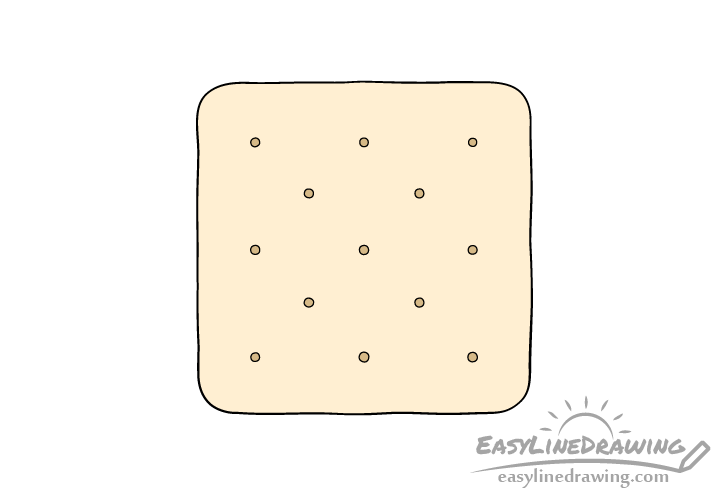
To color the cracker make it a light yellow/brown and make the holes a dark yellow brown. Colored pencils can be an easy way to do this.
Once done with this step you may notice that the cracker looks a little bit too plain but that will be fixed in the step.
Step 6 – Add More Color & Finish the Cracker Drawing
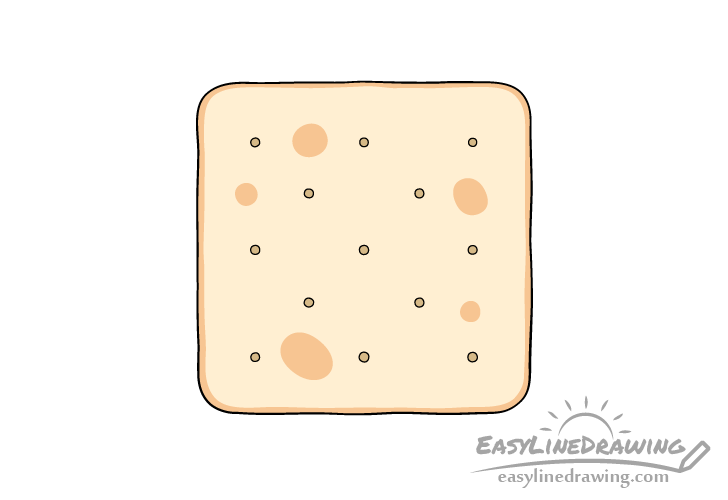
To make the drawing a more interesting and to make the cracker look more like an actual cracker add a few darker spots along it’s surface. You can also give it a darker outline along the edges. You can make these darker areas orange/brown in color. Crackers often get these as some parts bake more than others.
Once done coloring you should have a finished drawing of a cracker.
Conclusion
This tutorial shows how you can draw a nice looking cracker without too too much effort. You don’t have to worry about making straight lines or being very precise. Also, giving it just a little color and detail as was done in the last step can make a fairly flat and plain drawing look a lot better.
If you enjoyed this tutorial you may also want to try some of the following:
- How to Draw a Cookie Step by Step
- How to Draw a Muffin Step by Step
- How to Draw a Croissant Step by Step
- How to Draw a Bowl of Soup Step by Step
- How to Draw a Baguette (French Bread) Step by Step

")


