How to Draw a Cloud Step by Step
This tutorial shows an easy way to draw a cloud in four steps. It includes simple illustrated examples and quick drawing tips.
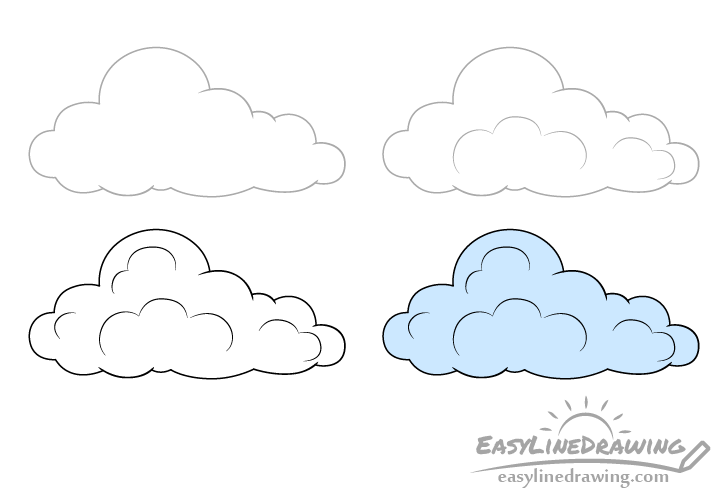
It’s recommended that you start this tutorial in pencil and make light lines that you can easily erase in case you want to tweak the shape of the cloud.
Trace over your drawing with a darker pencil lines or a black/pen marker once you are happy with the way it looks.
Step 1 – Draw the Outline of the Cloud
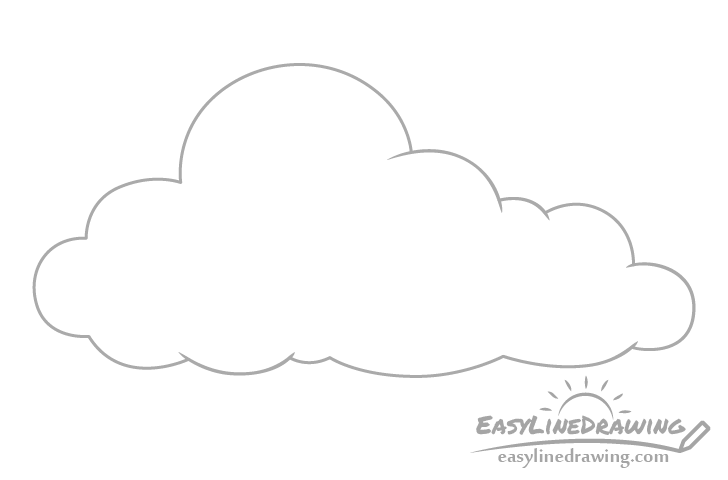
Begin the drawing with the other shape of the cloud. You can either try and copy the example or come up with your own shape. Whichever one you choose draw it somewhat flat on the bottom and more “puffed up” at the top (similar to the example).
Also try and randomize the size and shape of the curves that make up the cloud so that it looks more natural. Draw some curves sort of “cutting into” with their edges. This will make the outline look a bit more three dimensional.
Step 2 – Draw the Inner “Puffs”
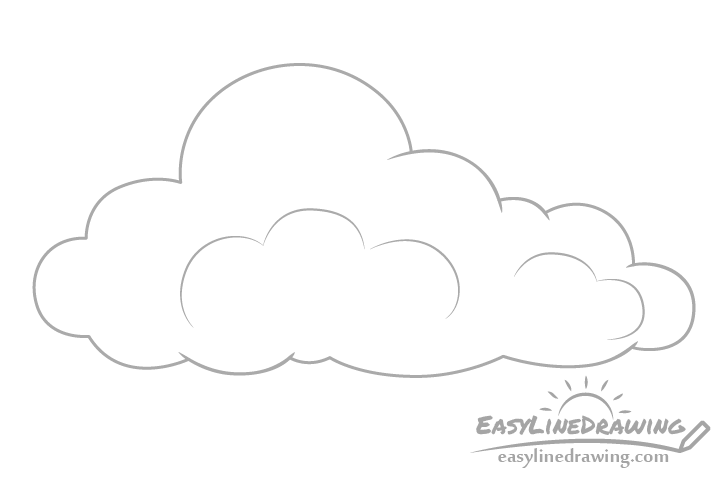
Inside the outline of the cloud draw a few smaller curves to again to show the various “puffs” that make up the cloud.
You can place these fairly randomly but you will probably want some in the middle and a few more around the sides.
Step 3 – Finish the Line Drawing
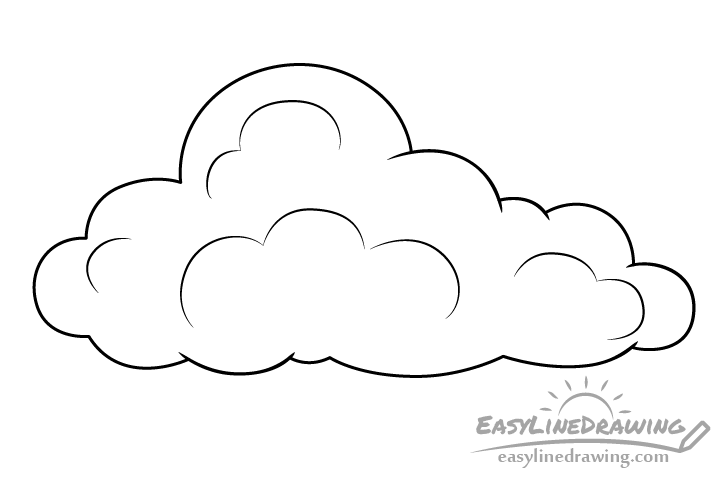
Finish adding the “inner puffs” to the cloud and once you think everything is in the right place go over your drawing with darker lines as was mentioned at the start of the tutorial.
Step 4 – Color the Cloud
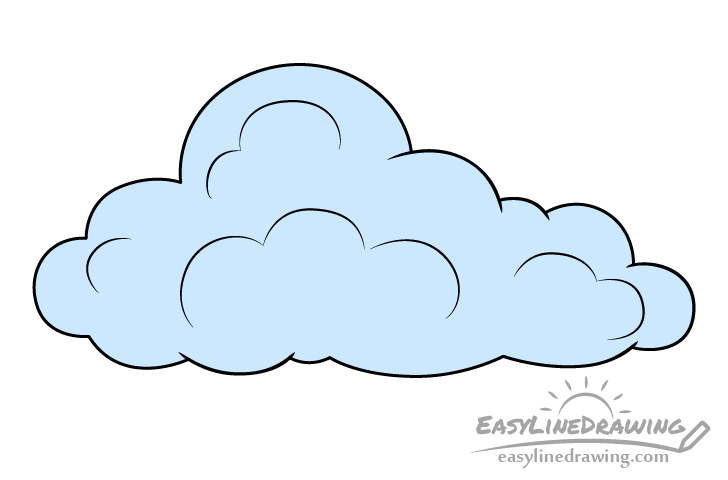
To finish the drawing you can simply color the cloud a light blue. If you want it to be a rain cloud then you can make it a darker blue/grey.
The quickest way to add color to this type of drawing might be with paints or a thick marker. You can also do it with colored pencils but depending on the size of your drawing it may be a little time consuming to go over the entire cloud. It can also be a bit of a challenge to blend the pencil strokes to get a nice and even color fill.
Conclusion
A simple cloud like the one in this tutorial is quite easy to draw. As the shapes of clouds are fairly random you also don’t have to worry too much about making mistakes. However it’s still good practise to start in pencil just in case you want to tweak your drawing.
For more similar tutorial also see:
- How to Draw a Tree Step by Step
- How to Draw Broccoli Step by Step
- How to Draw the Sun in Different Ways
- How to Draw a Volcano Step by Step


