How to Draw Paper Step by Step
This tutorial shows how to draw a stack of a few sheets of paper in six steps with easy to follow examples and simple instructions.
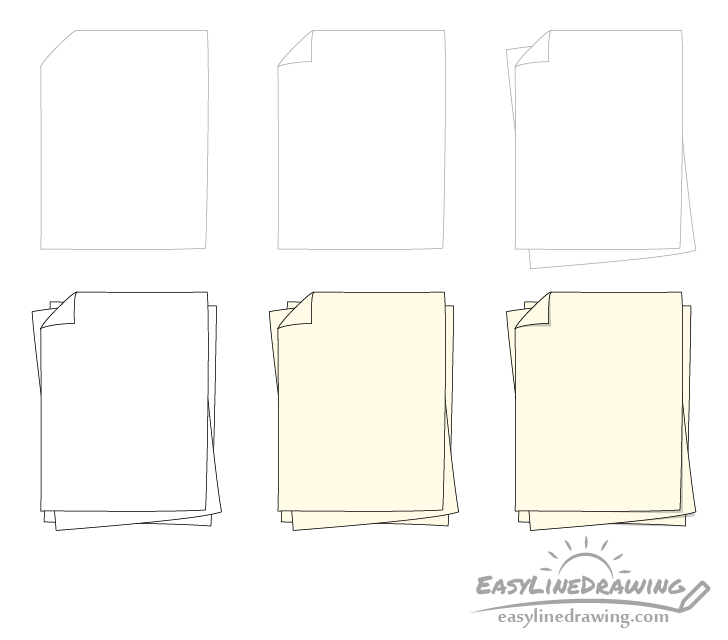
You can see a preview of the drawing steps for the paper in the example above.
This is a fairly easy tutorial that can be good for beginners as you don’t need to worry about making perfectly straight lines. You actually want the outlines of the paper sheets to be somewhat uneven.
Start the tutorial in pencil and try and make light lines so that they are easy to erase in case you need to make a correction. Darken them with a black pen or marker later on (before coloring).
For drawing paper in a different way also see:
How to Draw a Scroll Step by Step
Step 1 – Draw the First Sheet of Paper

Begin by outlining the first sheet of paper. Draw it’s shape similar to a rectangle but make the lines around the bottom right corner slightly curved (this will help so that it’s lifted up).
The upper left corner will be bent so for now draw it as though it’s been cut-off.
Step 2 – Draw a Bent Corner
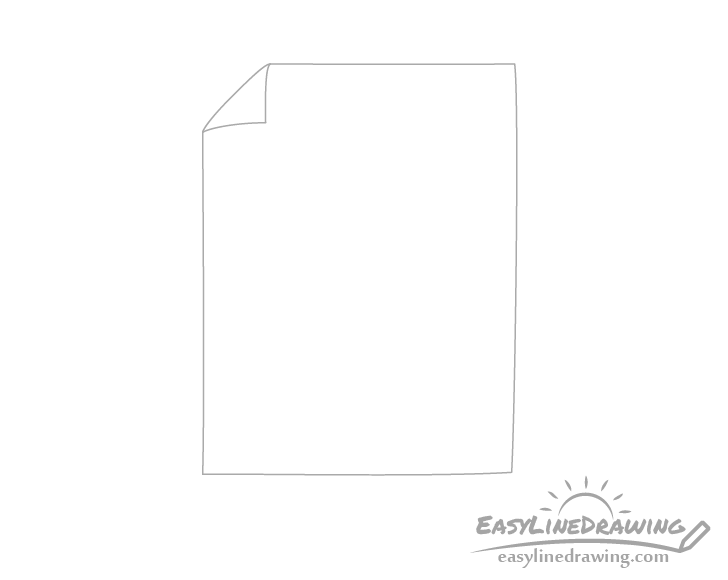
For this quick step add the little bent corner as shown in the example above. Again, draw the lines that define it with a bit of a curve to them so that they are not perfectly straight.
Step 3 – Draw Another Sheet
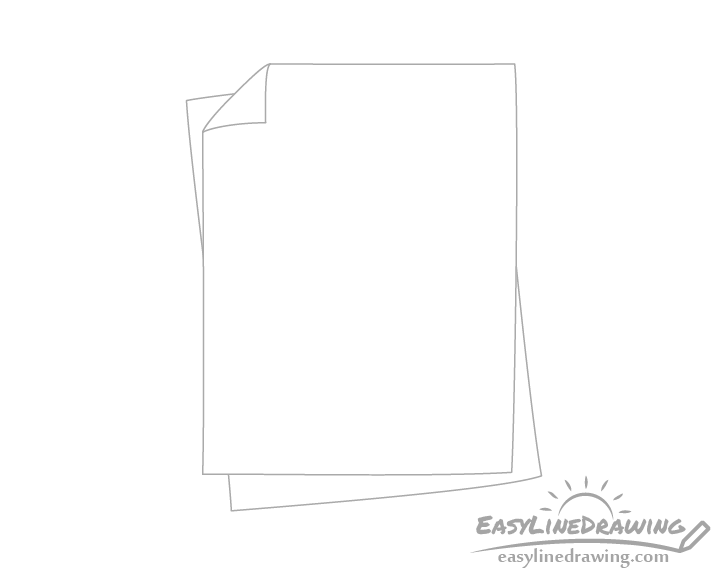
Underneath the upper sheet add another sheet of paper. Draw this one on an angle and again make it’s outlines slightly curved.
Step 4 – Draw the Last Sheet & Finish the Line Drawing
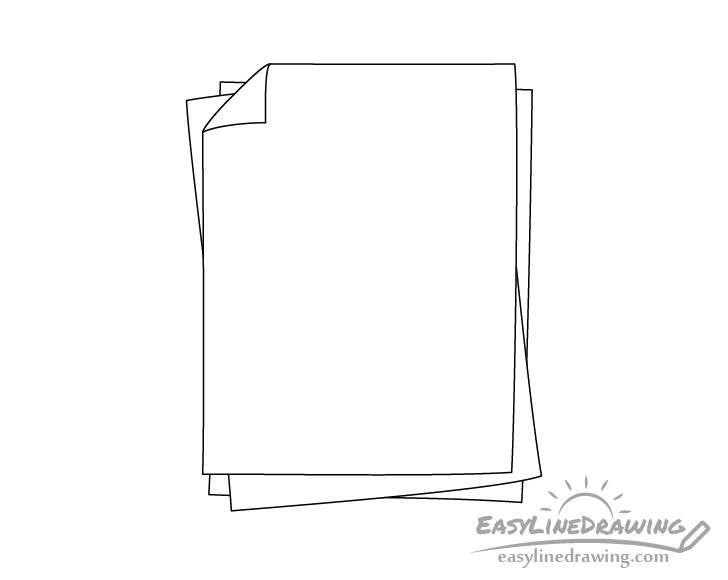
Underneath the previous sheet draw yet another one so that you have a stack of three as in the example. Once done make sure you are happy with the way things look and if you are trace over your drawing with a black pen or marker. If you don’t have one you can simply darken them with the pencil.
Step 5 – Add Color
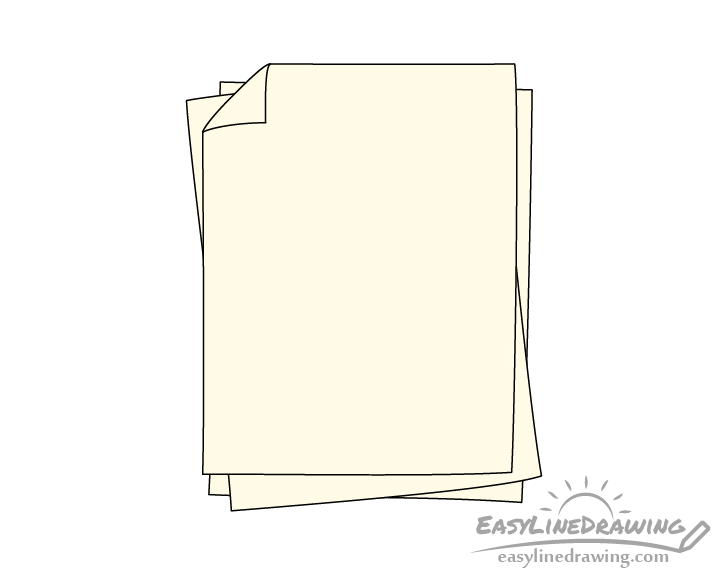
Paper is normally white but to make it stand out from a white background you can color it a light yellow. Paints or colored pencils can be an easy way to do this.
Another option is to color the background around the stack and to keep the paper white but this can be a bit more work.
Step 6 – Add Shading
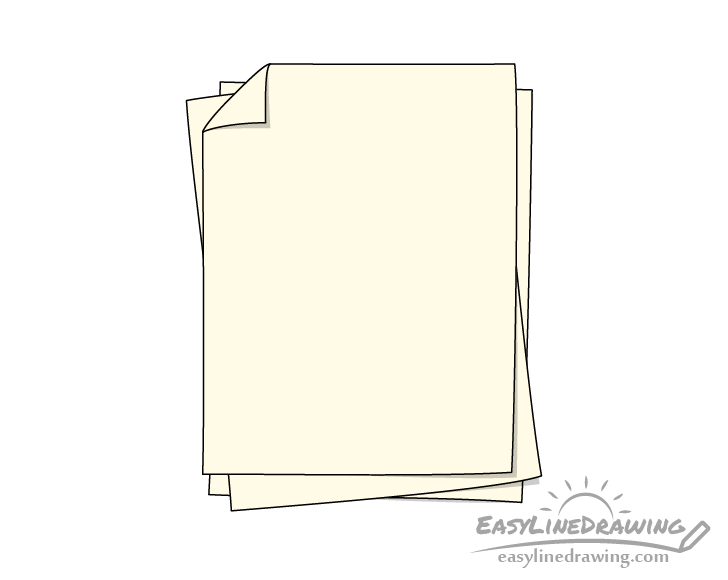
To make the drawing look a little less flat add some very small shadows that will be cast by the bent parts of the sheets. Draw these as shown in the example with one being cast by the bent corner in the upper left and a few more by the slightly lifted up corners in the bottom right.
Conclusion
While sheets of paper are normally just rectangular in shape with straight sides drawing them like can be a bit boring. By making the paper look like it’s slightly warped and bent the drawing can look a lot less flat and more interesting. Especially if you also add a bit of shading as was done in the last step.
If you enjoyed this tutorial and would like to try a few more like it also see the following:
- How to Draw a Paper Airplane Step by Step
- How to Draw a Pencil Step by Step
- How to Drawn an Envelope Step by Step
- How to Draw a Picture Frame Step by Step
- How to Draw a Stamp Step by Step
- How to Draw a Newspaper Step by Step


