How to Draw a Slice of Bread or Toast Step by Step
This tutorial shows how to draw a slice of bread or a peace of toast in four easy steps. It includes illustrated drawing examples and quick instructions.
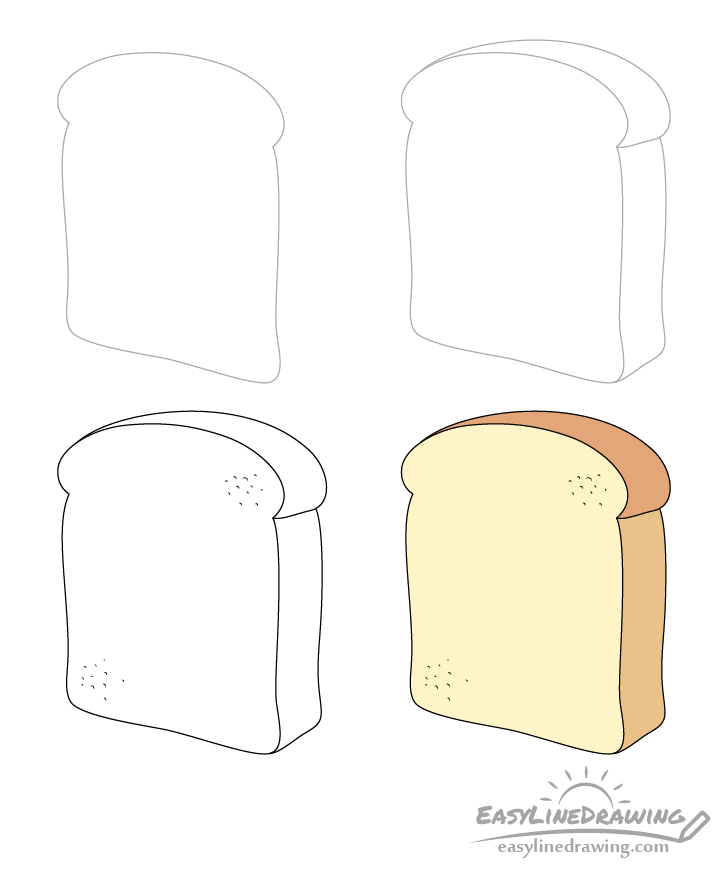
In this case the slice will be drawn in 3/4 view which will make it look a bit more interesting and three dimensional than if you were to just draw it from the front.
While this tutorial is very simple it’s still recommended that you start it in pencil just in case you make a mistake. You can darken your lines later on.
Step 1 – Draw the Front of the Bread Slice
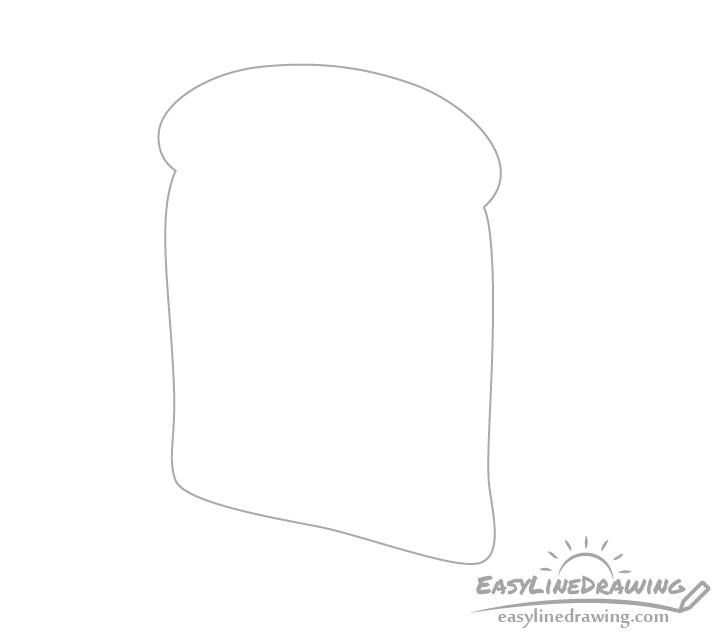
Begin by drawing the front of the of the bread/toast slice. Start with the rounded “cap” at the top and then draw each side joining them at the bottom.
The overall shape of the bottom part of the slice (below the cap) should loosely resemble a square. Make sure to add some curves into each of the sides and give the slice rounded corners to make it look more organic like an actual peace of bread.
Step 2 – Draw the Side
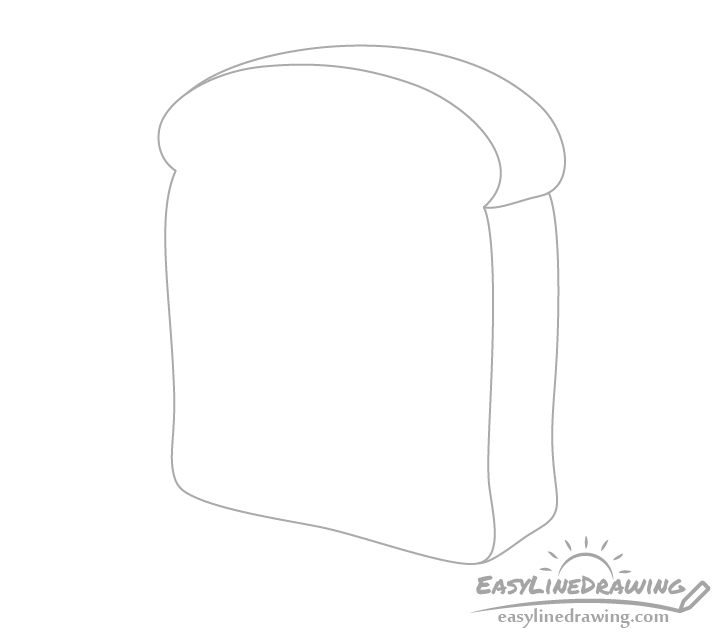
Now add the crust side of the slice as shown in the example above. For the most part it should pretty much trace the shape drawn in the previous step.
You can again start with the “cap” at the to add the upper portion of the crust. Start the second curve from the left side of the drawing and slowly transition the line further away from the first curve. You can then join the two at the bottom of the “cap”. Next add the side of the crust pretty much tracing the shape of the front side of the slice and finally again joining the two at the bottom.
Step 3 – Add Some Texture
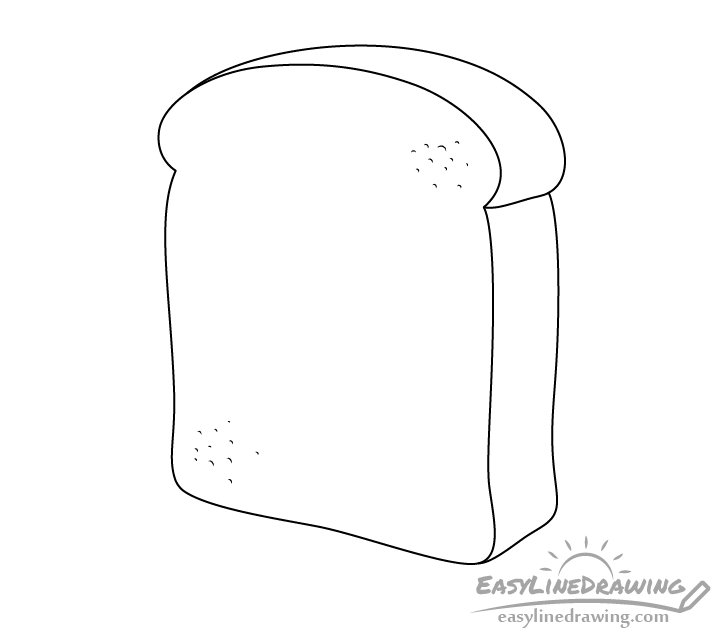
To give the bread some texture draw just a hint of the pores in t he dough. You can draw these in two places as shown in the example with a bunch of little curves of slightly varying sizes.
Once done with the line drawing you can darken your lines by either tracing over them with a pencil or a black pen/marker.
Step 4 – Color & Finish the Bread Drawing

To finish the drawing you can color the bread slice. The best way to do this is probably with colored pencils or paints as marker may look a little too bright.
Make the front part where the bread has been sliced a light yellow withe upper crust a darker brown and the lower crust a lighter brown.
If you want the bread to look like it’s been toasted you can add some brown spots to it’s front side (the yellow part).
Conclusion
Drawing a slice of bread in 3/4 view can make it look a little more interesting than just drawing it from only one side. At the same time it’s still fairly easy.
Adding just a hint of texture instead of drawing the little dough pores all over the slice can also save you a lot of time while still giving a similar effect.
If you liked this tutorial you might also like the following:
- How to Draw a Jar of Jam Step by Step
- How to Draw a Knife Step by Step
- How to Draw a Baguette (French Bread) Step by Step
- How to Draw a Cupcake Step by Step
- How to Draw a Bagel Step by Step
- How to Draw Cheese Step by Step
- How to Draw a Croissant Step by Step


