How to Draw a House Step by Step
This beginner friendly tutorial show how to draw a house in nine steps. It includes simple illustrations and drawing instructions for each one.
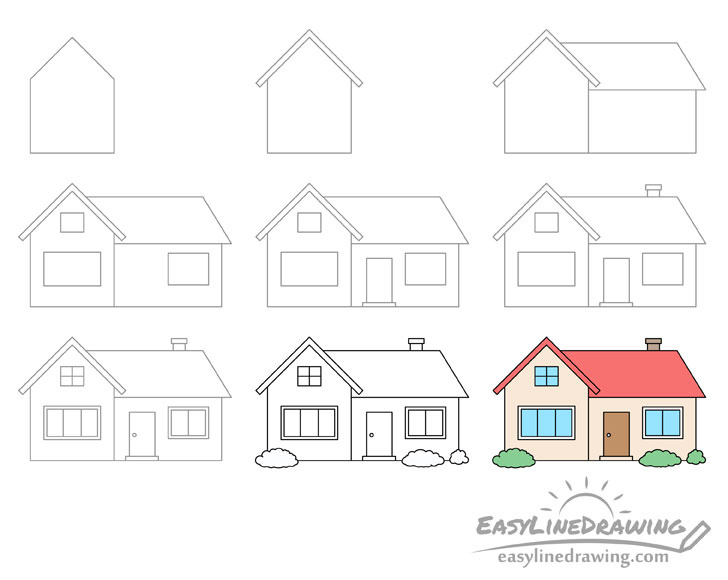
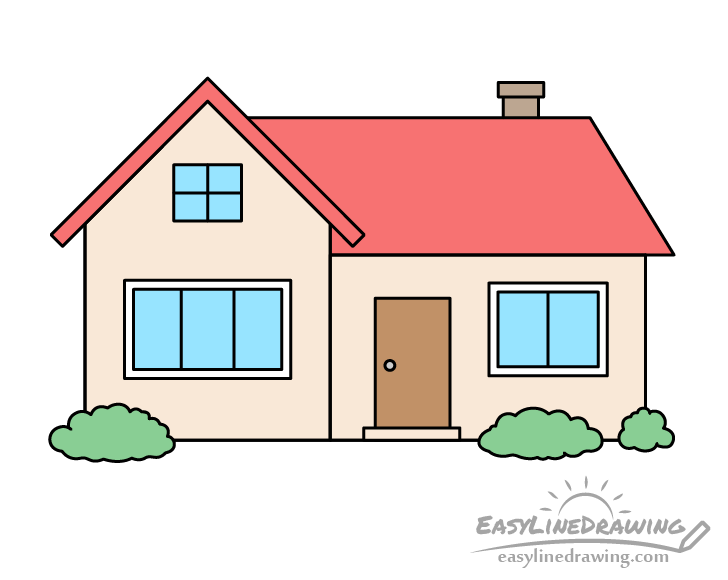
As you can see from the above preview the house drawing is made up of a lot of straight lines. If you have trouble making these you may wish to use a ruler to help you. However, if you want to try and improve your artistic skills it’s better to at least try and do the tutorial without one.
Start the drawing in pencil and make light lines for most of the steps. This will both make it easier to correct mistakes and allow you to erase some of the lines in step eight (when adding the bushes around the house).
Step 1 – Draw the First Section of the House
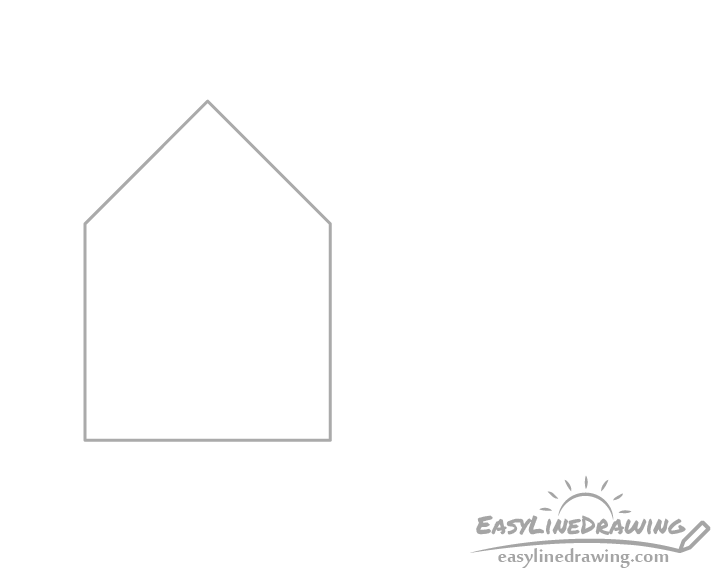
Draw the first part of the house as shown above. You can think of it’s shape as a triangle stacked on top of a square.
Step 2 – Draw the First Section of the Roof
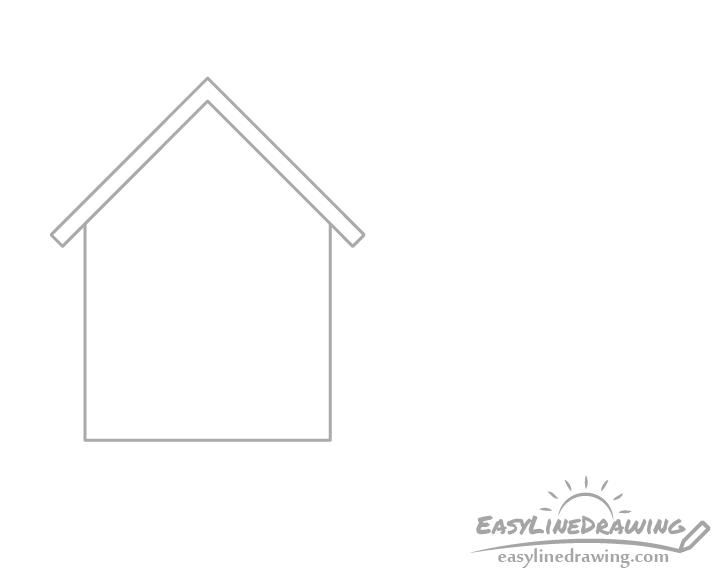
Add the roof with it’s ends hanging slightly further down than the walls.
Step 3 – Draw the Second Section of the House
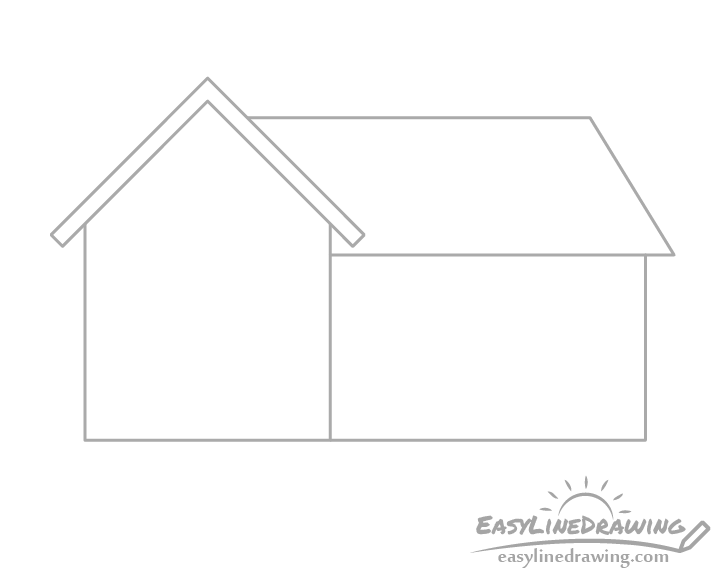
Onto the first section of the house add the second along with it’s roof. It should be rectangular in shape with a roof that is angled on one side.
Step 4 – Draw the Outlines of the Windows
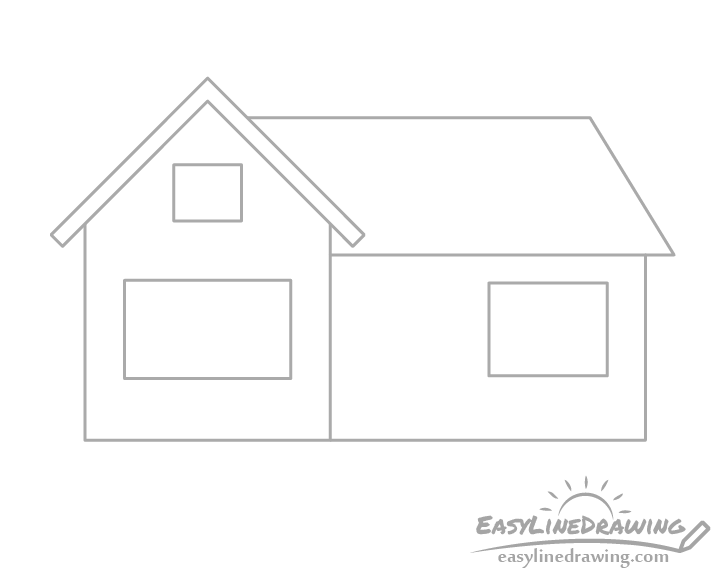
Draw the outlines of the windows as three different sized rectangles. Place the largest one on the lower part of the first section of the house (outlined in step one). Place the medium sized window on the right side of the second part of the house.
Finally place the smallest window above the largest one near the roof.
Step 5 – Draw the Door
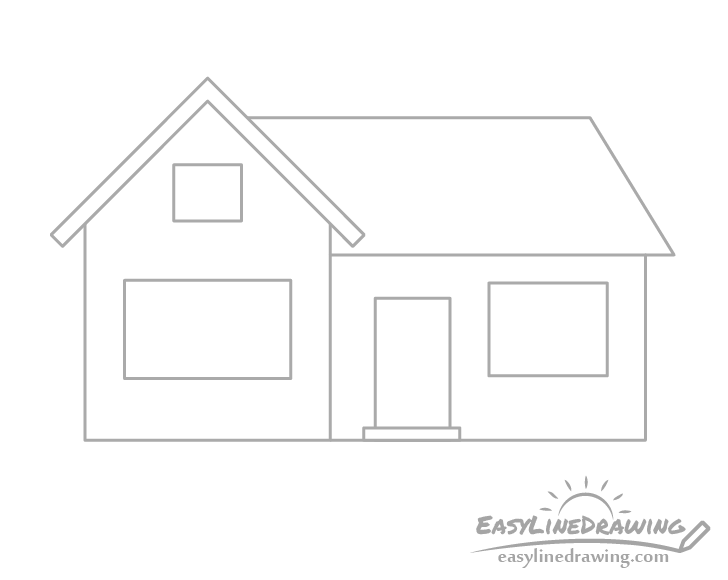
Draw the door with a little platform below it (basically one step). Place it on the left size of the middle sized window.
Step 6 – Draw the Chimney

Add the chimney to the right side of the roof over top of the second part of the house.
Step 7 – Draw the Smaller Details
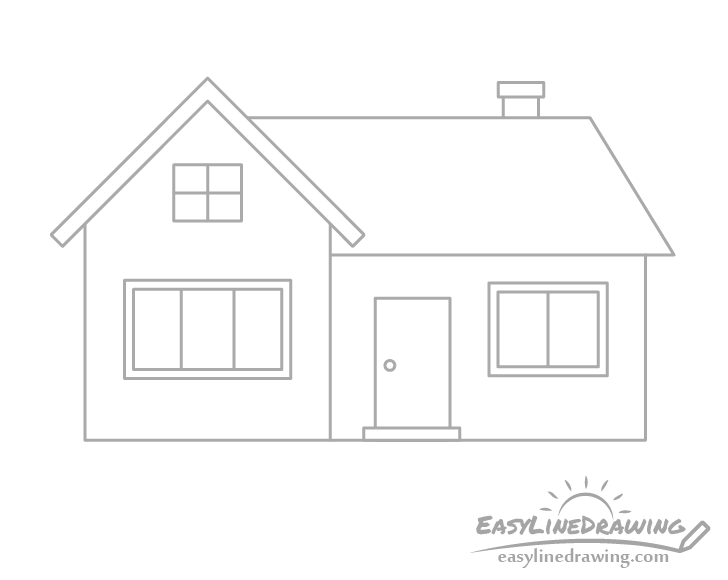
Draw the window frames by tracing a smaller rectangle inside the larger ones drawn earlier. Next add adding the dividers for each of them as shown in the example.
You can also add a handle to the door (simply make it round).
Step 8 – Finish the Line Drawing
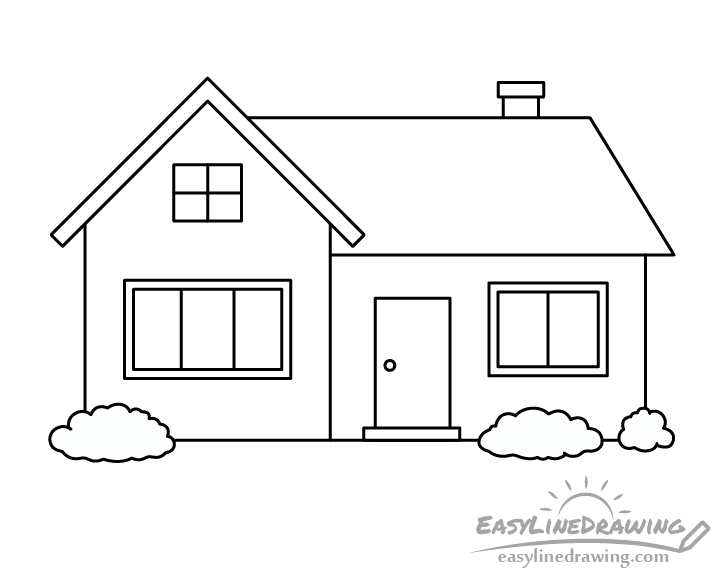
To make the house look a little more lively you can add some bushes in a few spots around it. To do this just erase part’s of it’s outline where you want to add them in. Draw the shapes of the bushes similar to a cloud, made up of a bunch of little curves.
Once you have the bushes you should have basic outlines of all of the parts of the house. With that done, make sure that your drawing looks the way you want it to and trace over your lines with a black pen or marker. If you don’t happen to have one of those around just darken them with the pencil instead.
Step 9 – Color the House
You can use anything you like to color the drawing (pencils, paints, markers, etc…).
For a nice color combination make the house yellow or orange, the roof red, and the windows blue.
Make the door brown and the bushes green. You can leave the frames around the larger windows white.
Conclusion
The house drawing shown in this tutorial is quite simple. As was mentioned at the start, you can even simplify it further by using a ruler to help you. Hopefully you’ve found it easy to follow along with the examples.
If you enjoy simple step by step drawing tutorials you may also wish to try some of the following:
- How to Draw a Cartoon Car in 12 Steps
- How to Draw A Boat Step by Step
- How to Draw a Palm Tree Step by Step
- How to Draw a Light Bulb Step by Step
- How to Draw a Pencil Step by Step
- How to Draw a Candle Step by Step


