How to Draw a Glass of Water Step by Step
This tutorial shows an easy way to draw a glass of water, milk or juice. It includes a total of six steps with the two extra examples at the end.
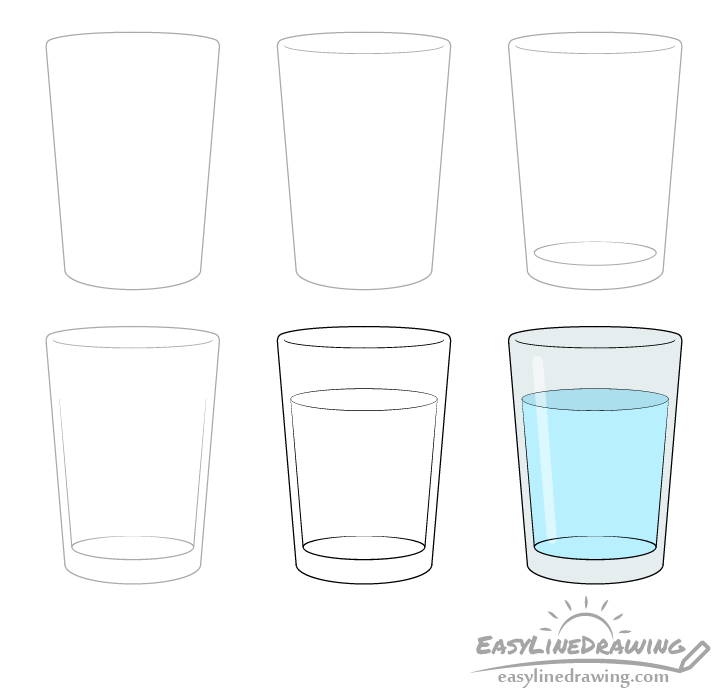
The tutorial can be tweaked very slightly to change the glass from water to juice or milk or pretty much any other liquid. This is explained in step three.
Be sure to start the drawing in pencil and make light lines that you can easily erase in case you make a mistake. You can make the lines darker later by tracing over them.
Step 1 – Draw the Outline of the Glass

Begin by drawing a silhouette (outline shape without any of the inner details) of the glass. Make it narrower towards the bottom and wider towards the top. Also make the curve that defines the bottom of the glass slightly rounder than the one that defines the top.
Step 2 – Draw the Front of the Rim
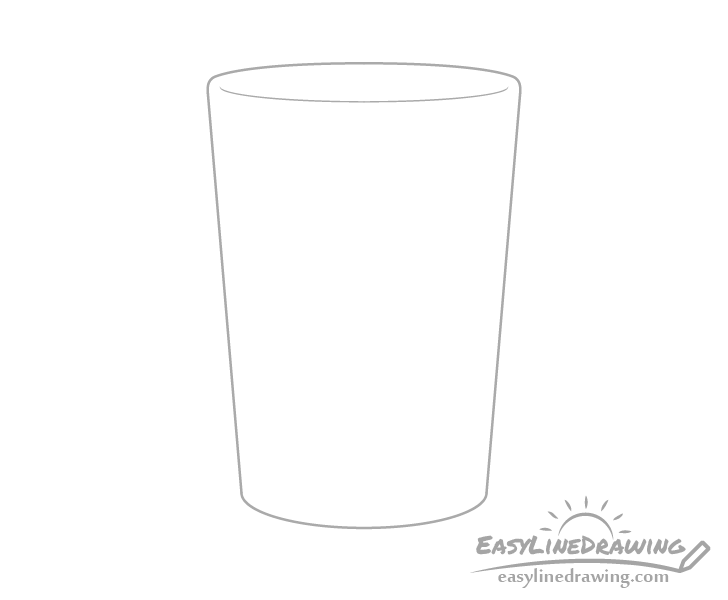
Add the upper rim of the glass with a curved line. Draw this line in a way where it stops just short of touching the edges. Leaving the bit of splace will will make the glass look like it has some thickness to it.
Step 3 – Draw the Inner Bottom of the Glass
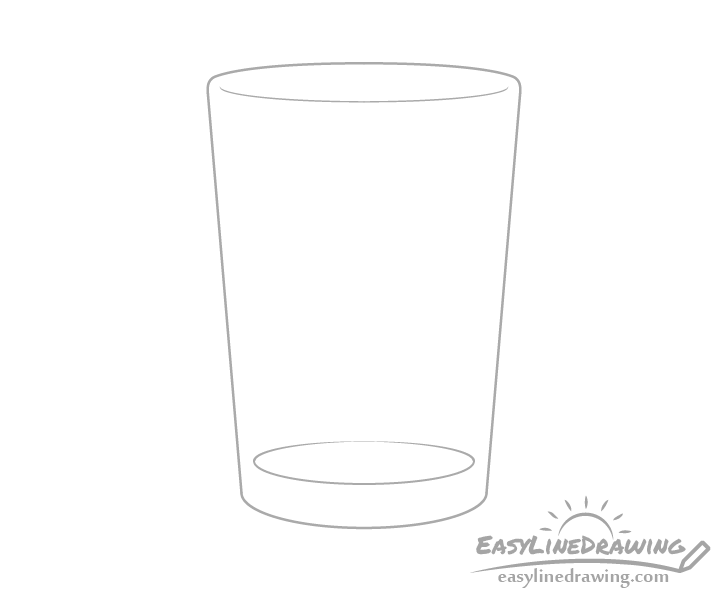
Glasses tend to have a fairly thick bottoms (compared to the sides). To show this draw an oval shape a little bit above the the curve of the bottom of the glass (as shown in the example).
If you want to have the glass filled with milk or juice draw only the bottom half of the oval (see last two examples).
As the milk/juice are not transparent the back/far side of the bottom of the glass will not be visible.
Step 4 – Begin Drawing the Water

Going up from the sides of the oval in the previous step add two lines that run along the sides of the glass. Draw these as far up as you want the glass to be filled with water.
Step 5 – Finish the Line Drawing
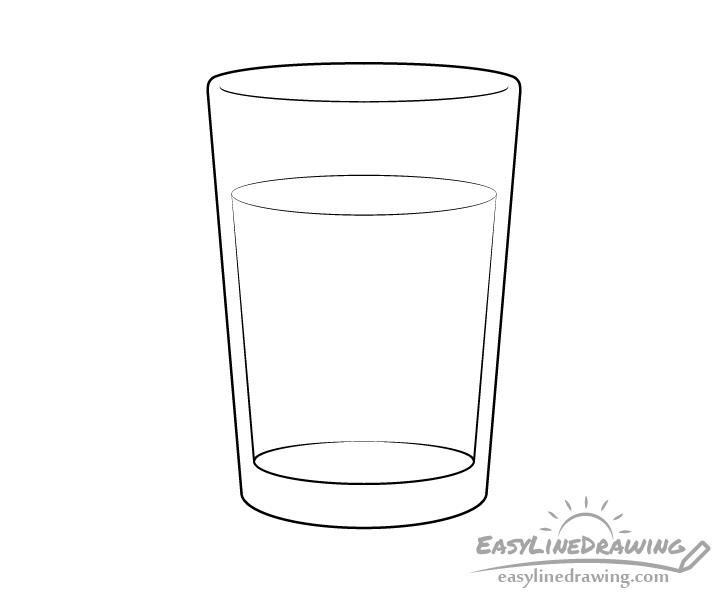
Finally draw another oval at the top of the lines from the previous step to show the surface of the water inside the glass.
Once done you can darken your lines by tracing over them with a pencil, black pen or marker.
Step 6 – Add Color & Finish the Glass Drawing
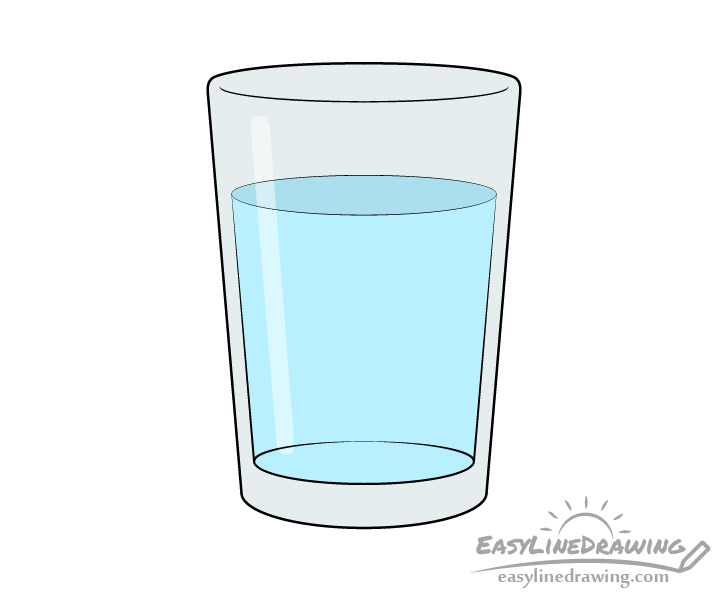
To finish the drawing of the glass of water you can color it a grey/blue and the water inside of it a light blue with a slightly darker surface.
You will notice that the glass also has a highlight area on it’s left side. You can leave this area white as you color or shade it in very lightly with the same color as each area it overlaps.
The highlight is important as it will make the glass a shiny/reflective look.
Glass of Milk Drawing
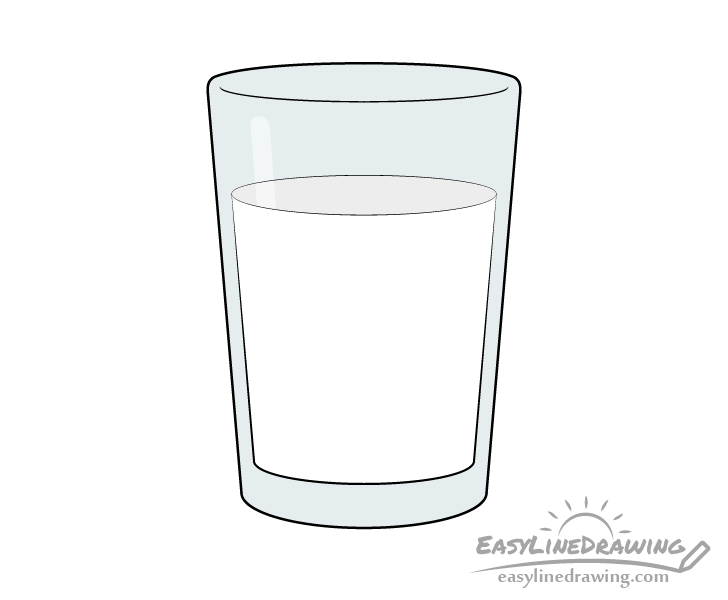
Above you can see an example of the glass being filled with milk instead of water. As the milk is not transparent you should only draw the front side of the bottom of the glass. The part of the highlight overlapping the milk will also not be visible as both are white.
Glass of Orange Juice Drawing
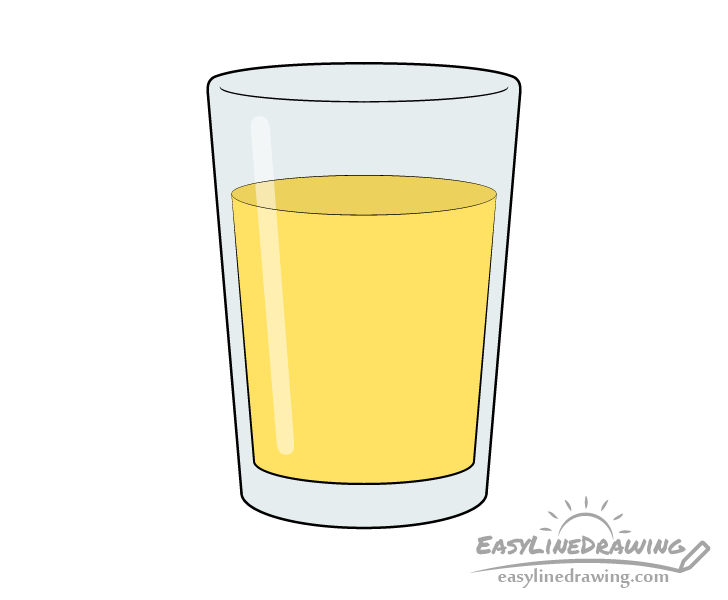
Drawing the juice is again very similar to the milk with the only difference being that you can still see the highlight over the juice.
Conclusion
Even a simplified glass drawing as the one in this tutorial can look quite nice. Using a few simple tricks as the ones shown in this tutorial you can make the glass look shiny and transparent without having to do a photo realistic drawing.
For more similar tutorials also see:
- How to Draw a Bottle of Water Step by Step
- How to Draw a Can of Pop Step by Step
- How to Draw a Coffee Cup Step by Step
- How to Draw a Kettle Step by Step
- How to Draw a Mug Step by Step
- How to Draw Fire Step by Step


